In this section, I will detail the main processes I used inside of Maya and other programs which helped me create my final assets.
Extrude
With most of the assets, I started with the simple shapes and made them complex by using various features inside of Maya. One of these being the extrude tool. This tool helped me create a lot of the features seen on my assets such as the air hockey machine which I could extrude the base downwards and bevel it in order to add some depth and shape to the machine.
I also used this feature alongside the multi cut tool which let me isolate a certain section of the asset to then extrude, without expanding the whole face of the product. This is helpful with items with screens for example where you need the machine shape to stay the same, but one face needs to be extruded inwards to fit the screen.
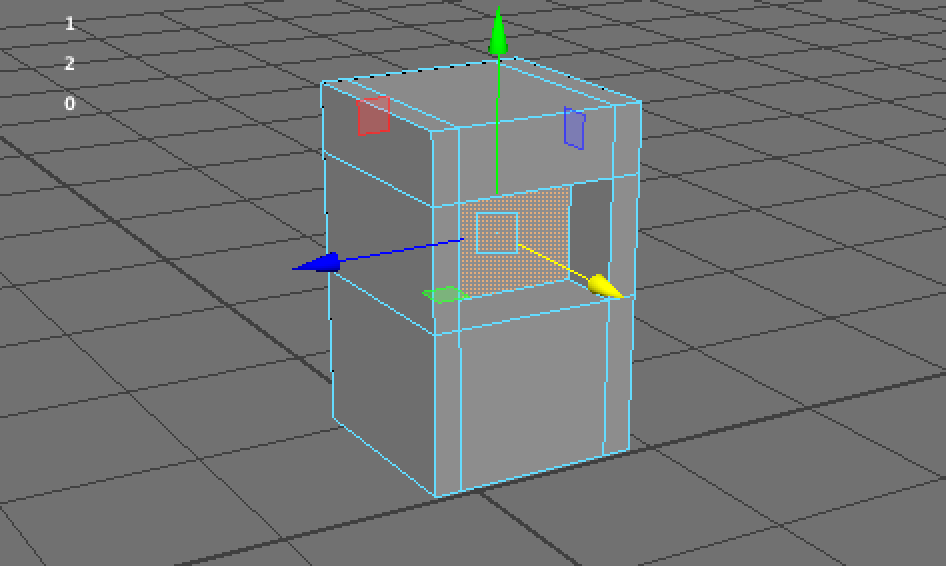
Multi Cut Tool
The multi cut tool is helpful for multiple reasons. One of these being, as mentioned above, it helps isolate certain areas to then edit whether that be extruding or deleting. It adds extra sections to the faces which therefore makes more of them directly editable.
Another feature which is the most important, would be dividing the asset up so it is ready for smoothing. By smoothing the product (button 3) it gives a more professional and cleaner look to to the asset. The multi cut tool helps this by separating the product into additional faces so the smoothing happens on the outside, rather than over the full item.
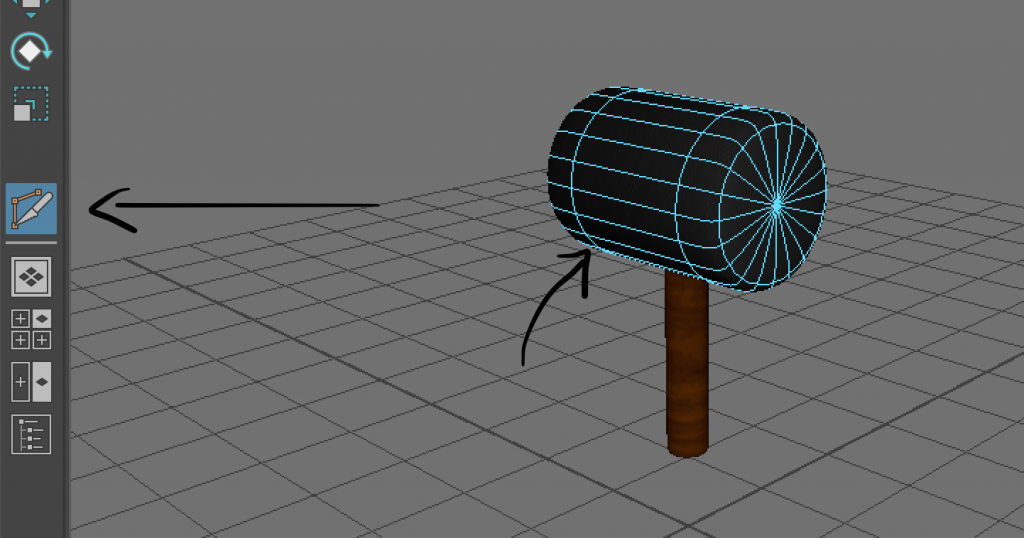
This is very useful as without this, a shape such as a cylinder would become very thin and tall which wouldn’t look professional in most circumstances.
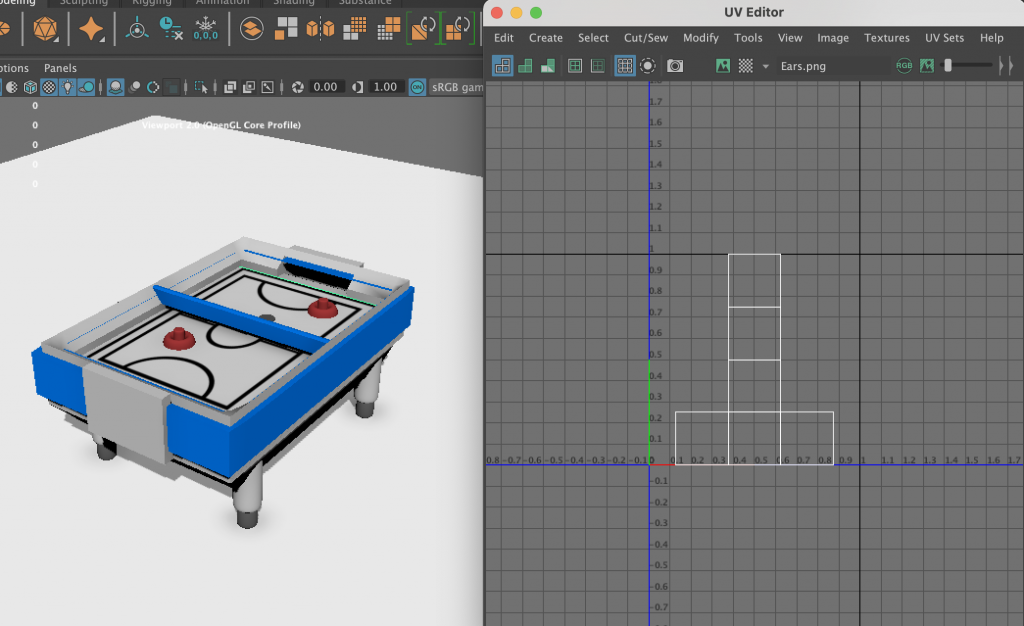
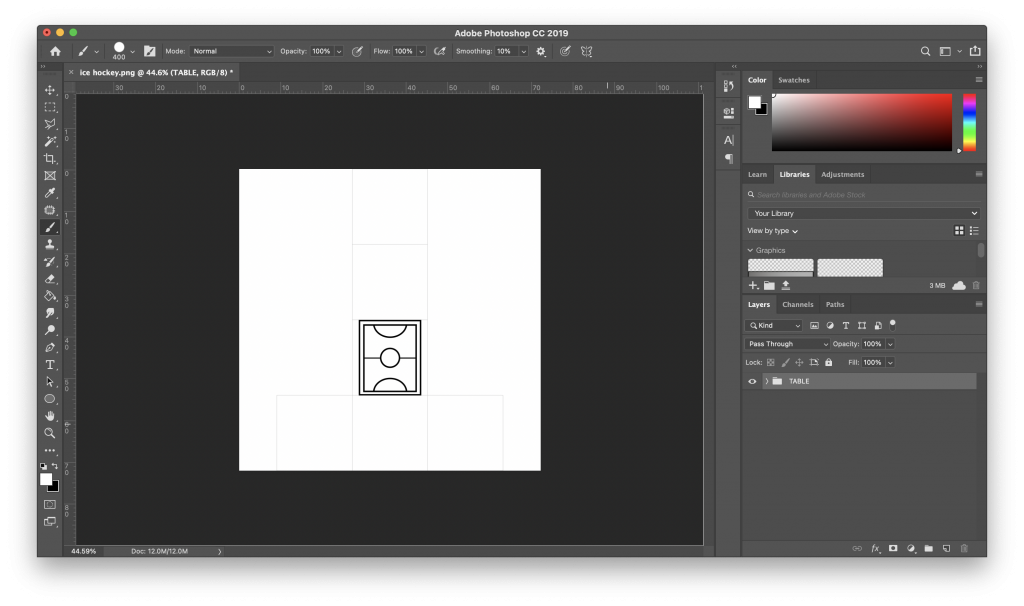
UV Editor
I used the UV editor for the majority of my assets, in order to texture them. Due to me having various problems with Substance painter, I was forced to create textures inside of Photoshop and apply them to the net of the asset.
To do this, I selected my asset and took a UV Snapshot which I could then open directly in Photoshop and apply my created textures and assets to the net. This could then be saved and applied back in Maya to the item, which would then display all the sides textured or coloured. This method did also allow me to edit the original design and just overwrite it if i needed to change or improve anything.