Since all the assets that are included in the website have been designed, created and applied, it was time to organise how a user will be able to get from one site to another. In addition I also wanted to finalise every single page, and add a little further depth to a few of them through the use of animations.
Interactivity
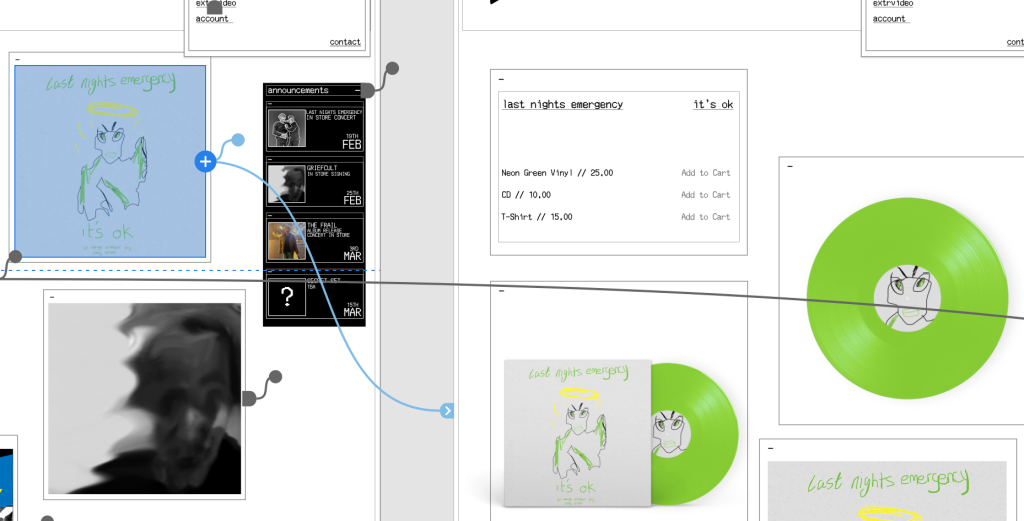
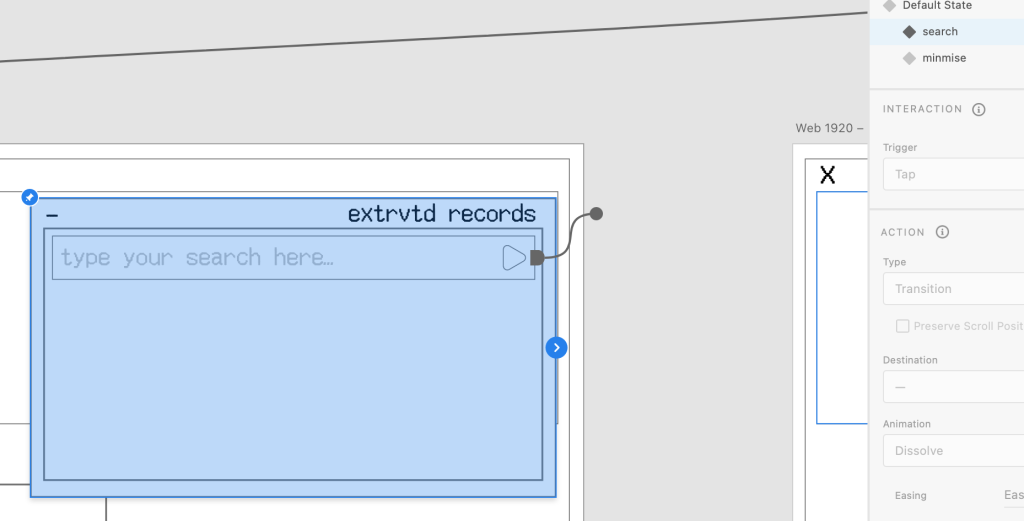
In order for a user to be able to interact with buttons and icons, I needed to apply interaction links using the prototype tools found inside of XD. This involved connecting one page to the destination using a path. Within this, you are able to apply transitions to make the movement from one page to another smooth. Below is an example of some of the links I applied to the navigation tab, which will send the user to the specified page.
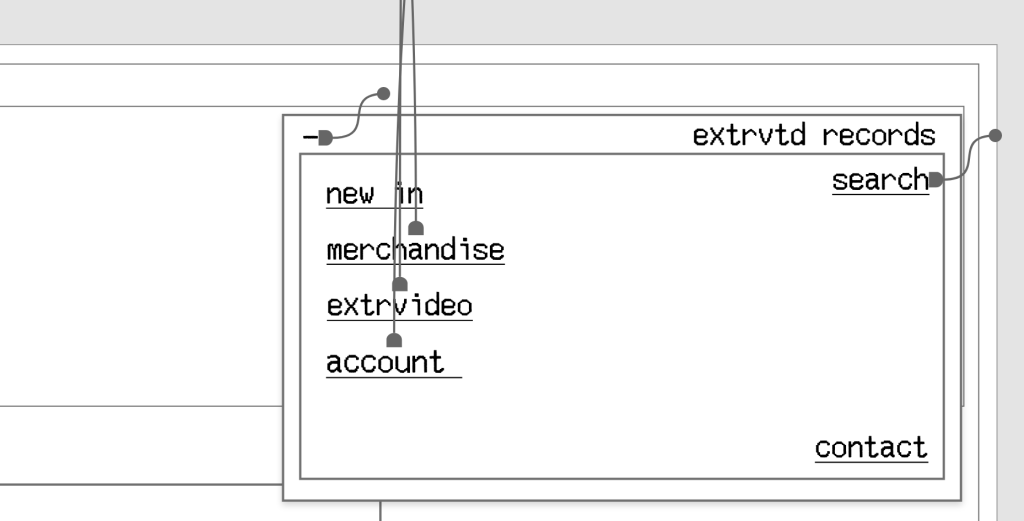
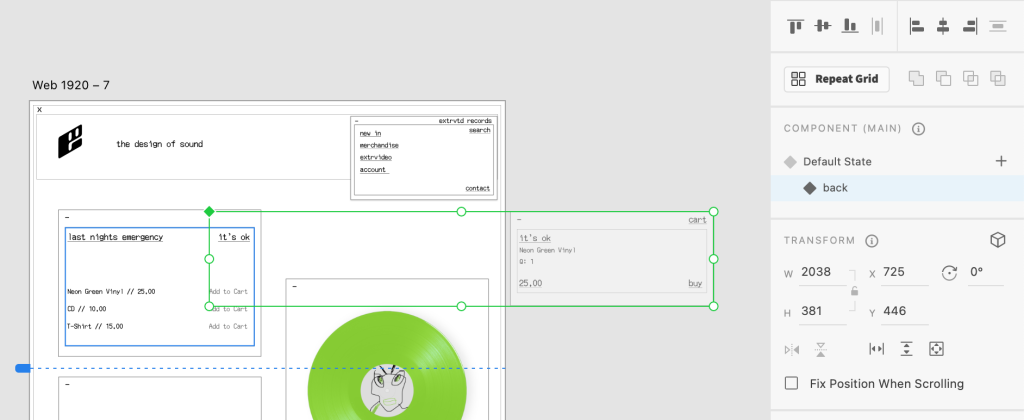
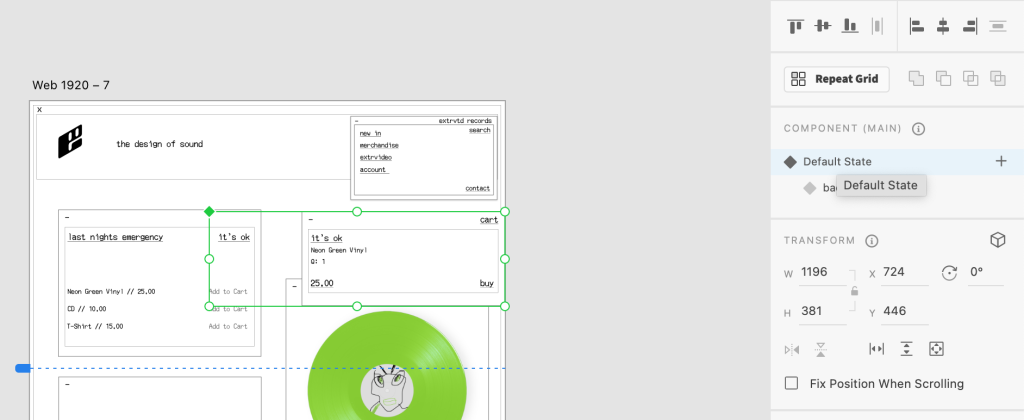
The same method is applied to the album cover images, which will send the user to that specific project once pressed. You can the ‘last nights emergency’ project link below in blue.
Animations
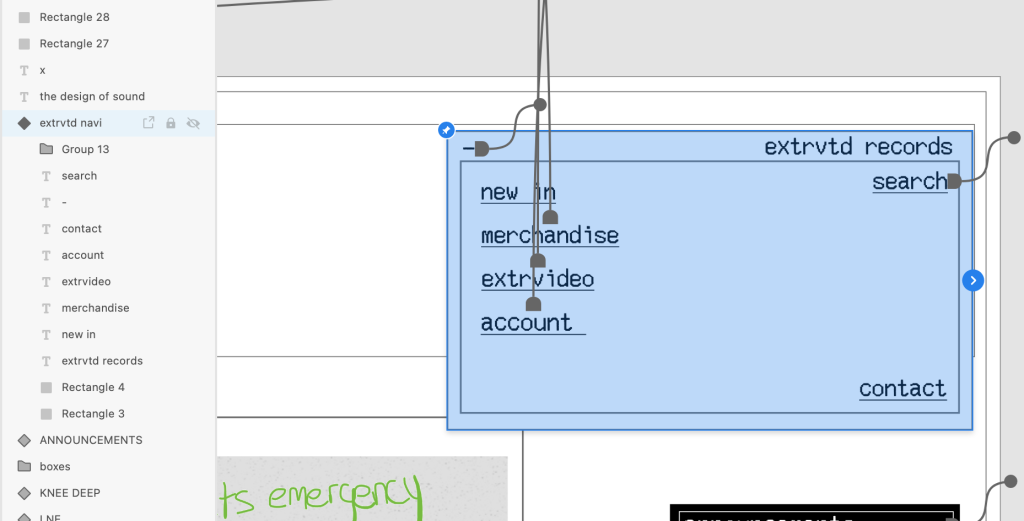
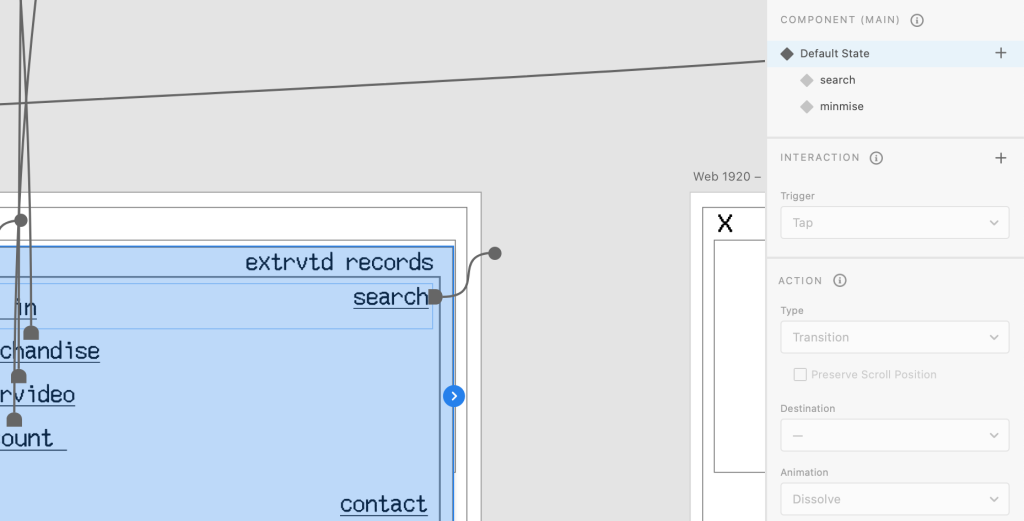
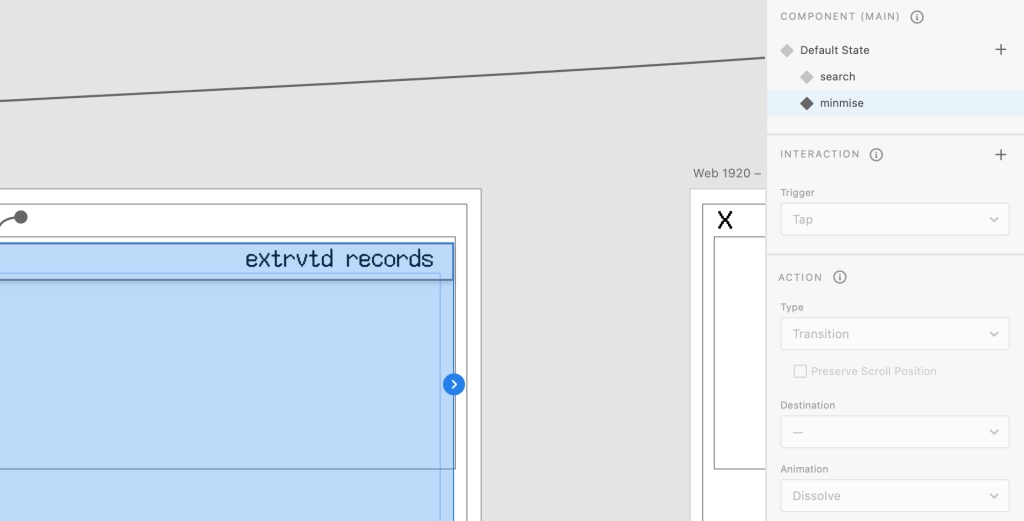
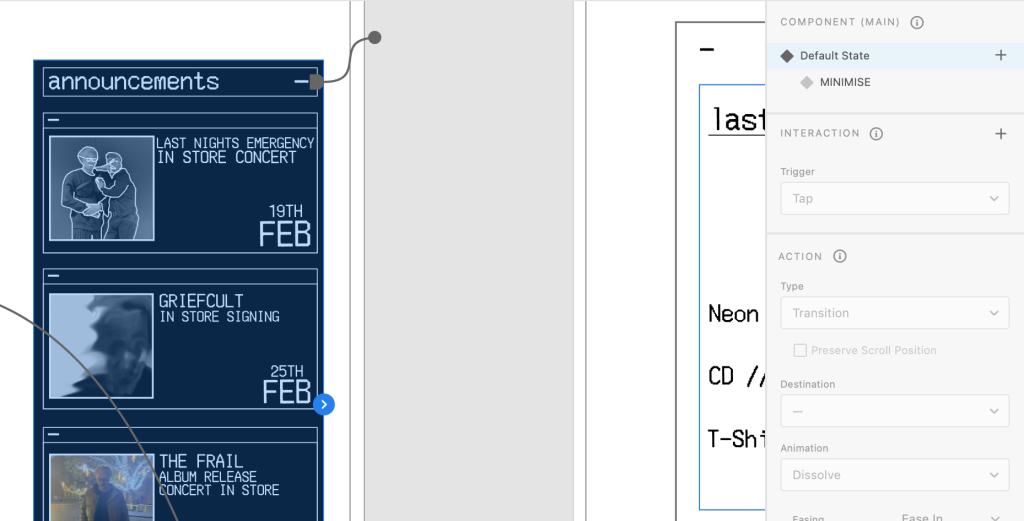
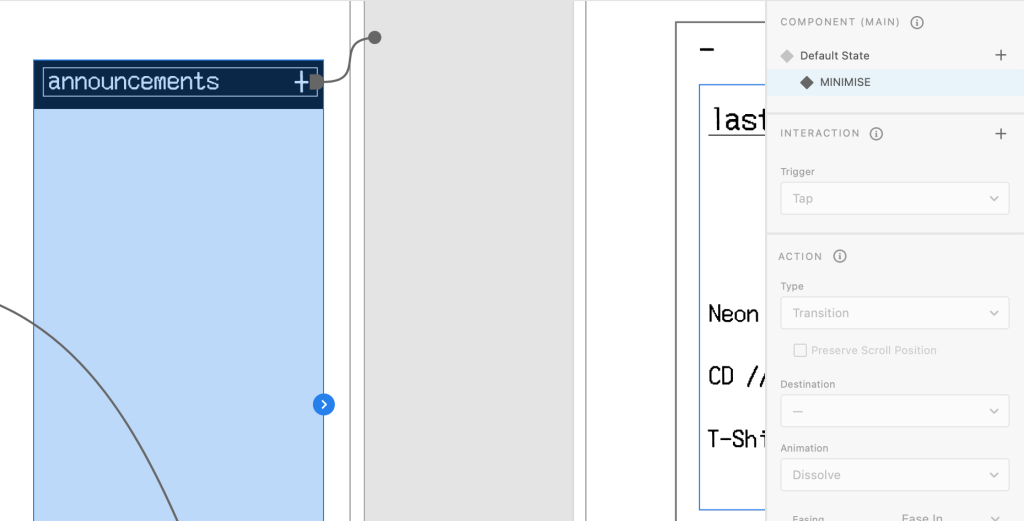
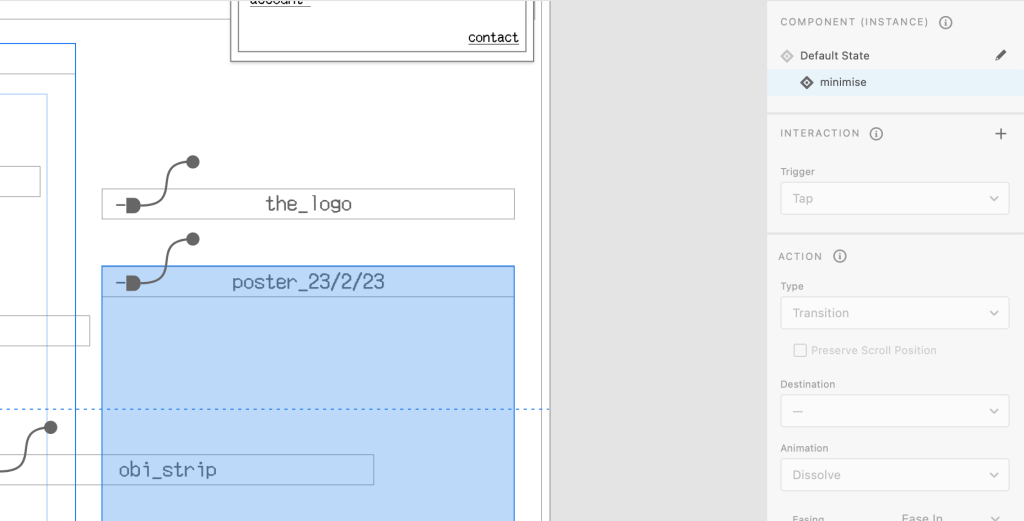
I wanted to add further depth to a few of the assets seen on the website, as I felt animating some items would create a further developed product, but was also reminiscent of some of the anti-design features I had researched in the past such as overlapping images and crowded environments. The first aspect I developed was being able to minimise both the navigation bar as well as the announcement tab. This meant that on any page, the navigation bar can be made smaller if it is obstructing another asset, or expanded to navigate to a new page.
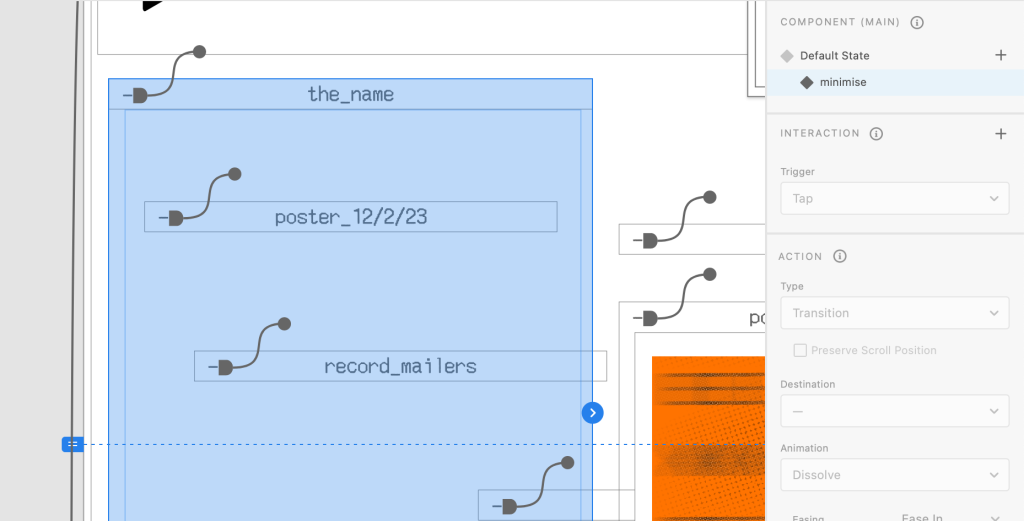
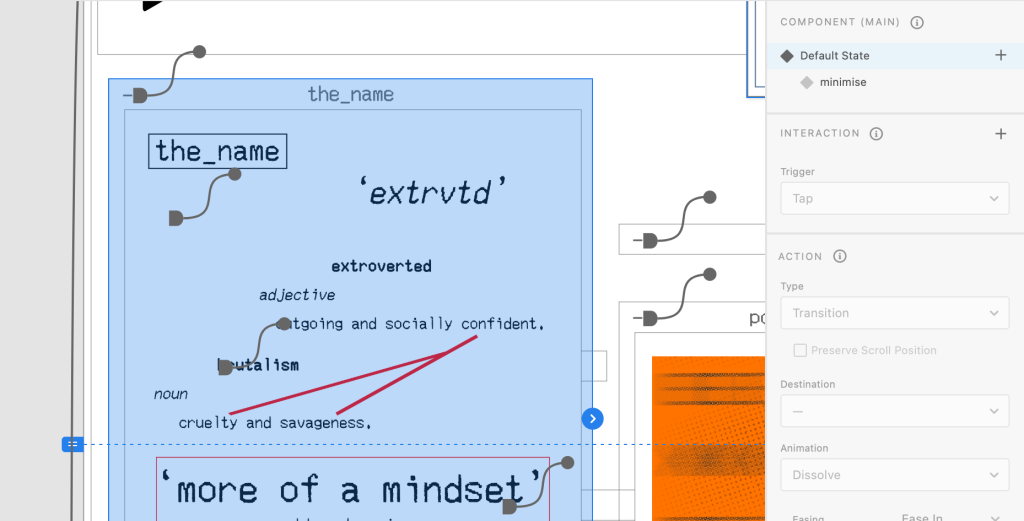
This was done through the component feature which meant I could create essentially two assets (one minimised tab, one expanded tab) and connect them using the previously mentioned paths from the prototype menu. This would then create the animation of tabs expanding or being minimised by hiding one while the other is visible, and vice versa. I also applied this method to the search function.
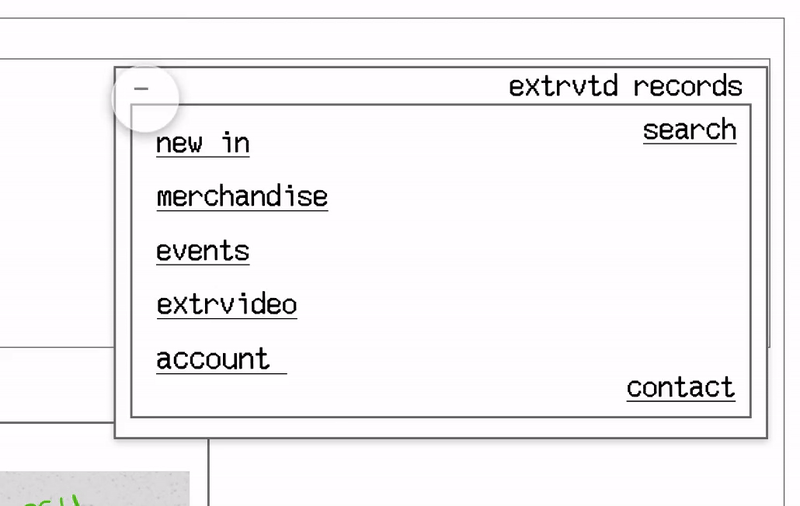
Navigation
Announcements
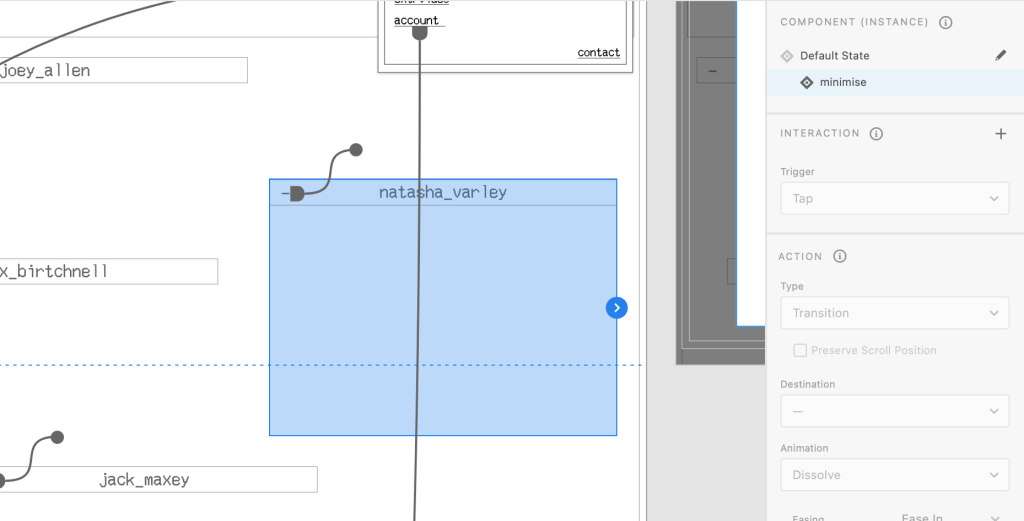
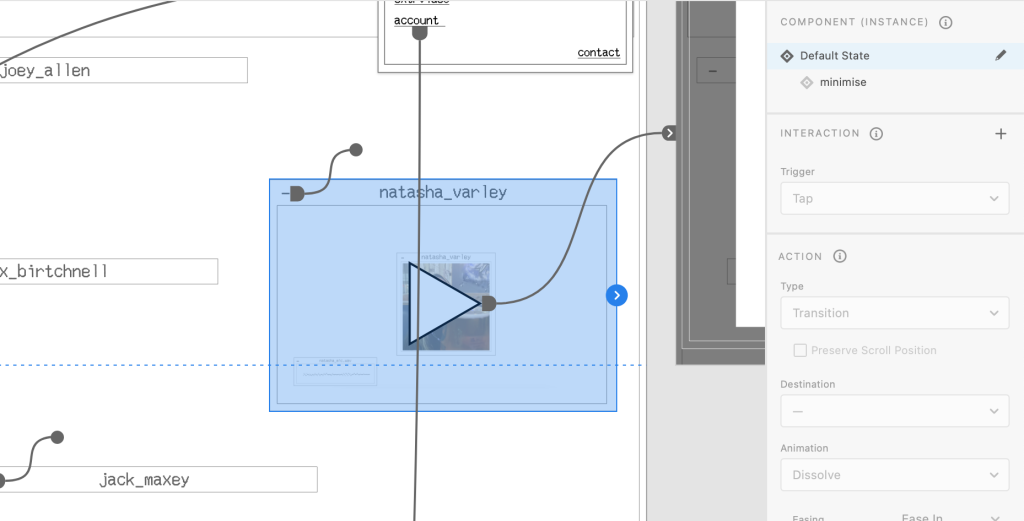
Using this overall method, I applied this to further pages including the ‘design manifesto’ and the ‘extrvideos’ section. For these pages I was using thin tabs that contained the media related to the page. Therefore I was able to hide the images behind the tab so when the user arrives at the page, they can expand each tab depending on what visual they want to view.
Design Manifesto

Extrvideos
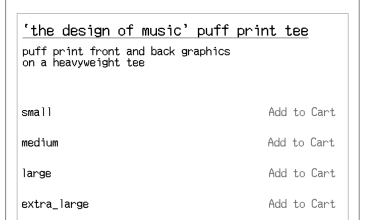
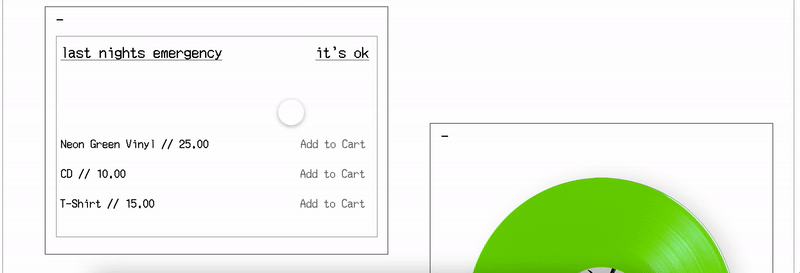
The final animation I wanted to add was a slide in notification which would automatically appear once the user adds a product to their cart. This followed a similar process to the previous animations, however the notification appeared off the page to begin with, and slide into view once activated.
Add to Cart
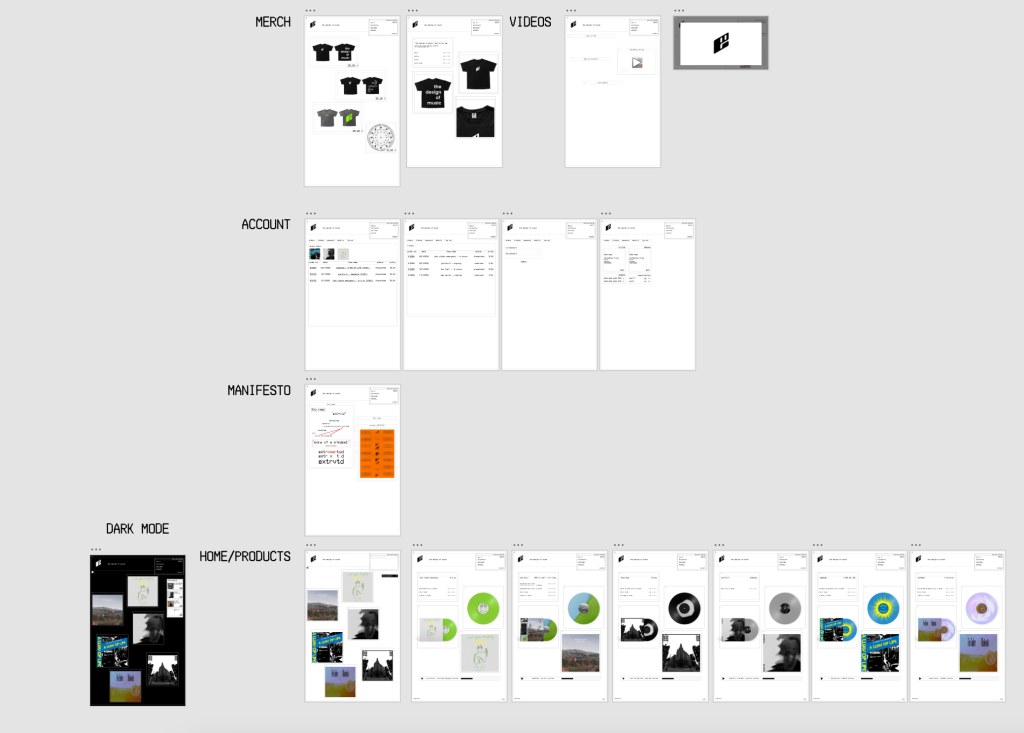
Final Pages
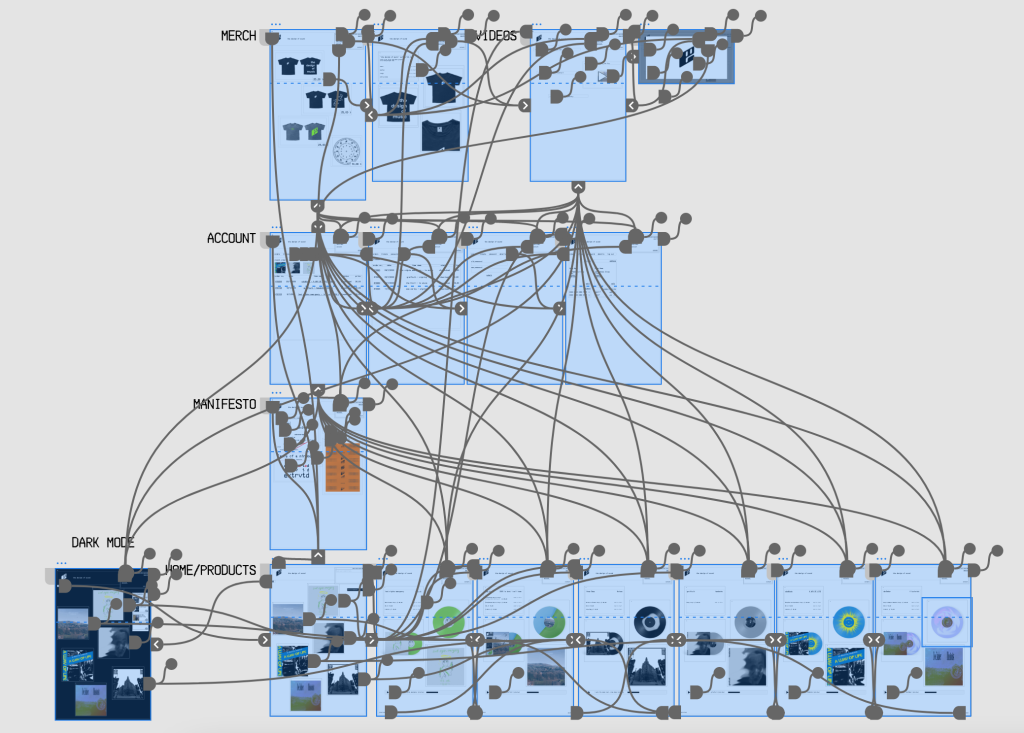
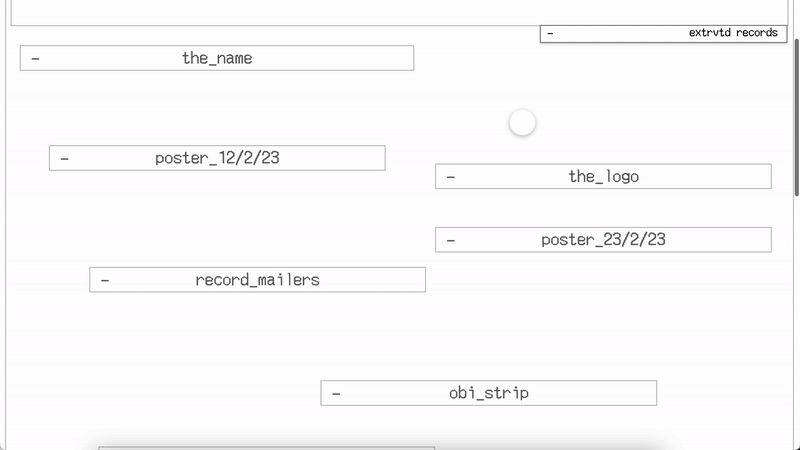
Now that all the assets had been created, interactive paths had been completed and animations had been developed, the website prototype was finished and finalised. Below is two images, one showing all the pages set out on the Adobe XD art board, and the other showing all the interactive routes that have been created for the purpose of presenting.