In this final post, I will display;
- Final character and accessory renders
- Turntable videos for these models
- Lighting and Software descriptions
- Issues I encountered
Final Render Images
The images below have all been rendered using the Marmoset Toolbag render engine.

I also made some renders with the weapon in my characters hand as well as a close up of the mask.
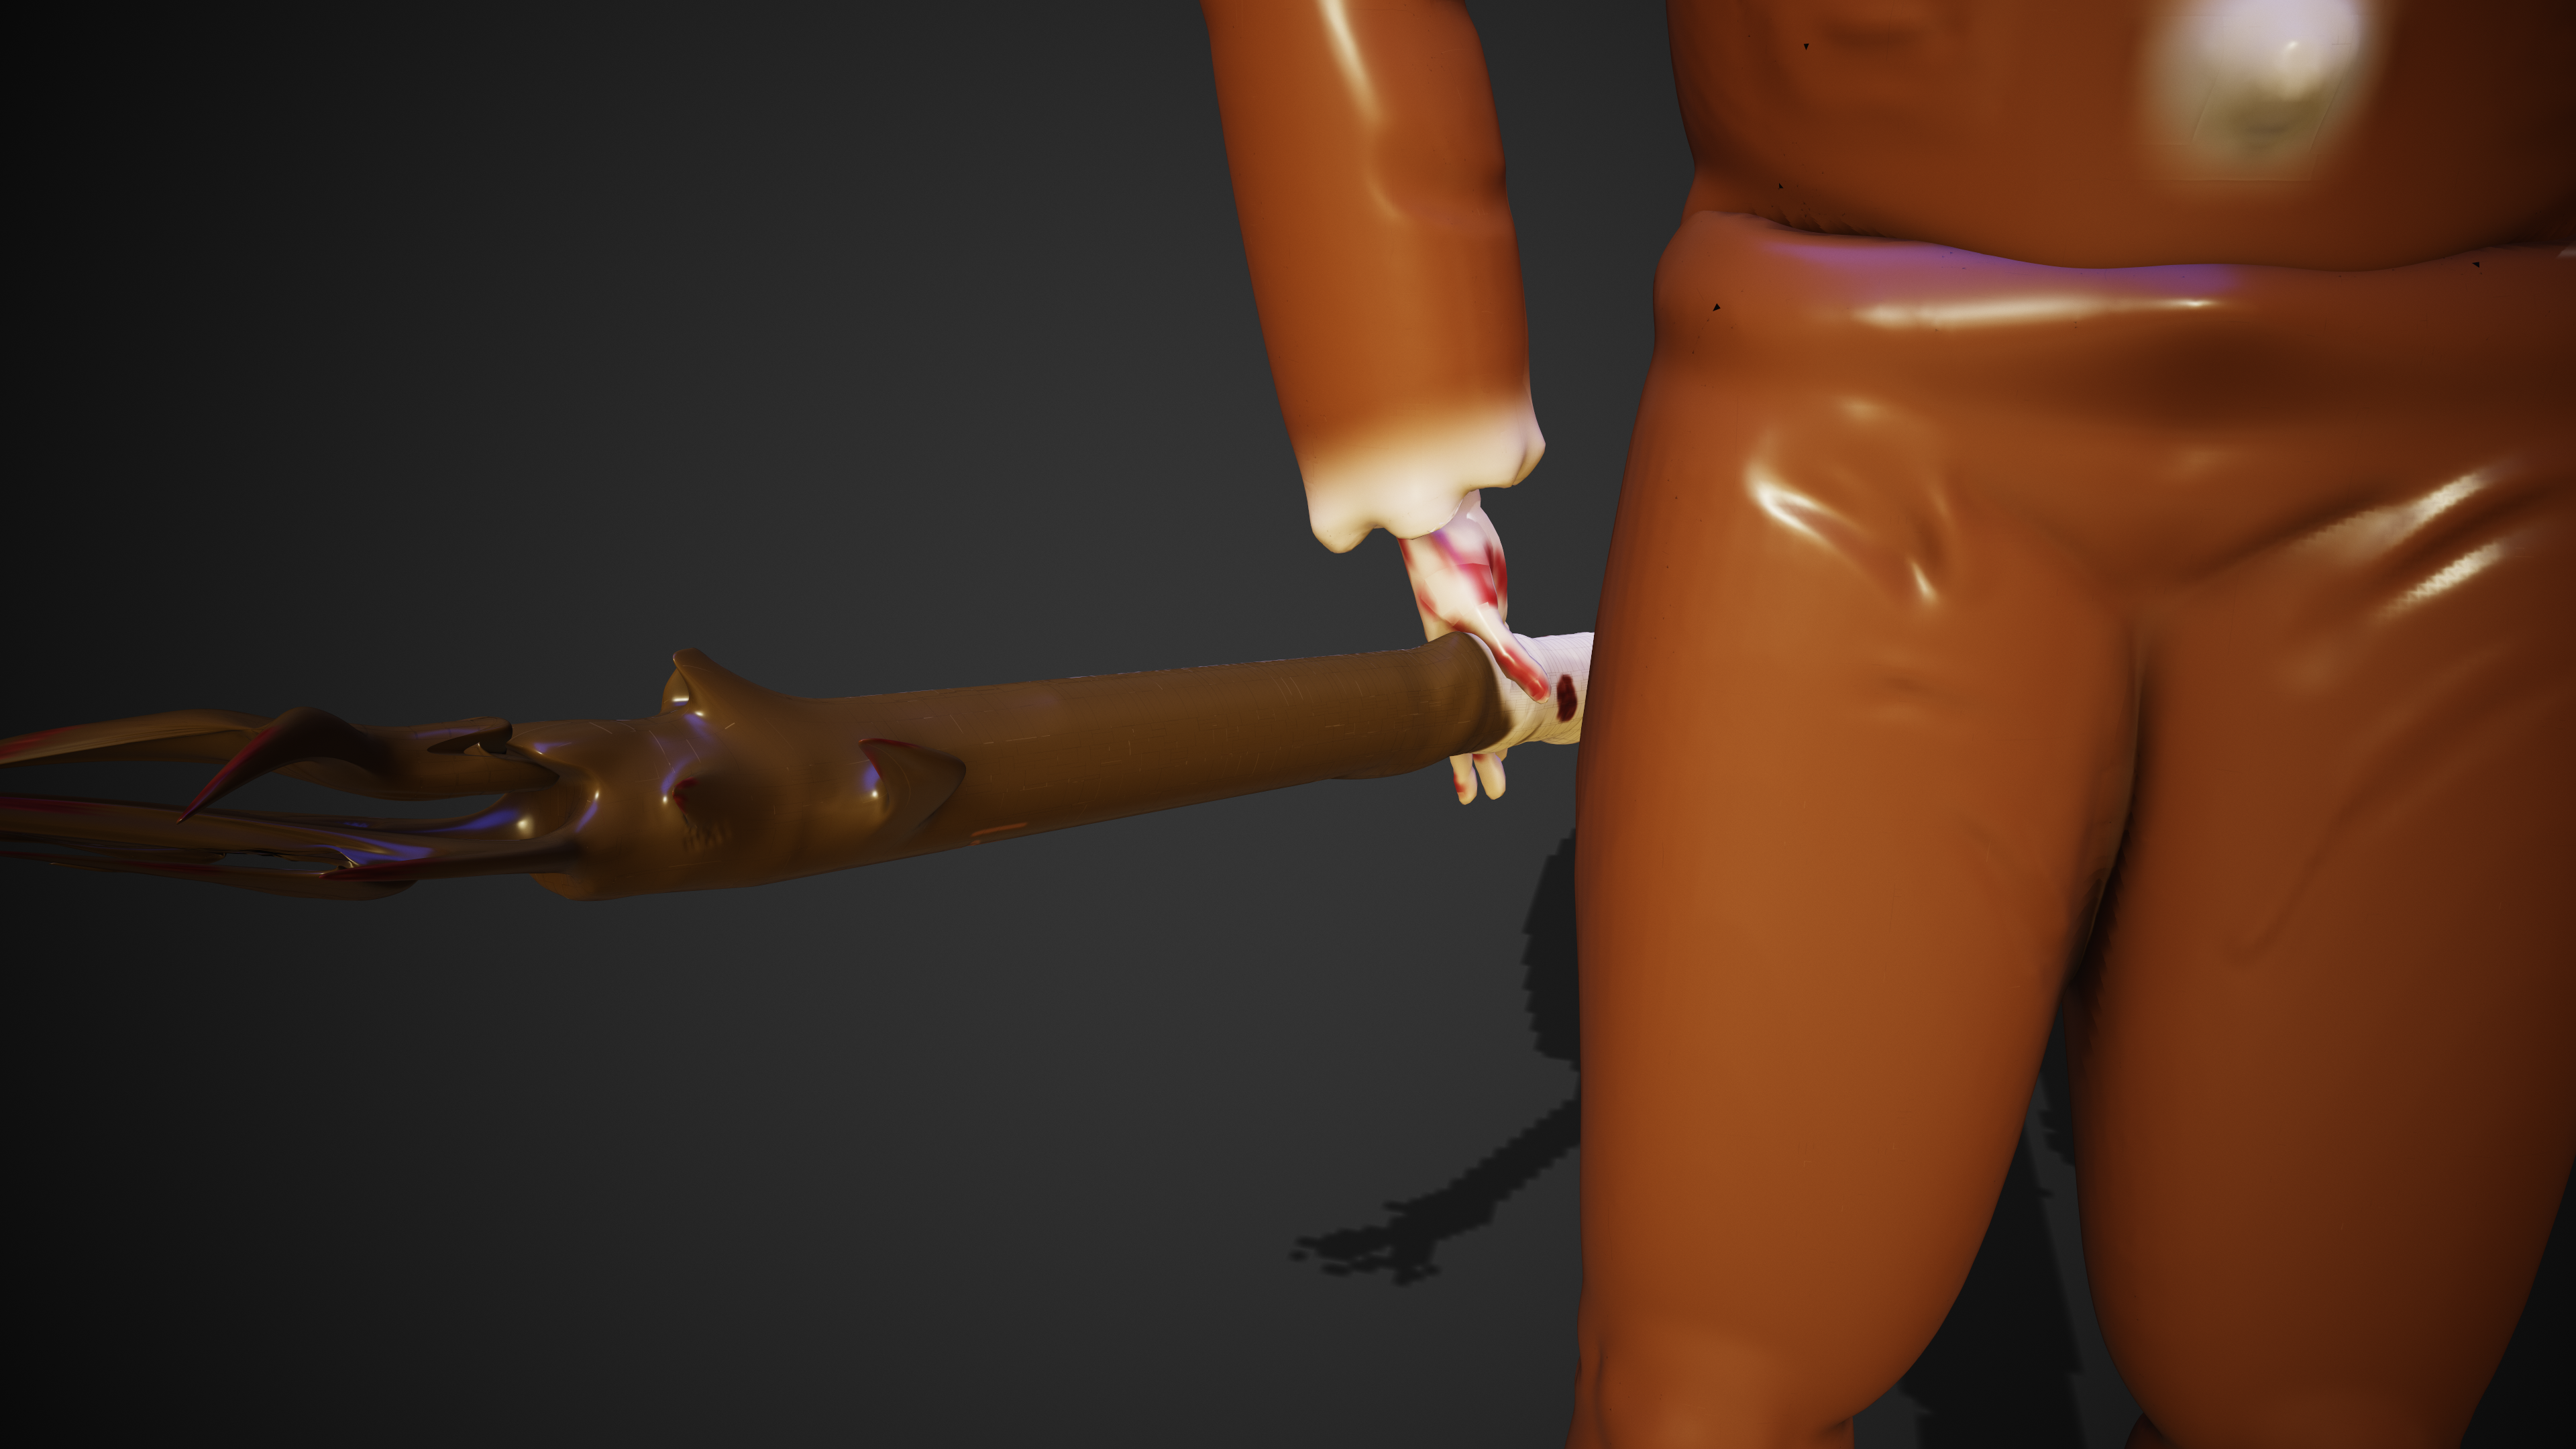
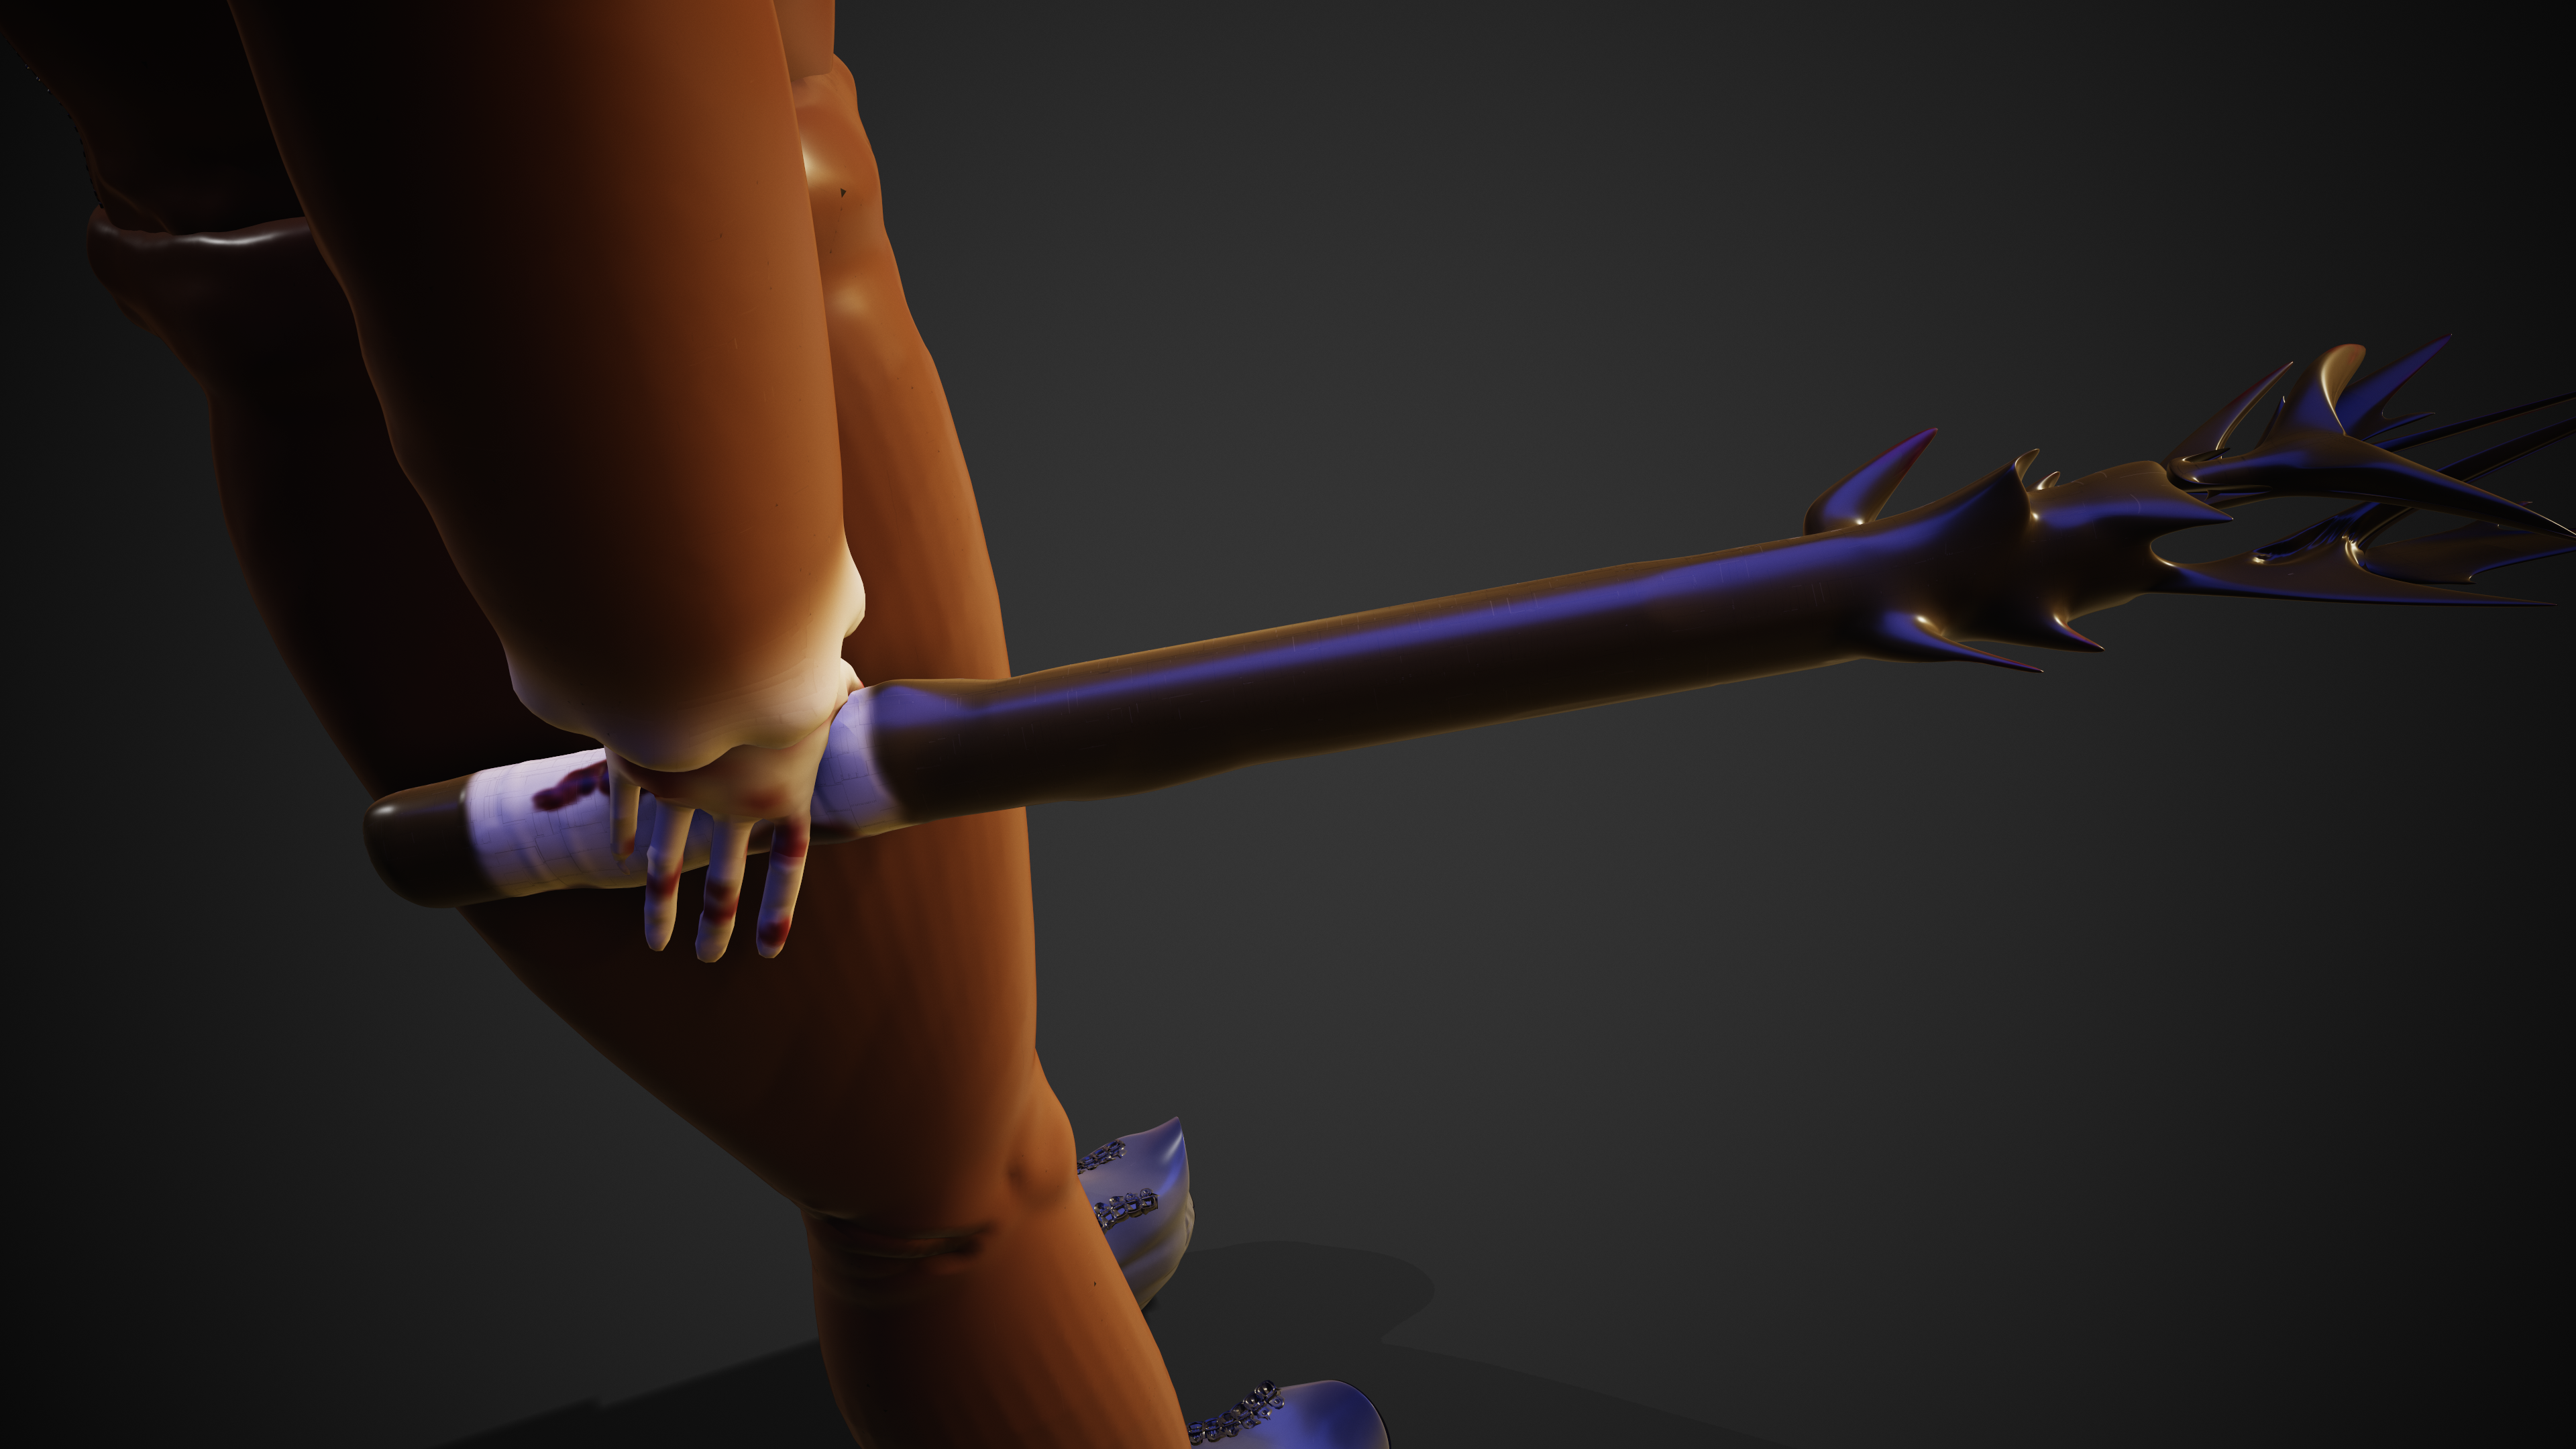

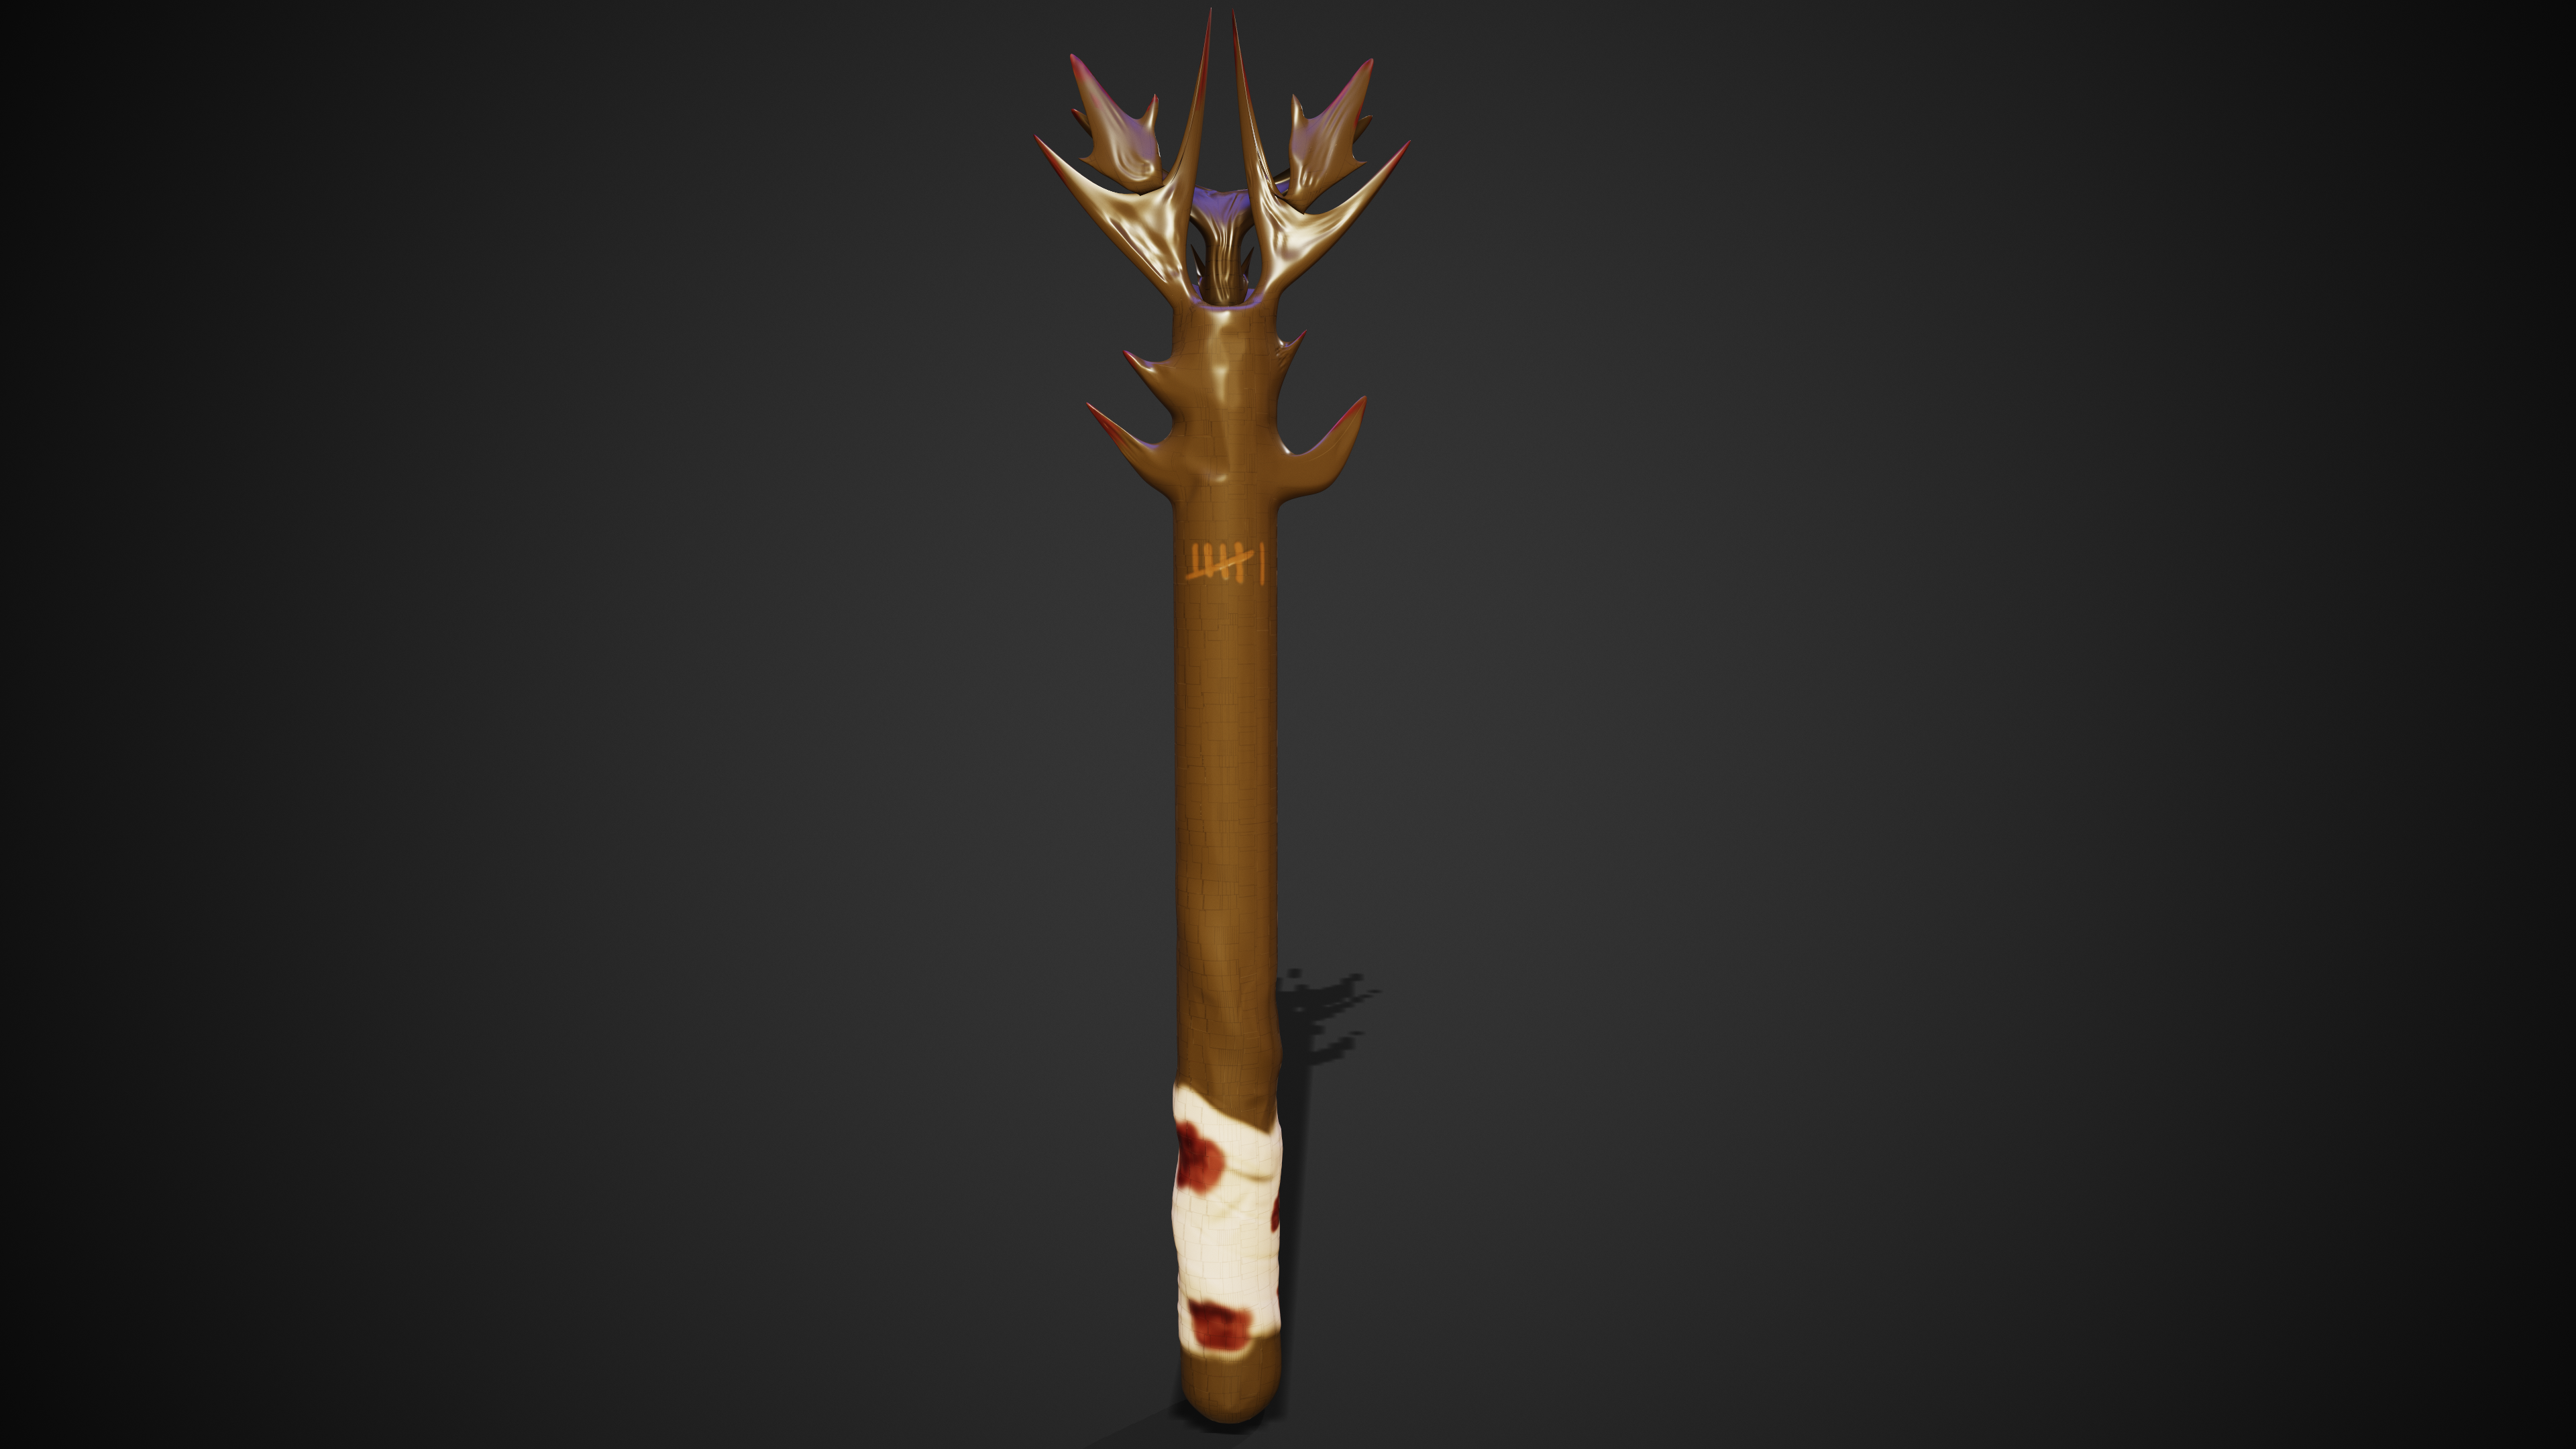
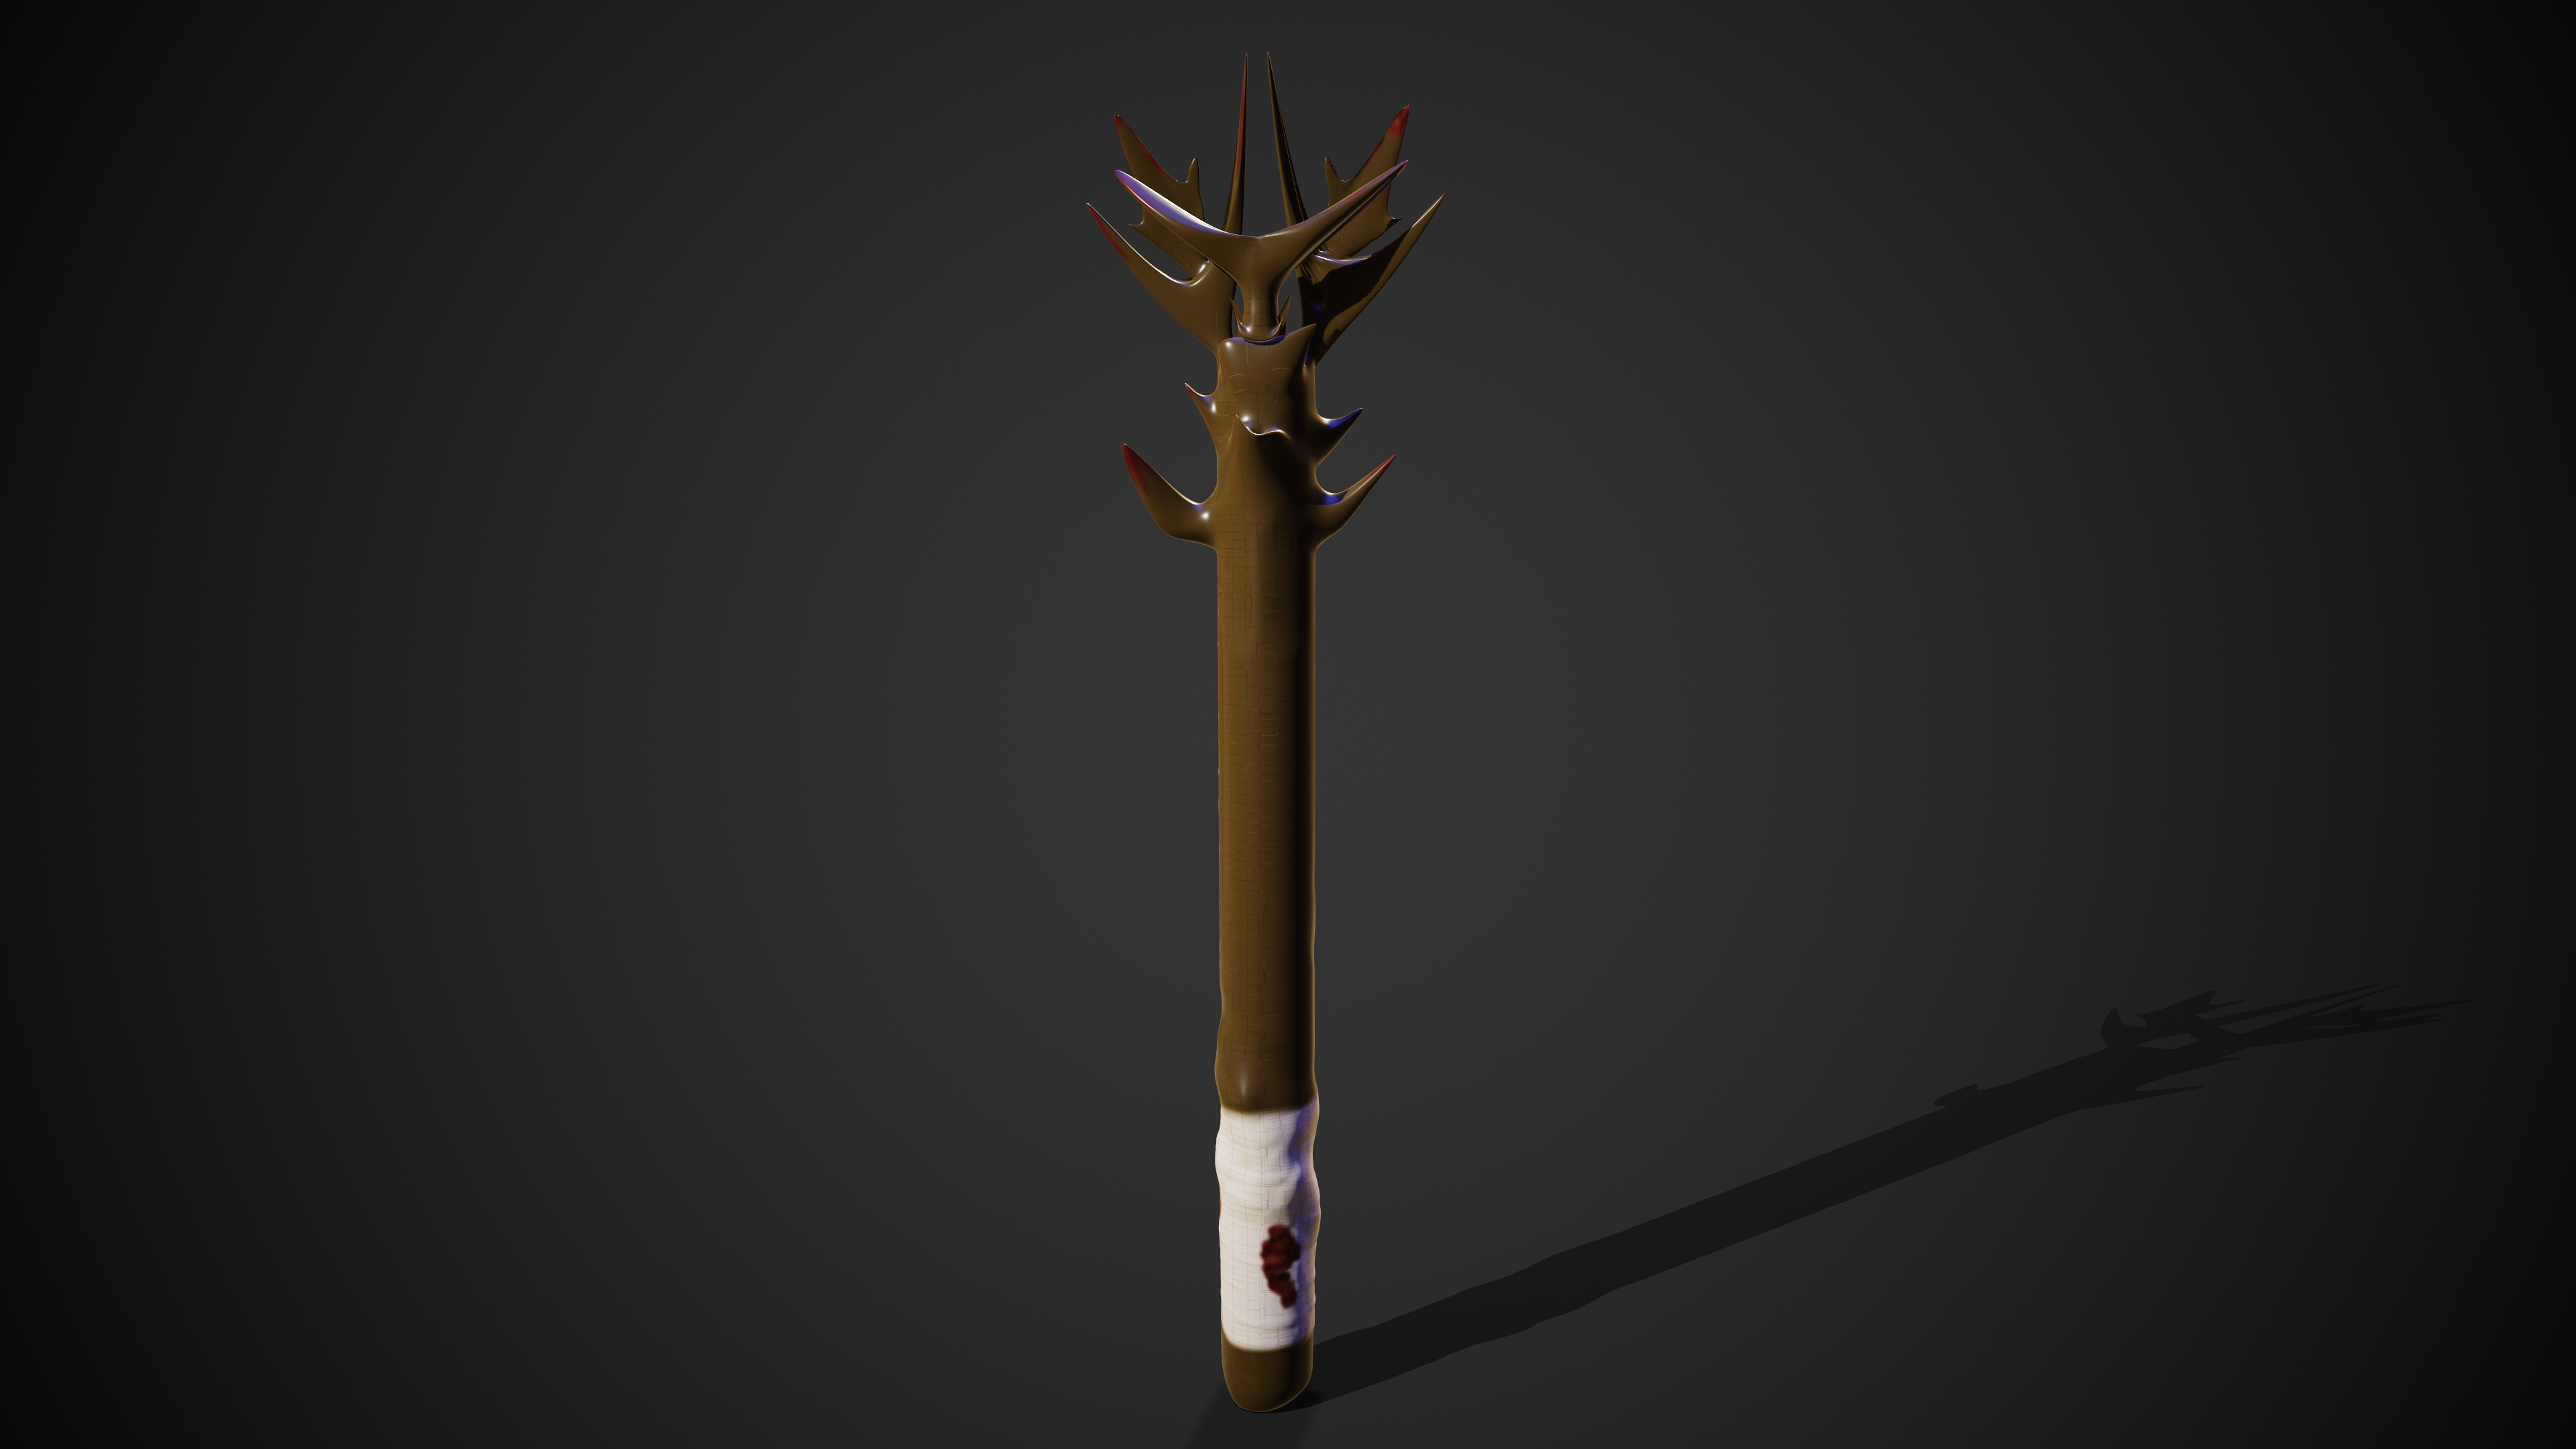
Finally, below is some renders of the weapon accessory which can also be seen in the complete renders above.
Turntable Renders
Below are the turntable renders of my character (Accessory turntables are featured on the ‘Accessory Design‘ page)
Lighting
For the lighting shown in the render, I used a directional light in the scene to act as the main light. Partnered with this I added a spotlight to the back of the character and weapon to act as a rim light so it brings about the definition and details. With this I also changed the hue of the light to a slight red to add a slightly menacing look. I also used some basic lighting presets inside of Marmoset which brings this all together.
Software & Tools
Throughout the production of my 3D character, I have used a range of software and tools in order to make this possible. Below I will detail what I have used and what they have allowed me to acheive.
ZBrush
ZBrush is the main software I have used to create my character. This software has all the tools in order to create a 3D model from the ground up, with a wide range of brushes that can be used to get many different effects. This has allowed me to take a simple shape and model it into a human like object, which can then be edited using various brushes to add details such as facial features, clothing details as well as imperfections such as scars and injuries. ZBrush also has features that allow you to paint the object without having to use an external program. This includes details as well as full body colour if you need a base coat to then add further features.
PureRef
PureRef is a simple but effective tool which allows you to import images to an external window which can then be used a visual references while modelling your character. This is useful because you will always have your images and drawings on your screen to refer to without having to switch windows and tabs all the time.
Wacom Drawing Tablet
A tool I used which helped directly with the character modelling and detailing was the Wacom Intuos drawing tablet. This is an external device which allows you to draw inside of ZBrush for example which helps with accuracy as well as realism due to its pressure sensitive pen. This means the amount of pressure you put on the tablet with the stylus, changes the style of the brush inside of the software. Furthermore you are able move and rotate your model easily with the buttons on the pen which is good for productivity since you don’t have to keep swapping between your pen and mouse. In addition there are programable buttons on the tablet itself which can be changed to shortcuts such as commonly used brushes or actions such as undo.
Maya
Maya was not used much in this project compared to previous ones, however due to the limitations on ZBrush’s trial version, I had to export my models into Maya in order to progress with rendering. I intended to use Maya to render these however I had access to the Marmoset render engine which I thought worked better with the render style. Maya was then used as a gateway from ZBrush to Marmoset in order to keep the texture maps visible for rendering.
Marmoset Toolbag 4
Marmoset was a newer software I used which allowed me to render out my character and accessories with a range of lighting and environment styles. Once I had exported the .fbx file to Maya, I then exported the model and its texture maps into Marmoset to begin with rendering. As stated above, this is where I added the different types of lighting which can be seen in the final images.
Issues
Most issues I ran into were knowledge and experience based which were easily fixed or workarounds were found to combat this. However there was one major issues which I have detailed below;
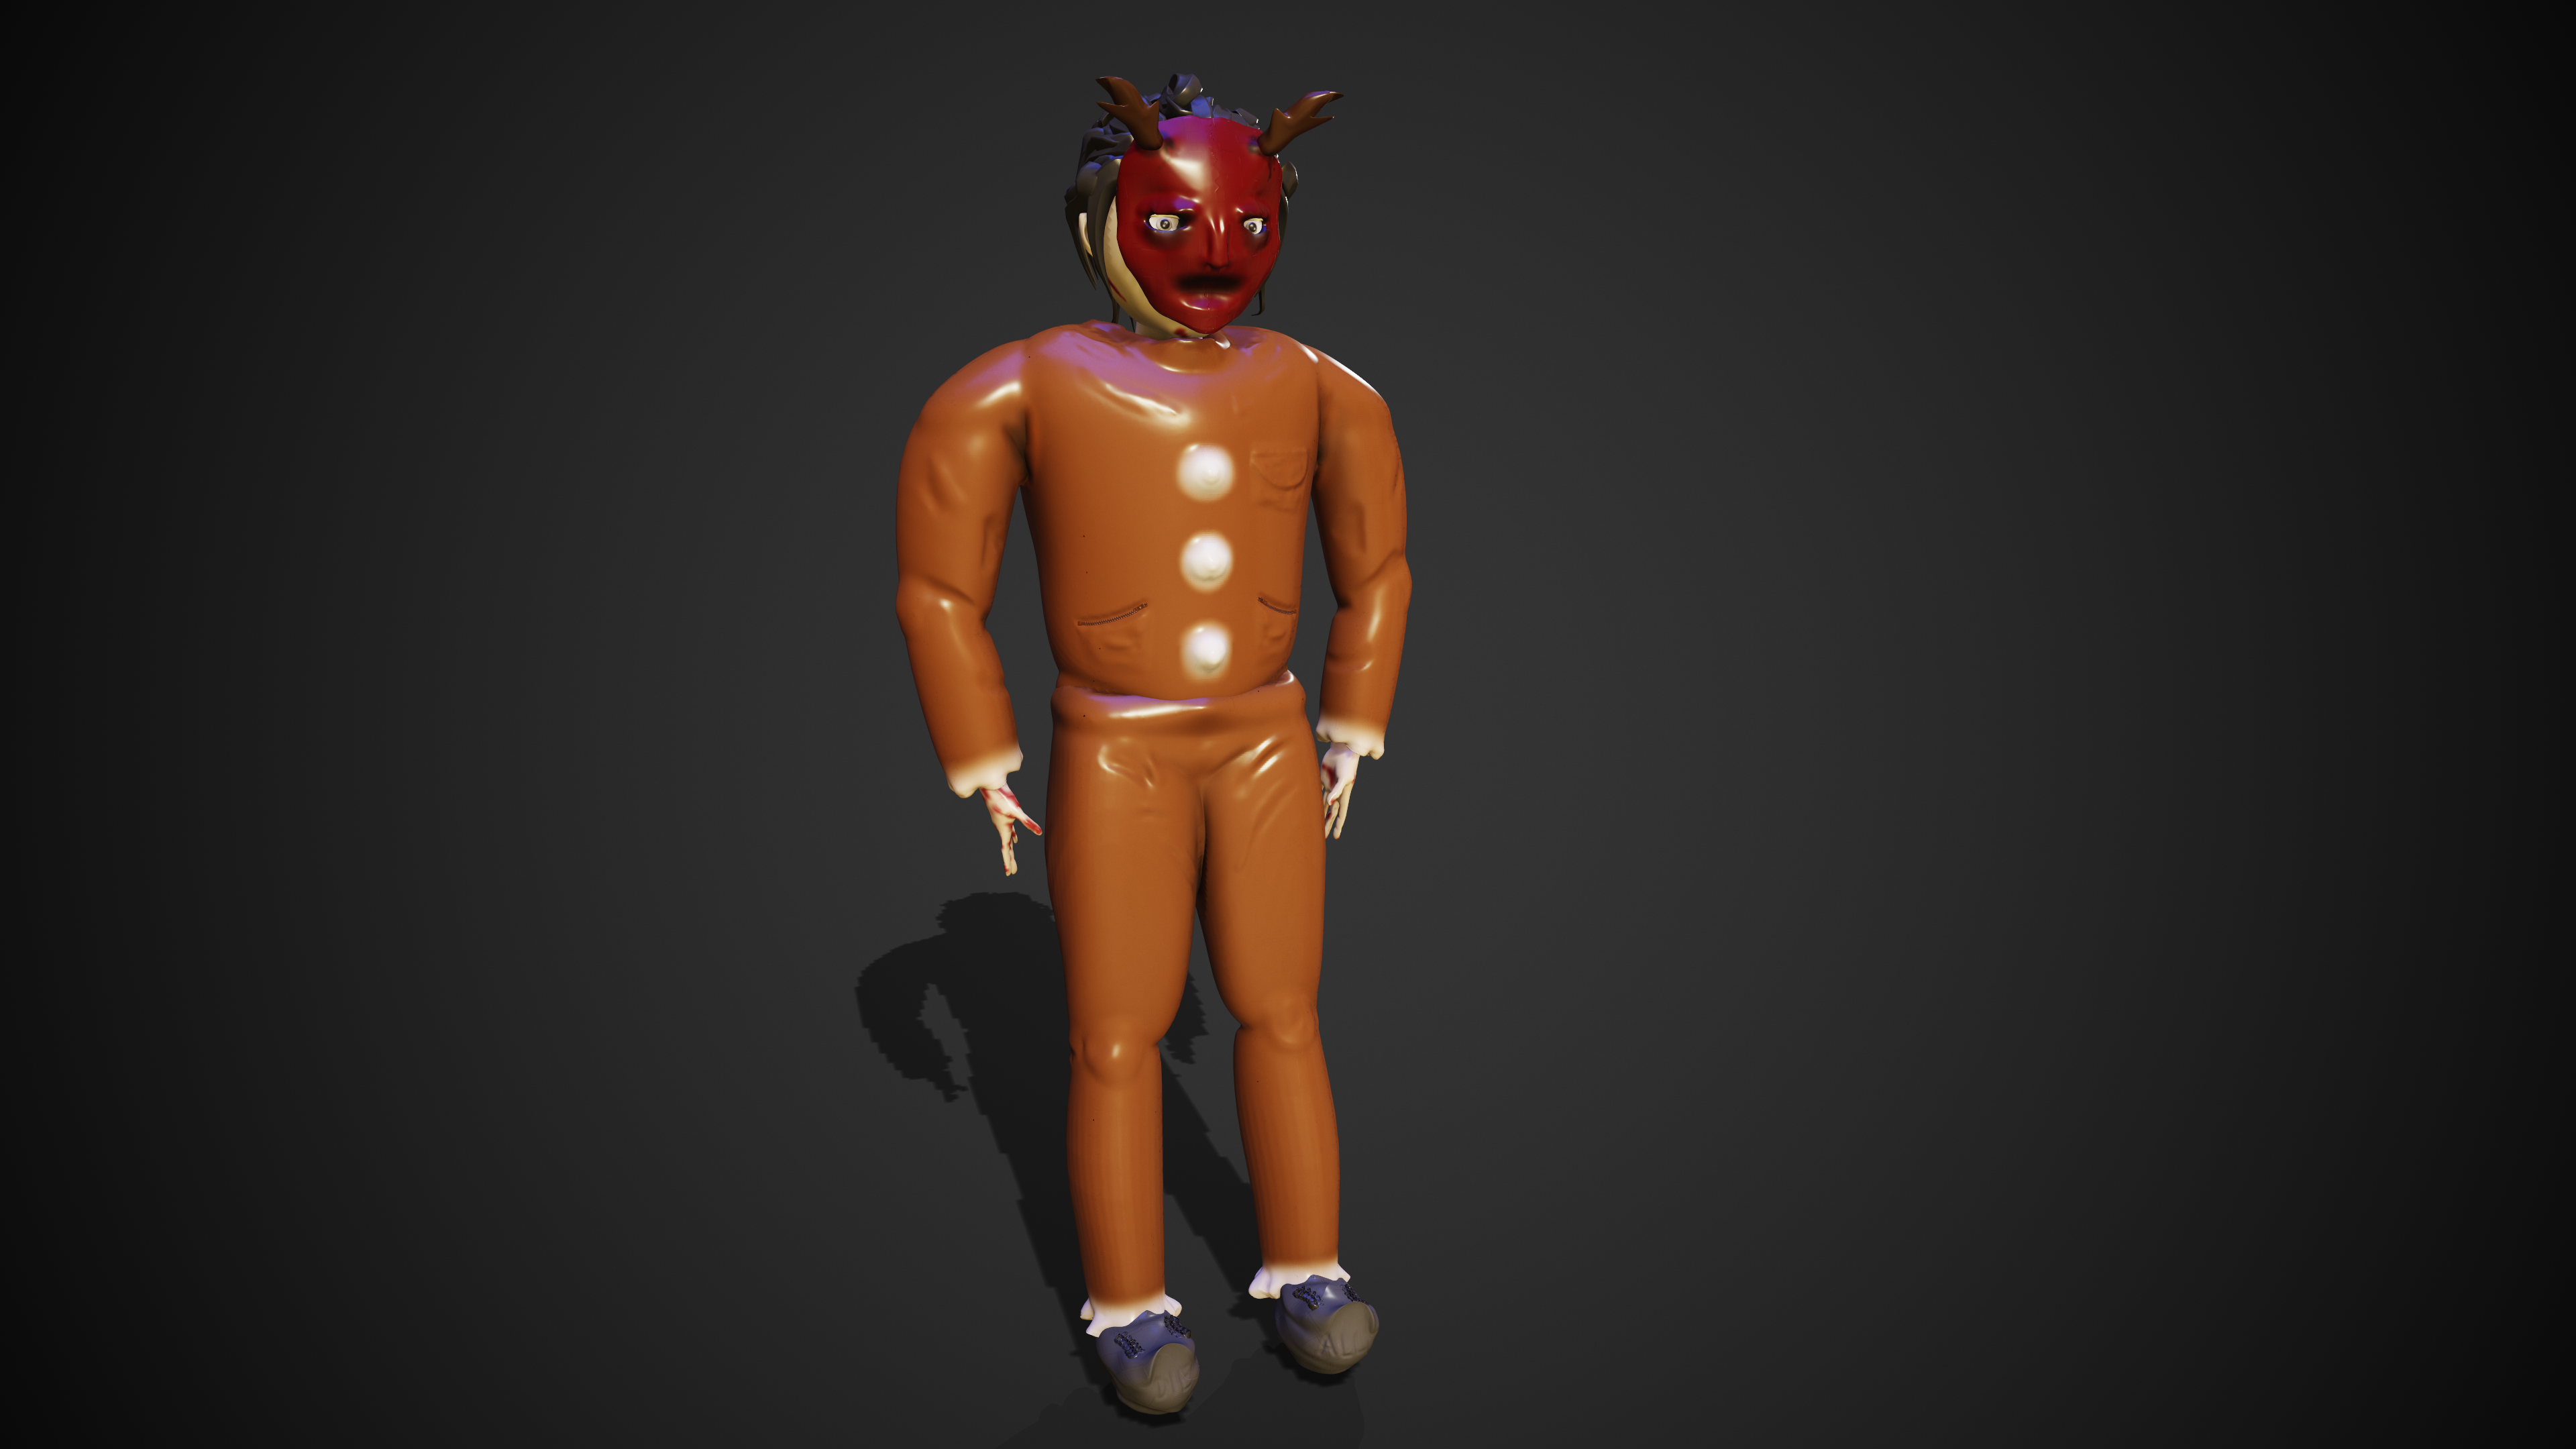
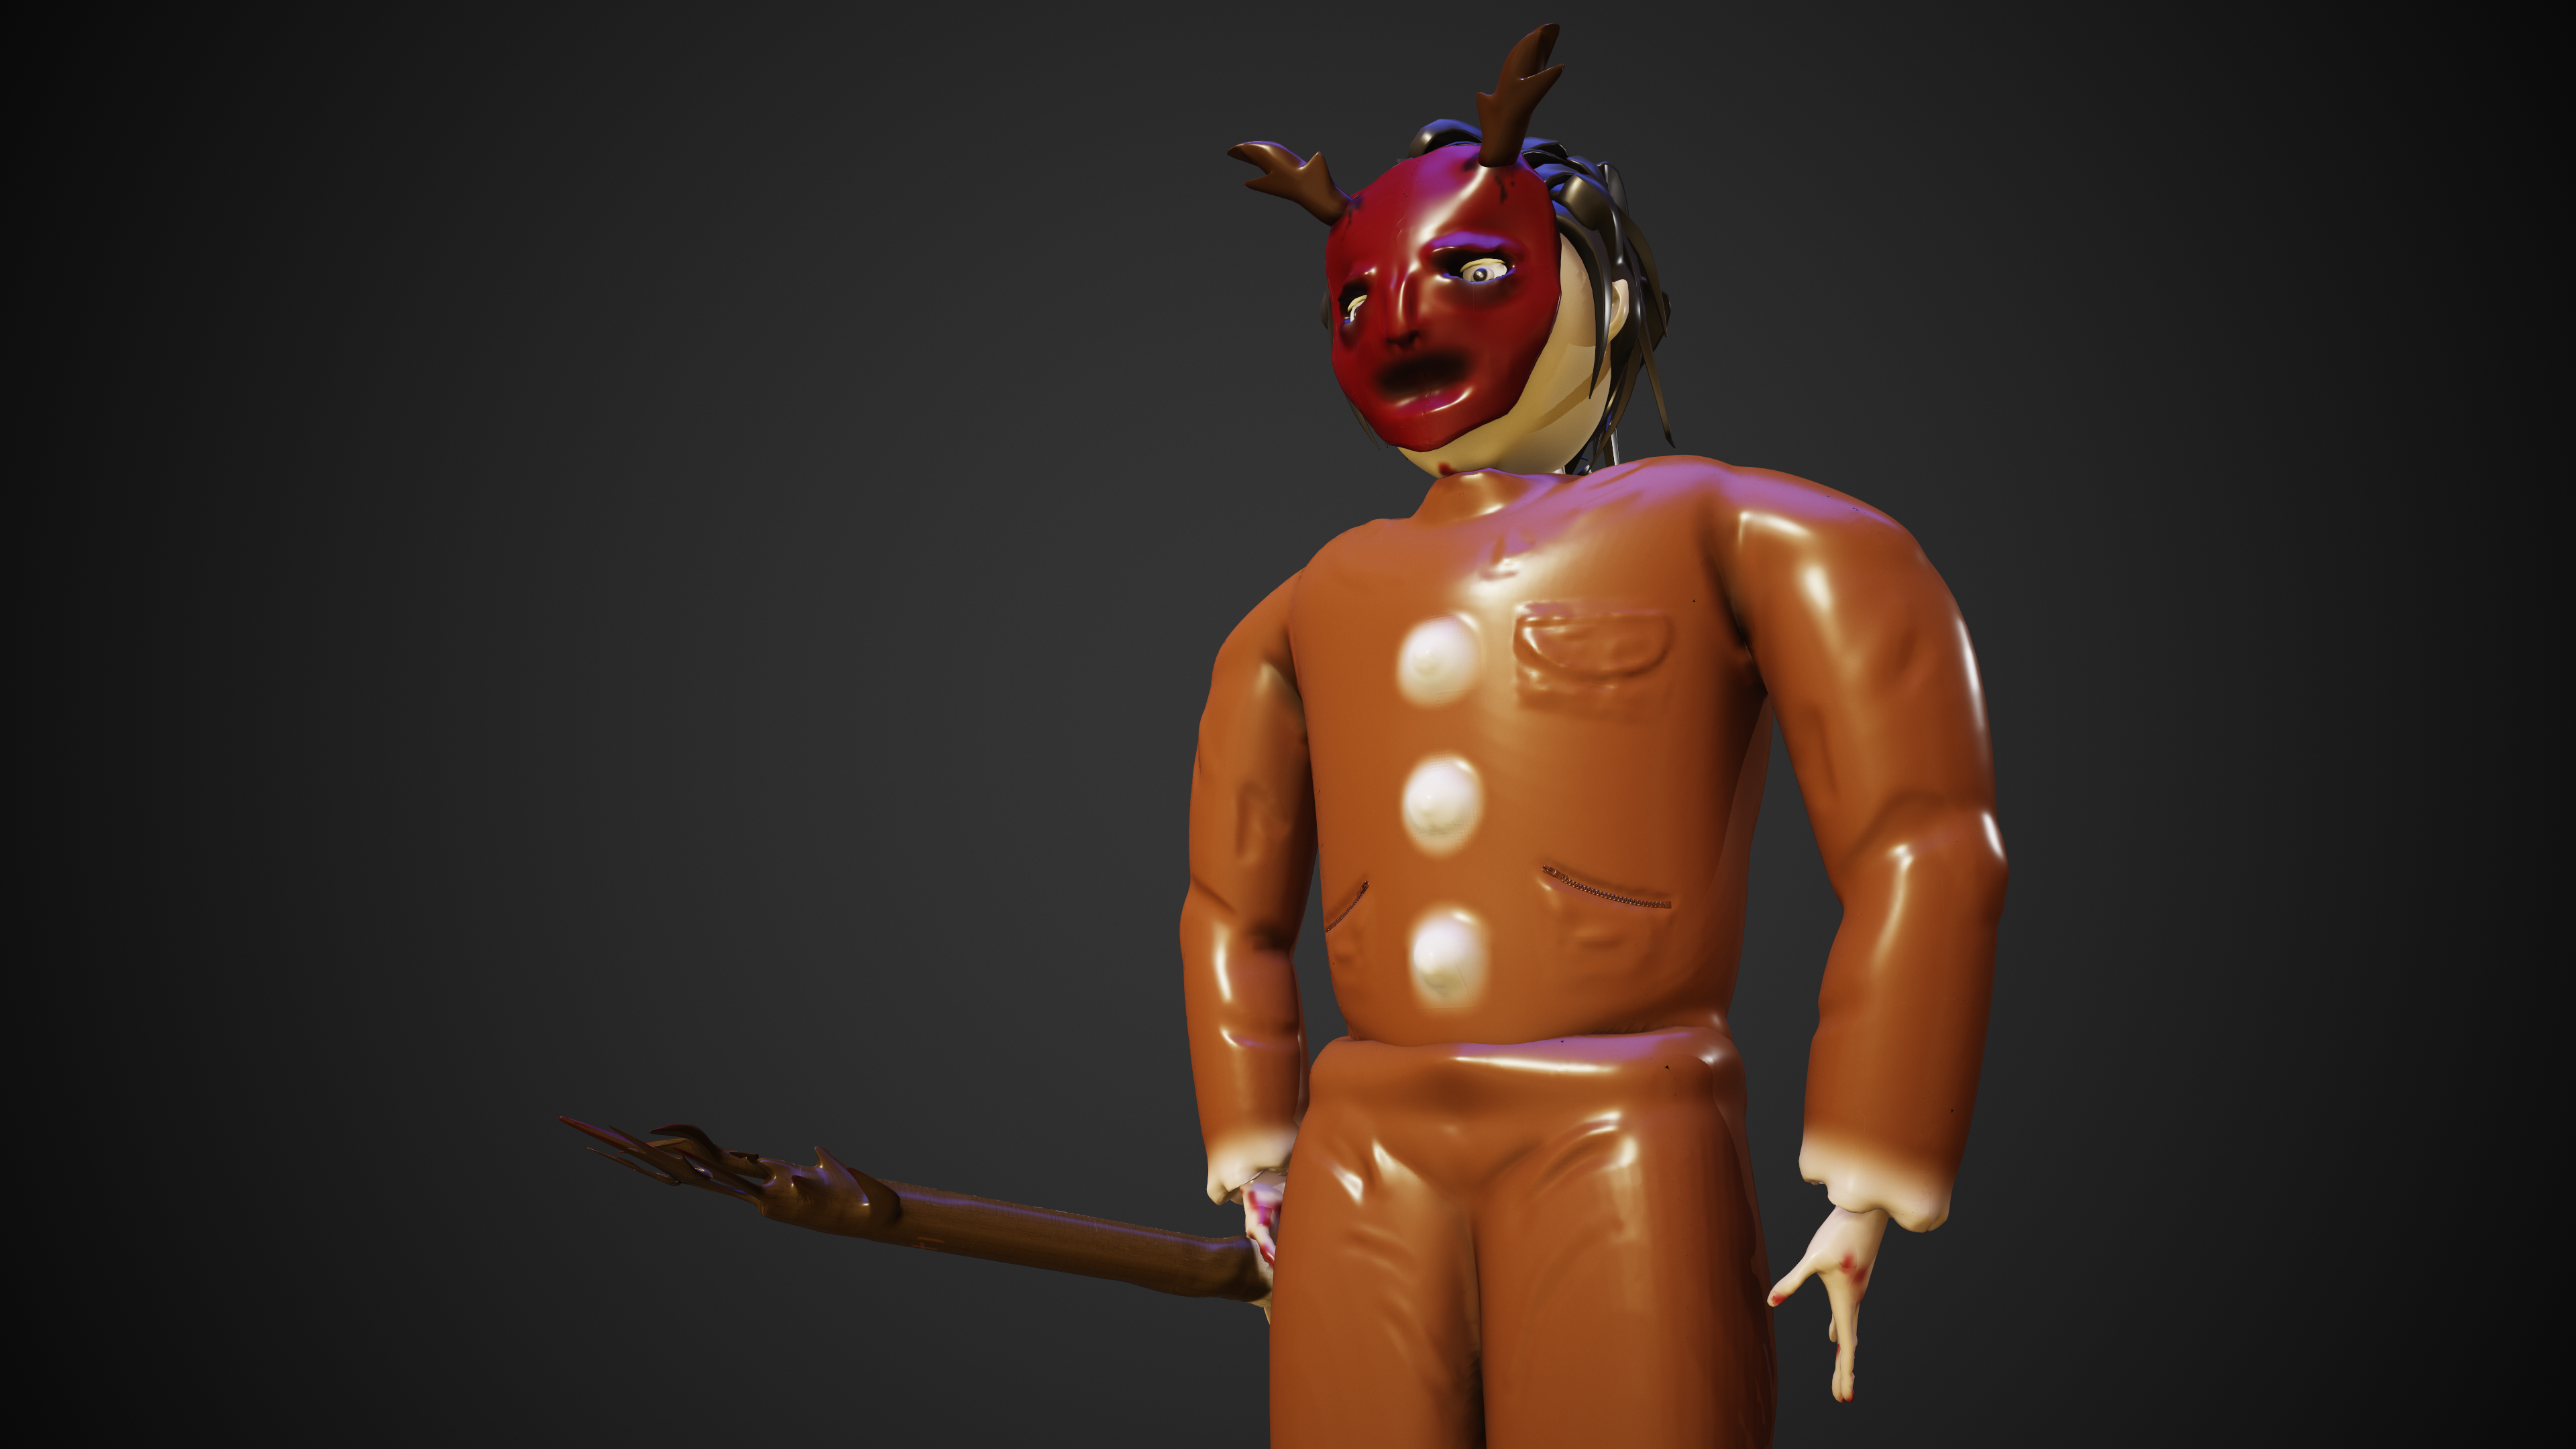
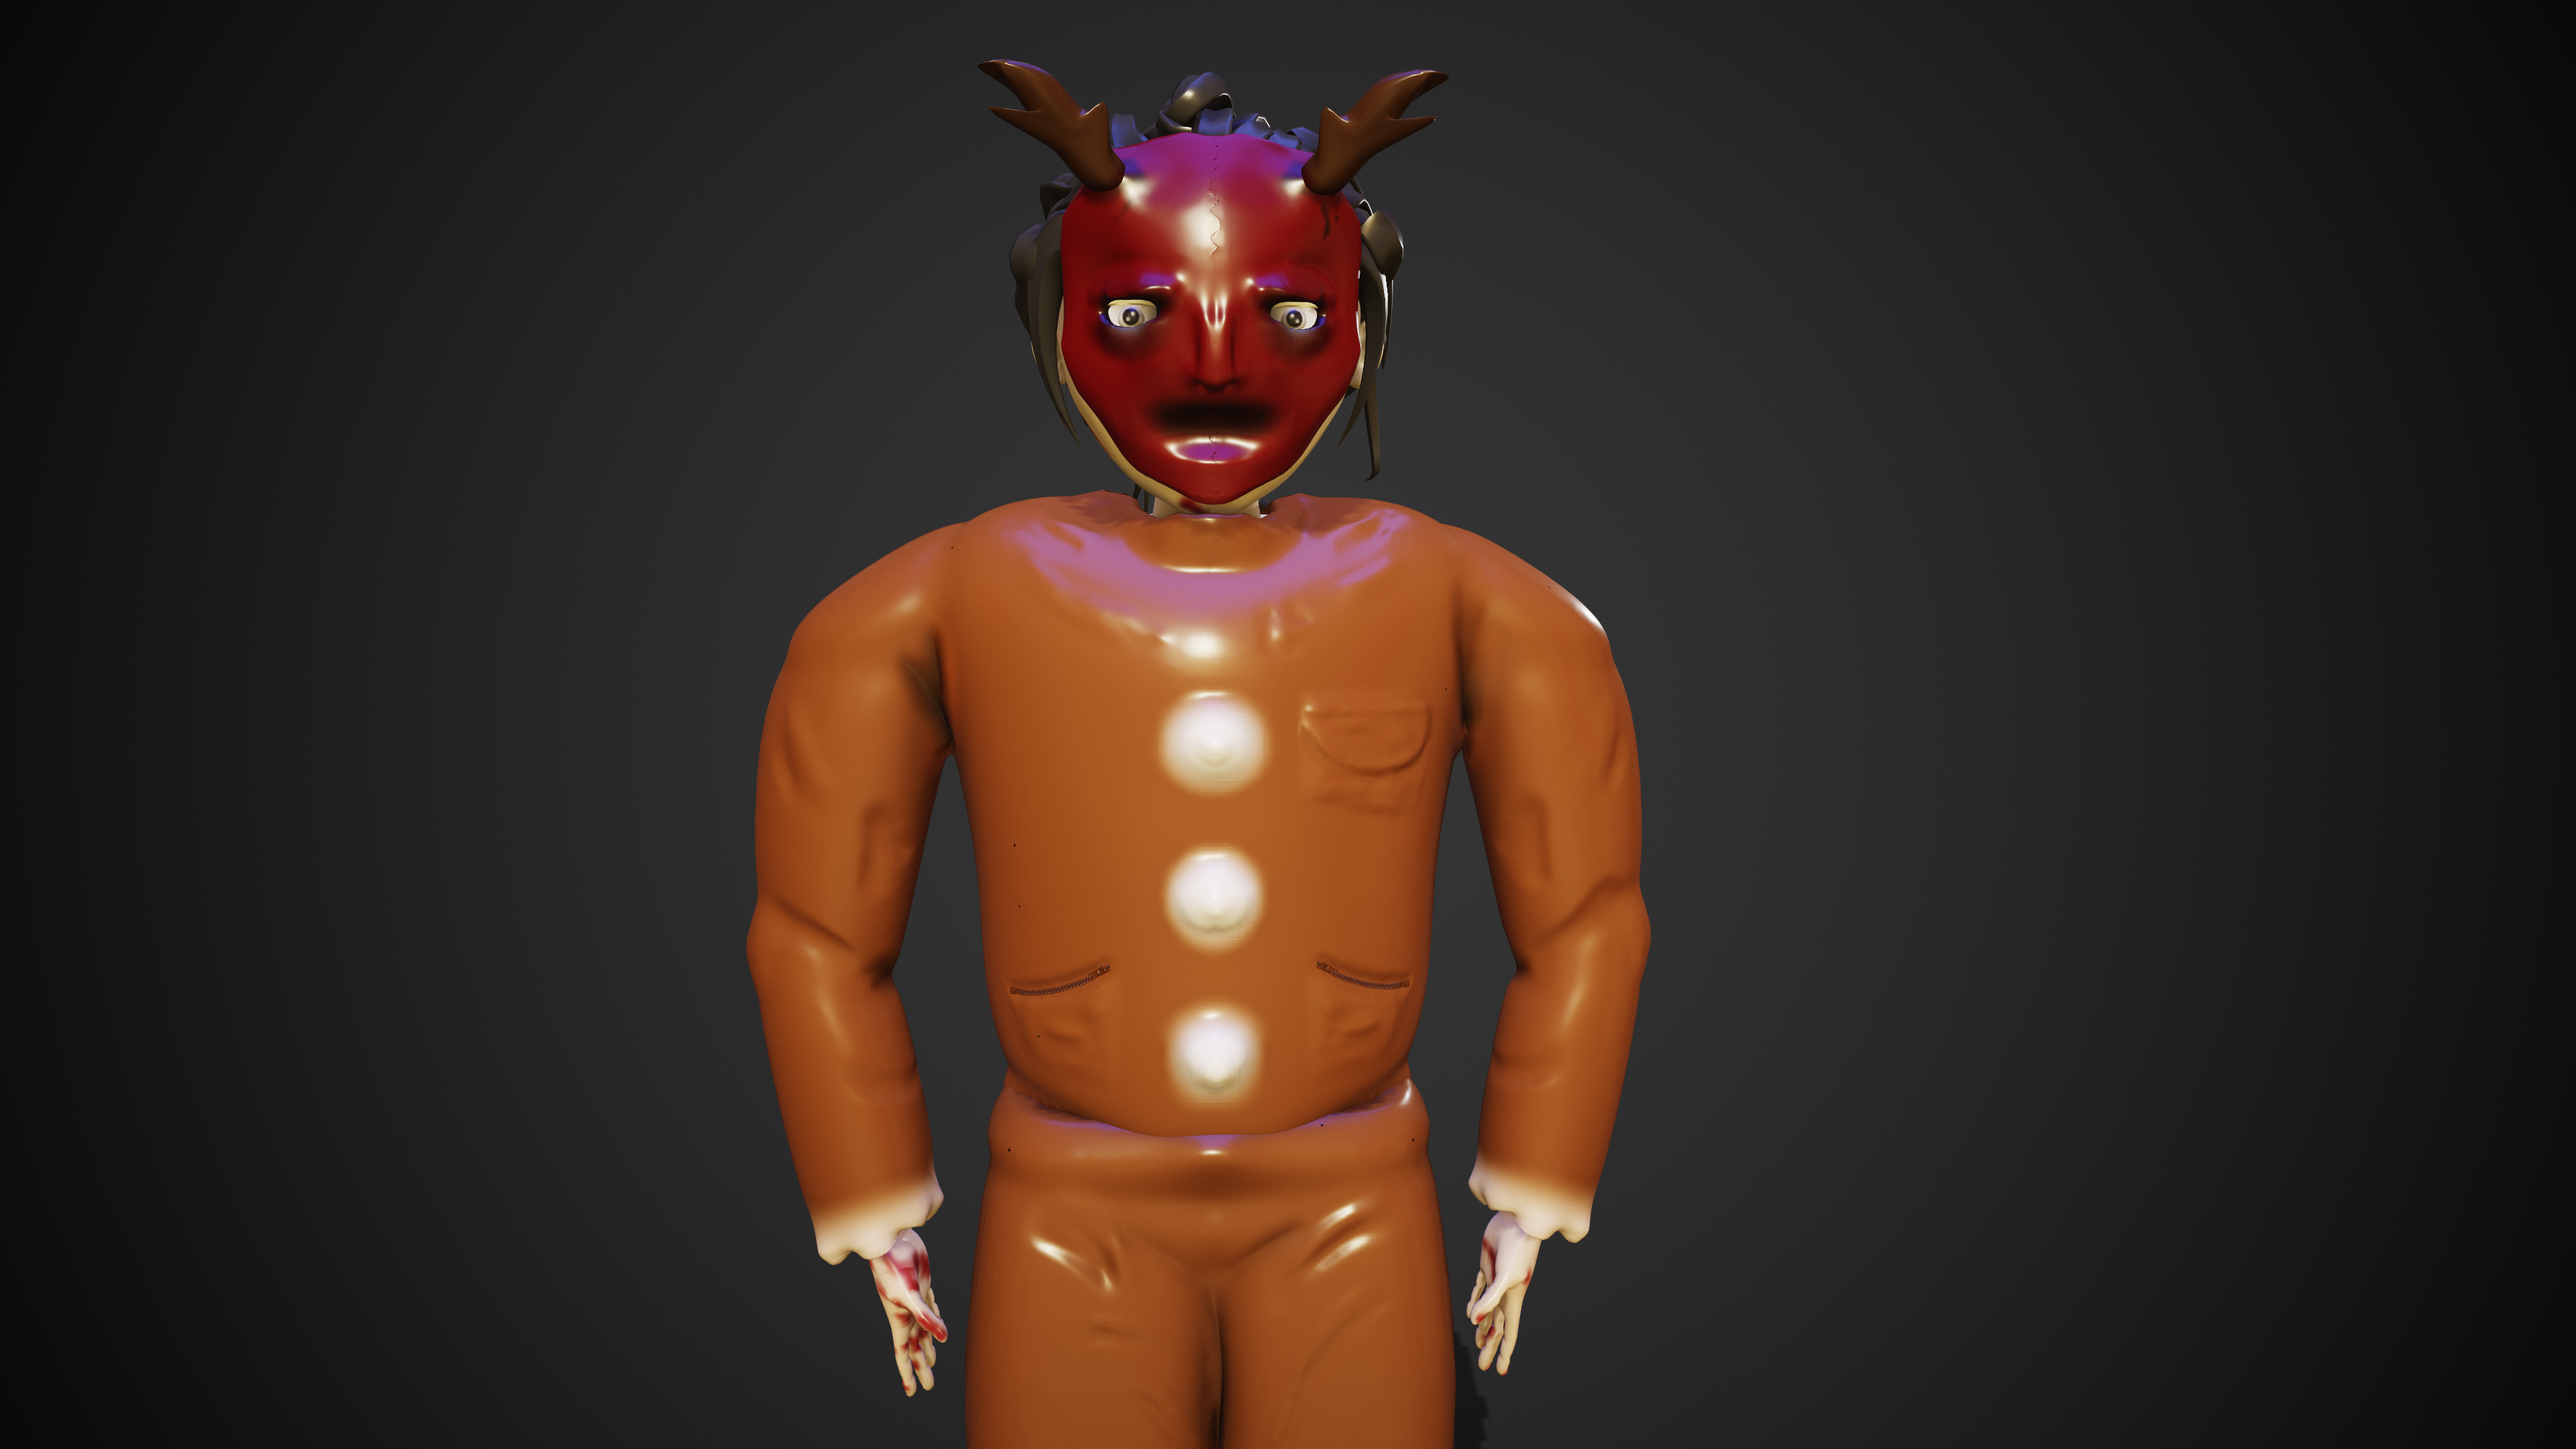
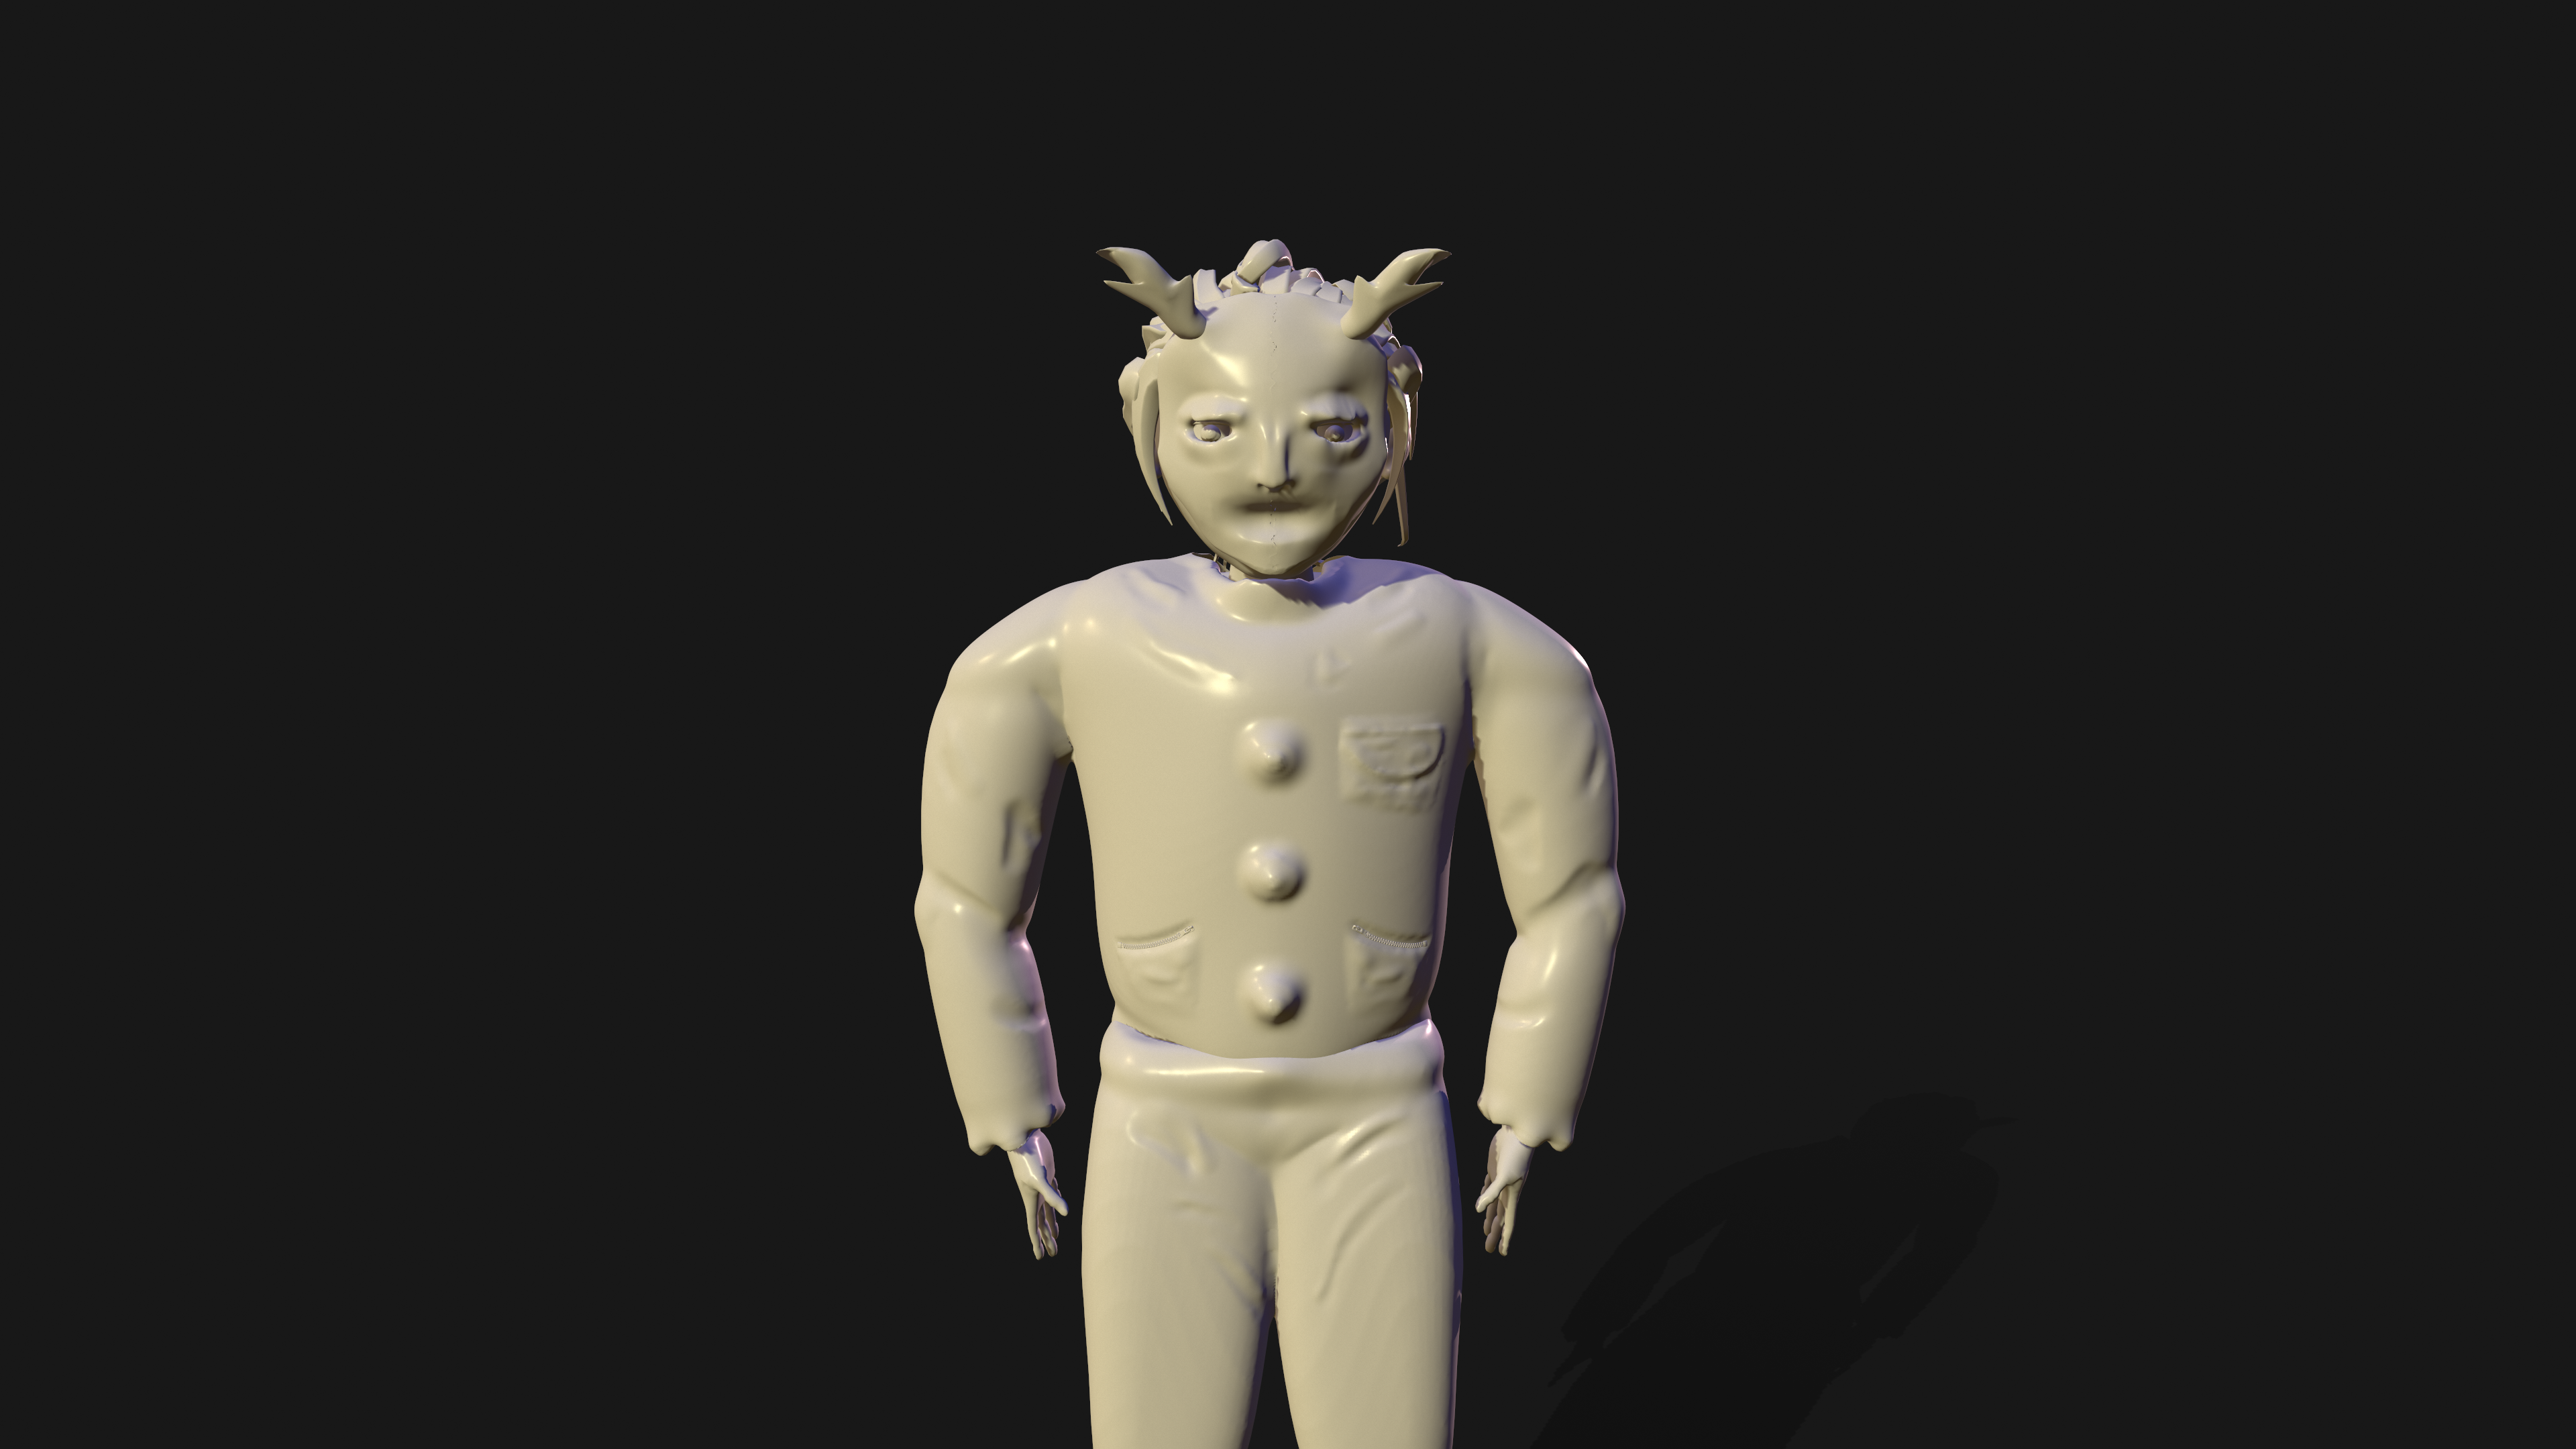
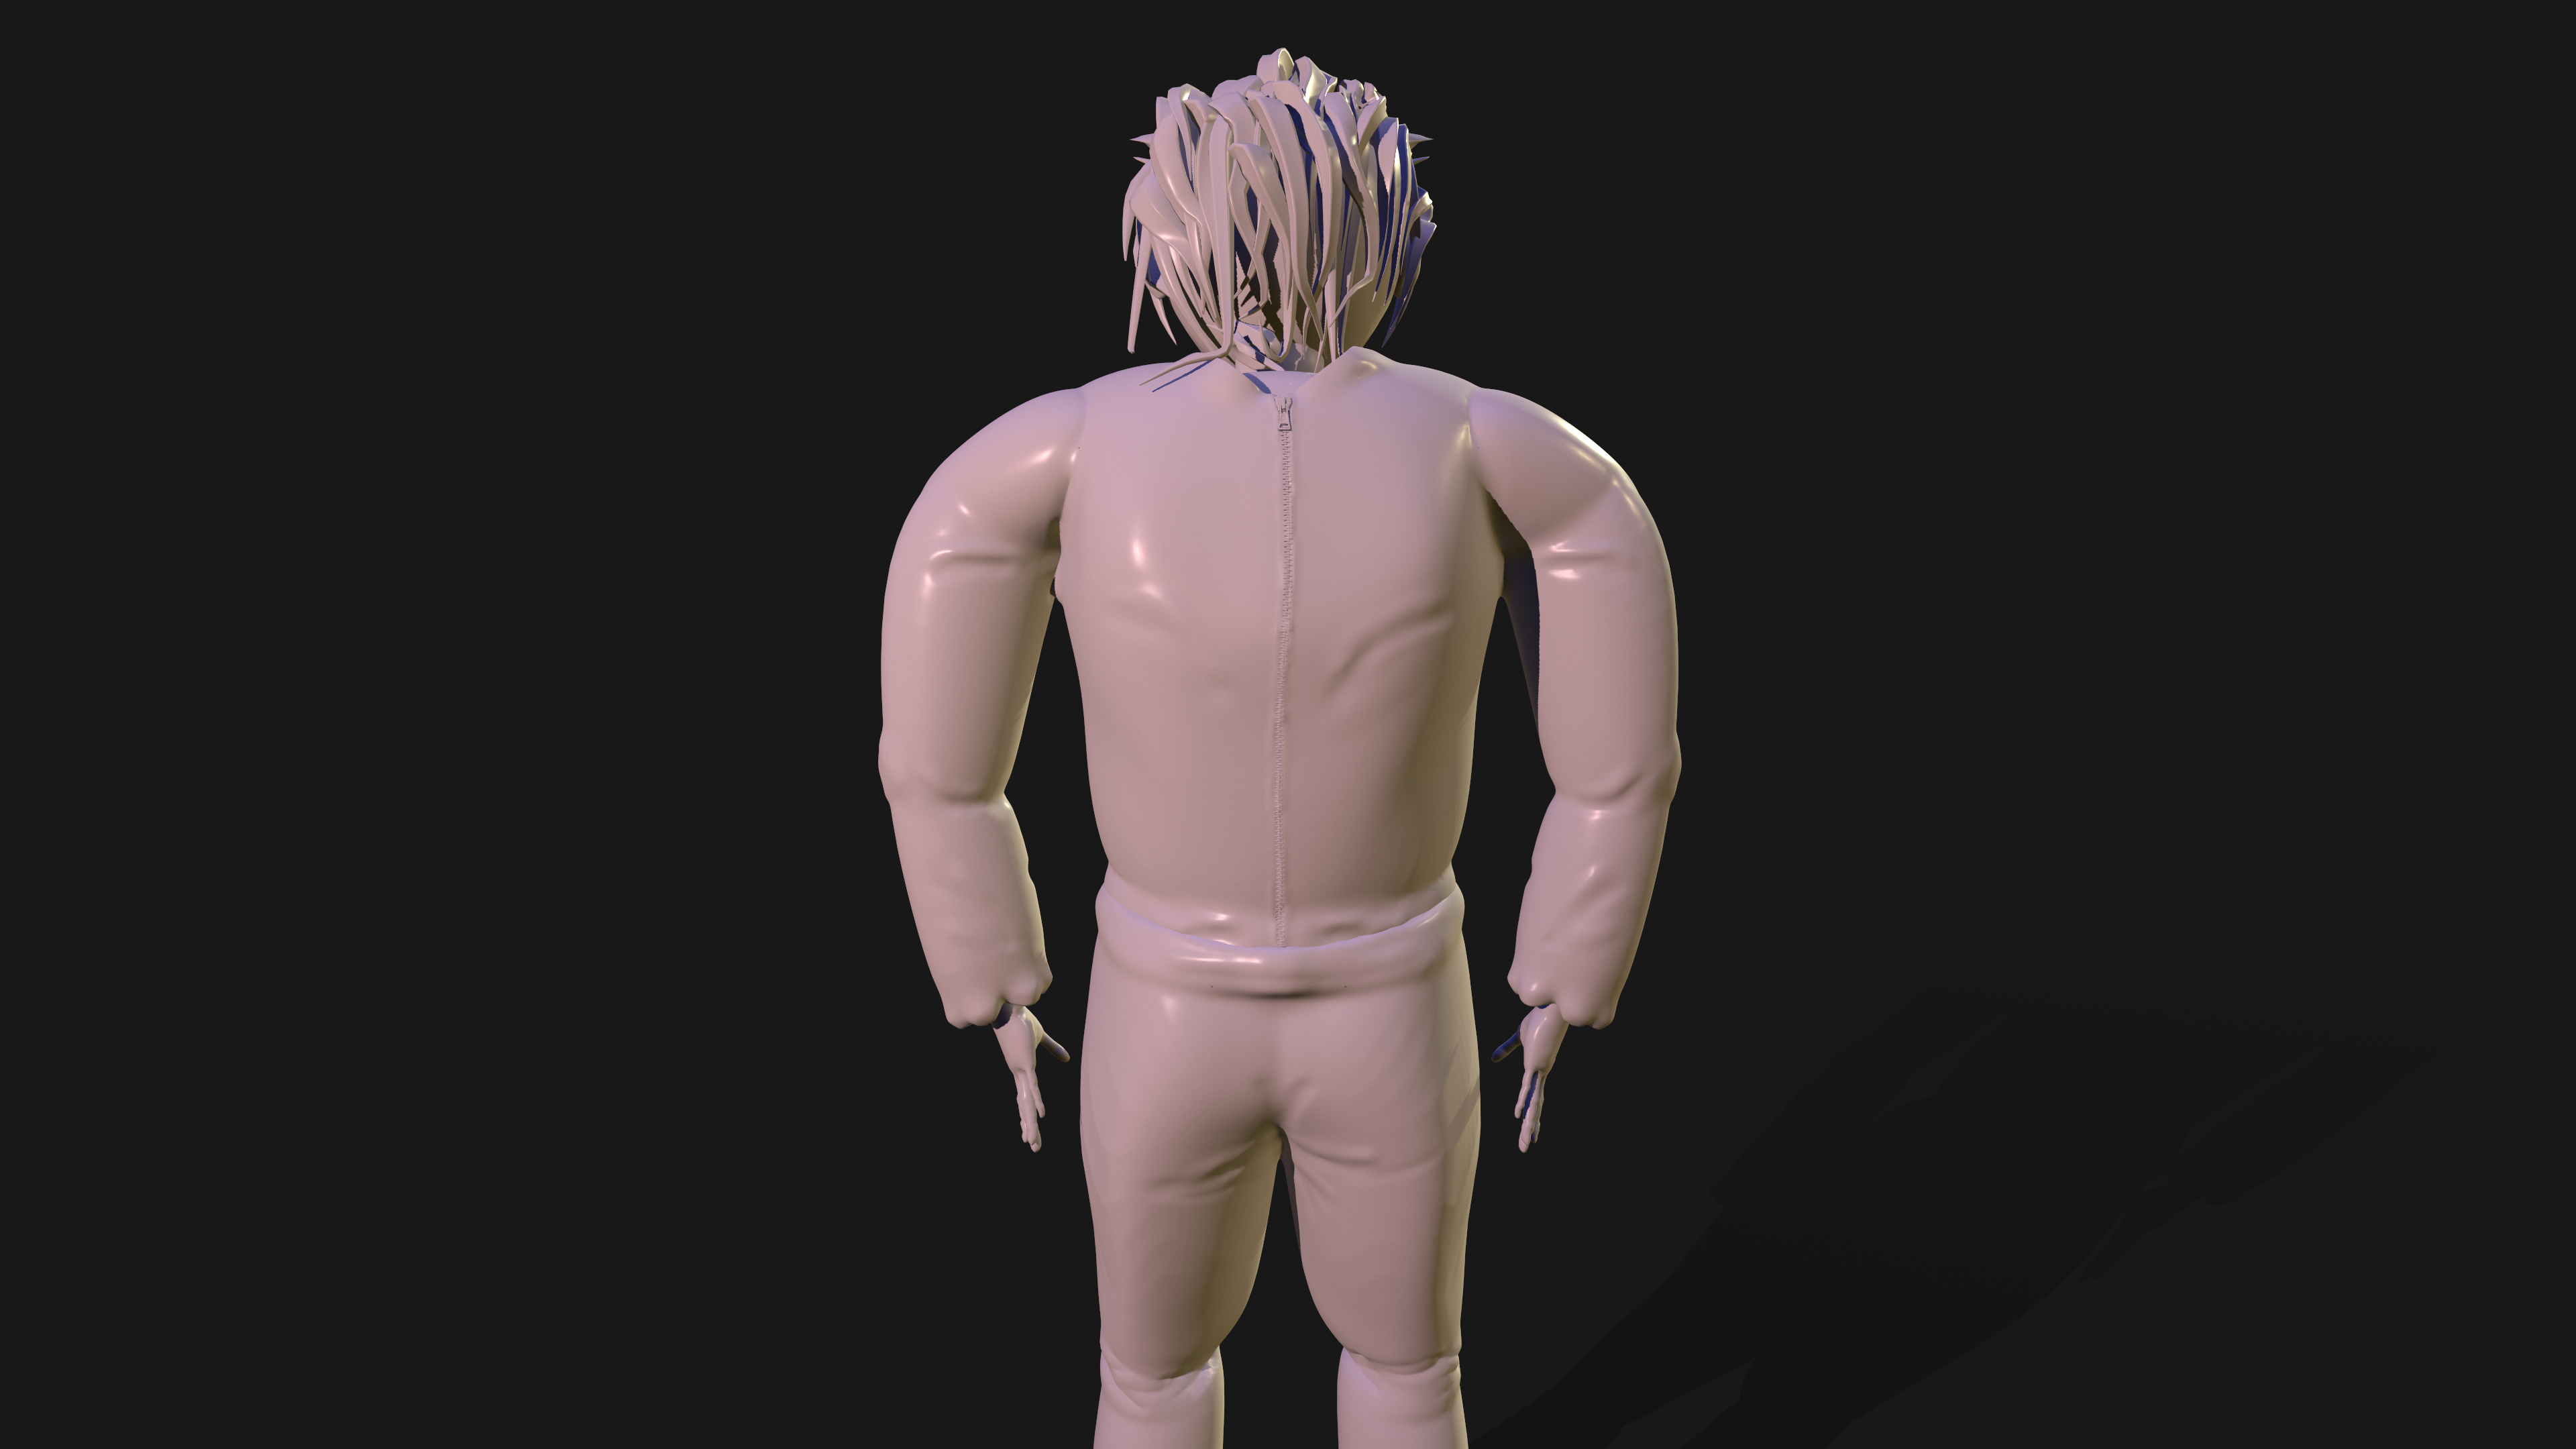
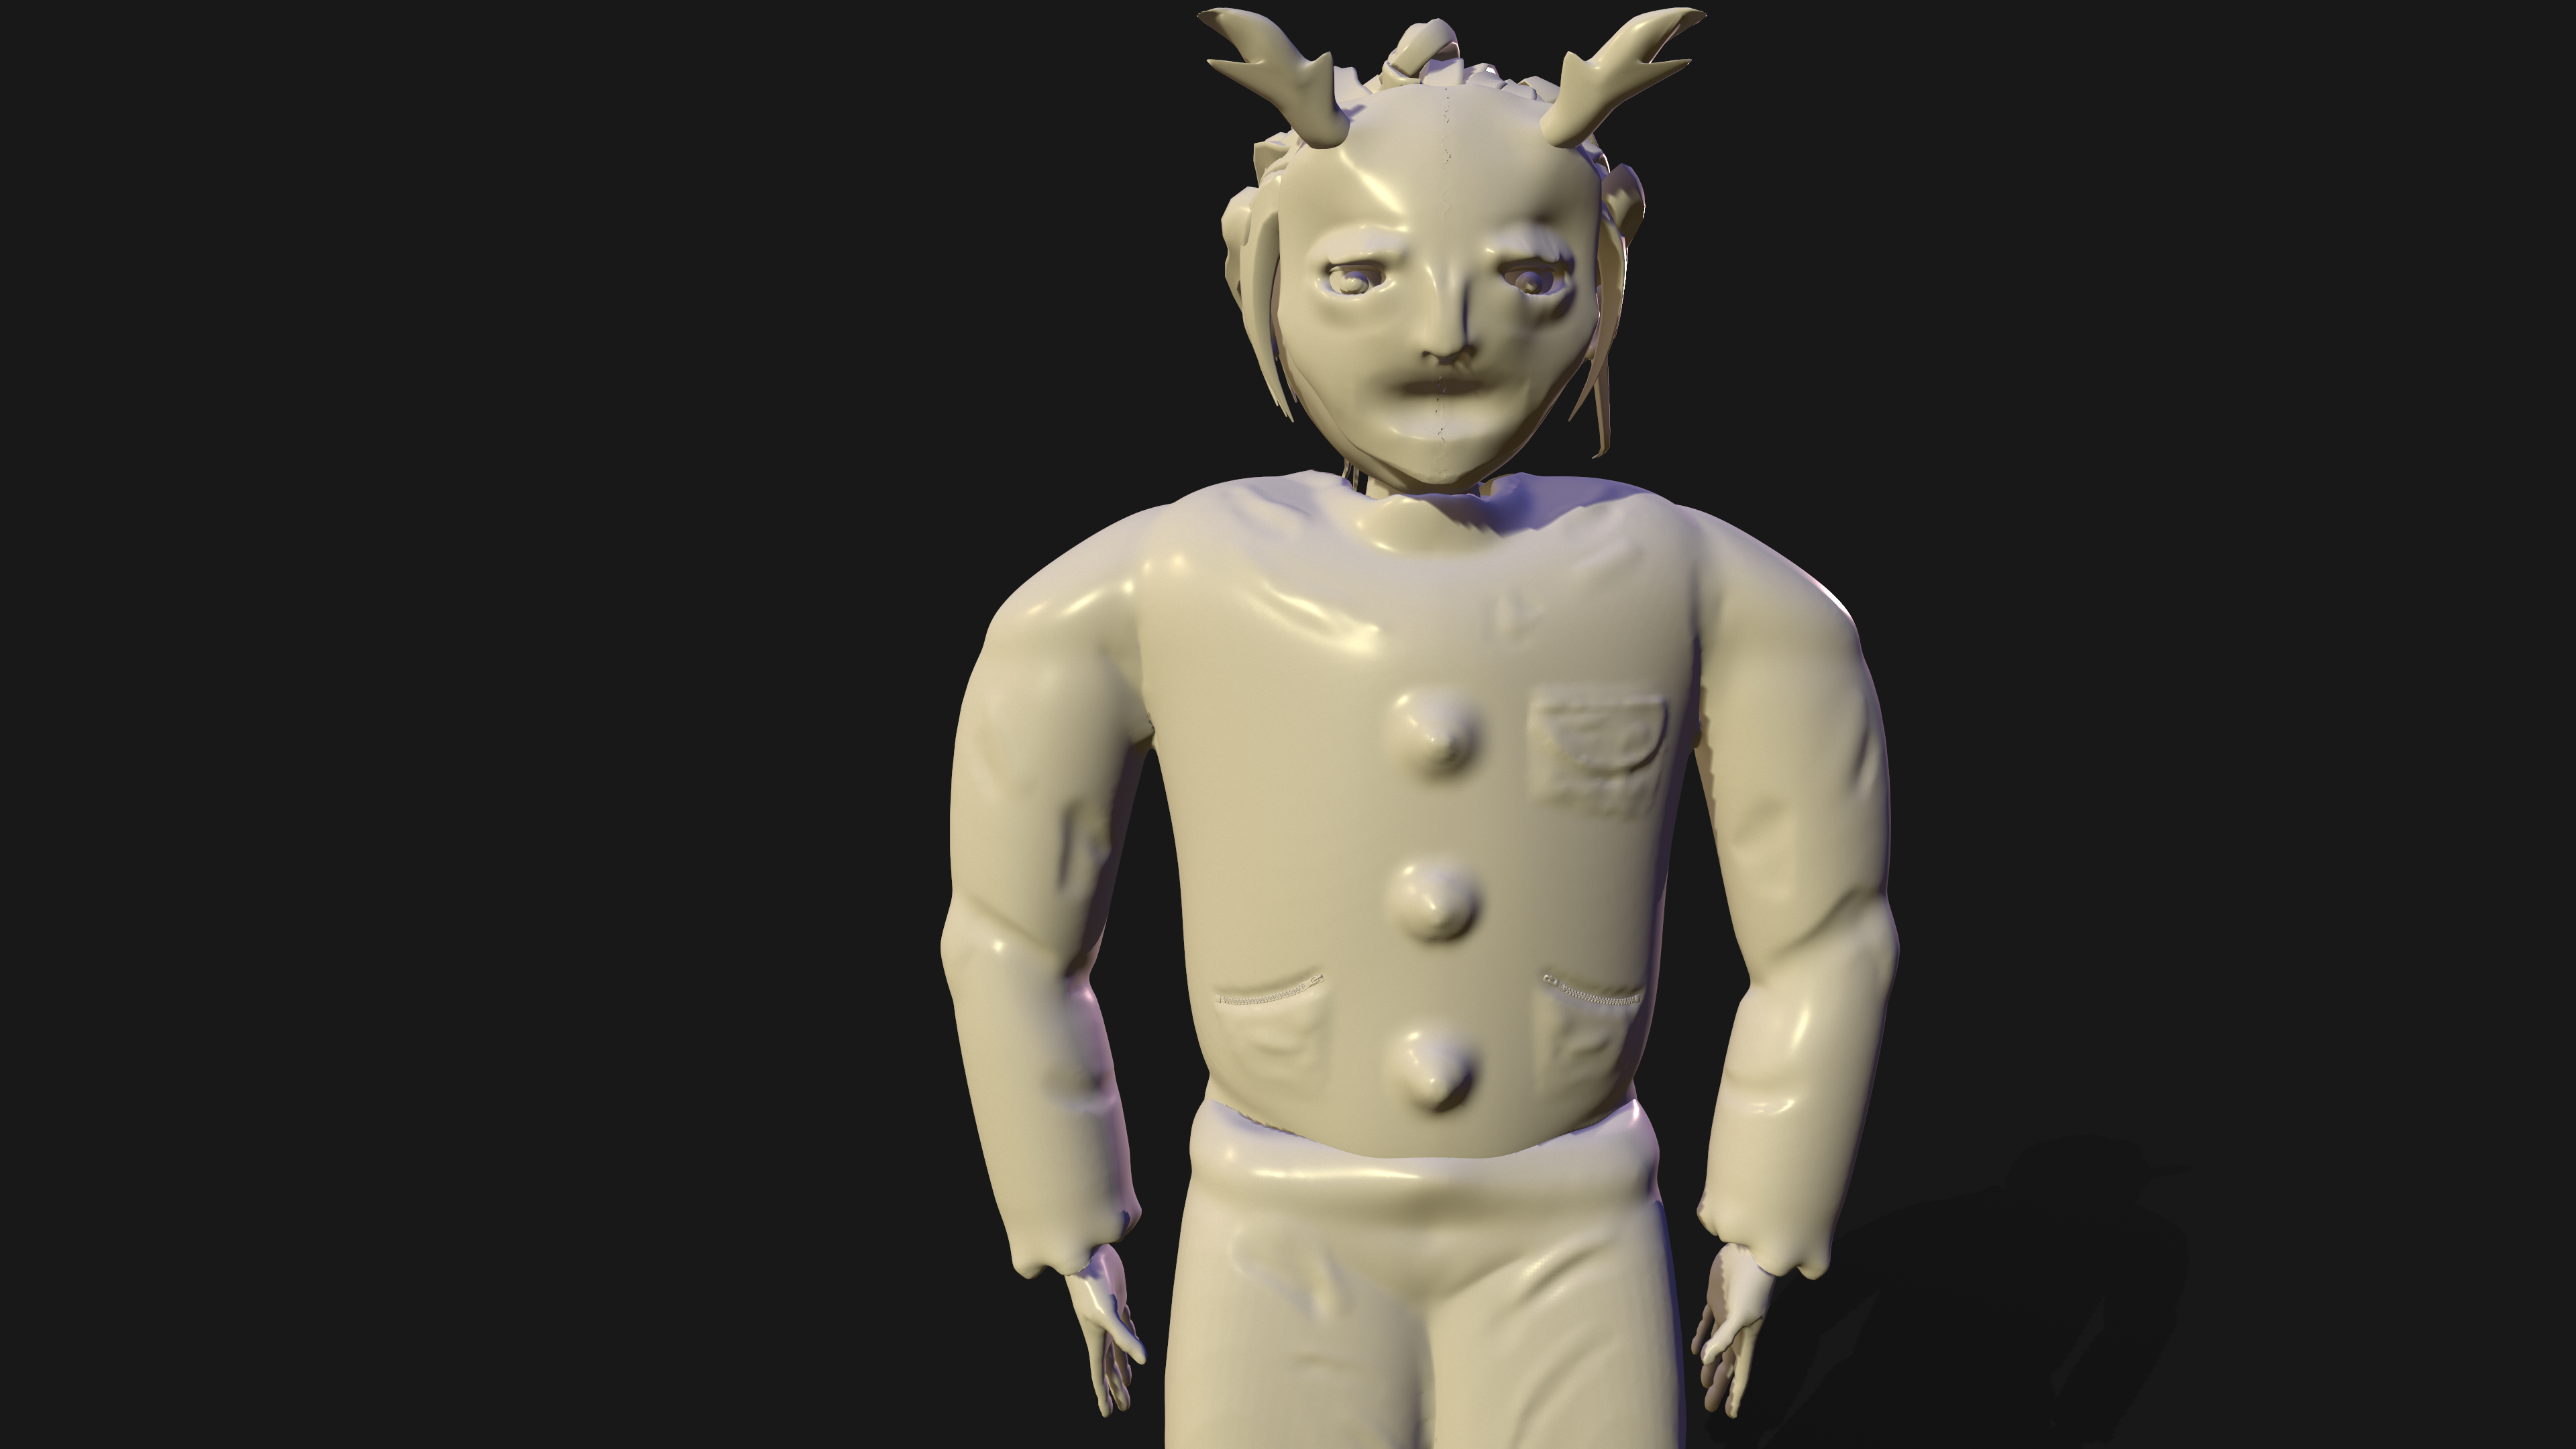
When rendering my final character, I encountered some issues with textures where once exported to render, the textures would be missing. This is due to the limitations with ZBrush’s trial version. This meant that when I rendered in an external program such as Marmoset, the textures would not apply and I would only have the base layer with no colour. These can be seen below as these are the initial renders I created.
However, I managed to change some settings within the texture mapping and export settings so I could then export them into Maya in order to keep the textures, and then re-export the model and texture map into marmoset for rendering.
Below are the first (untextured) renders I created with my initial problem
Reference List
Oleksinski, J. (2018) How the “Purge” team created its terrifying masks. New York Post. Available online: https://nypost.com/2018/07/05/how-the-purge-team-created-its-terrifying-masks/ [Accessed 6 Jan. 2022].
Salazar, A.J. (2021) “The Forever Purge” Review – New Potential, Same Result. DiscussingFilm. Available online: https://discussingfilm.net/2021/07/01/the-forever-purge-review-new-potential-same-result/amp/ [Accessed 6 Jan. 2022].
Floyd, W. (2021) The Purge: The 10 Scariest Masks, Ranked | ScreenRant. ScreenRant. Available online: https://screenrant.com/the-purge-scariest-masks-ranked/ [Accessed 6 Jan. 2022].
Wooden Grain Pitchfork. (2018) National Museum of American History. Available online: https://americanhistory.si.edu/collections/search/object/nmah_857038 [Accessed 6 Jan. 2022].
Malmlund, M. (2019) 10 Best Killer Clown Costumes for Halloween (2019). Heavy.com. Available online: https://heavy.com/fashion/2019/08/creepy-clown-costumes/ [Accessed 7 Jan. 2022].