In this post I will document the accessory design and how it develops as the production progresses. This will help show what has changed throughout the design to production process as well as give an insight into what needs to be thought about before developing a product such as this.
Weapon
Initial Drawings
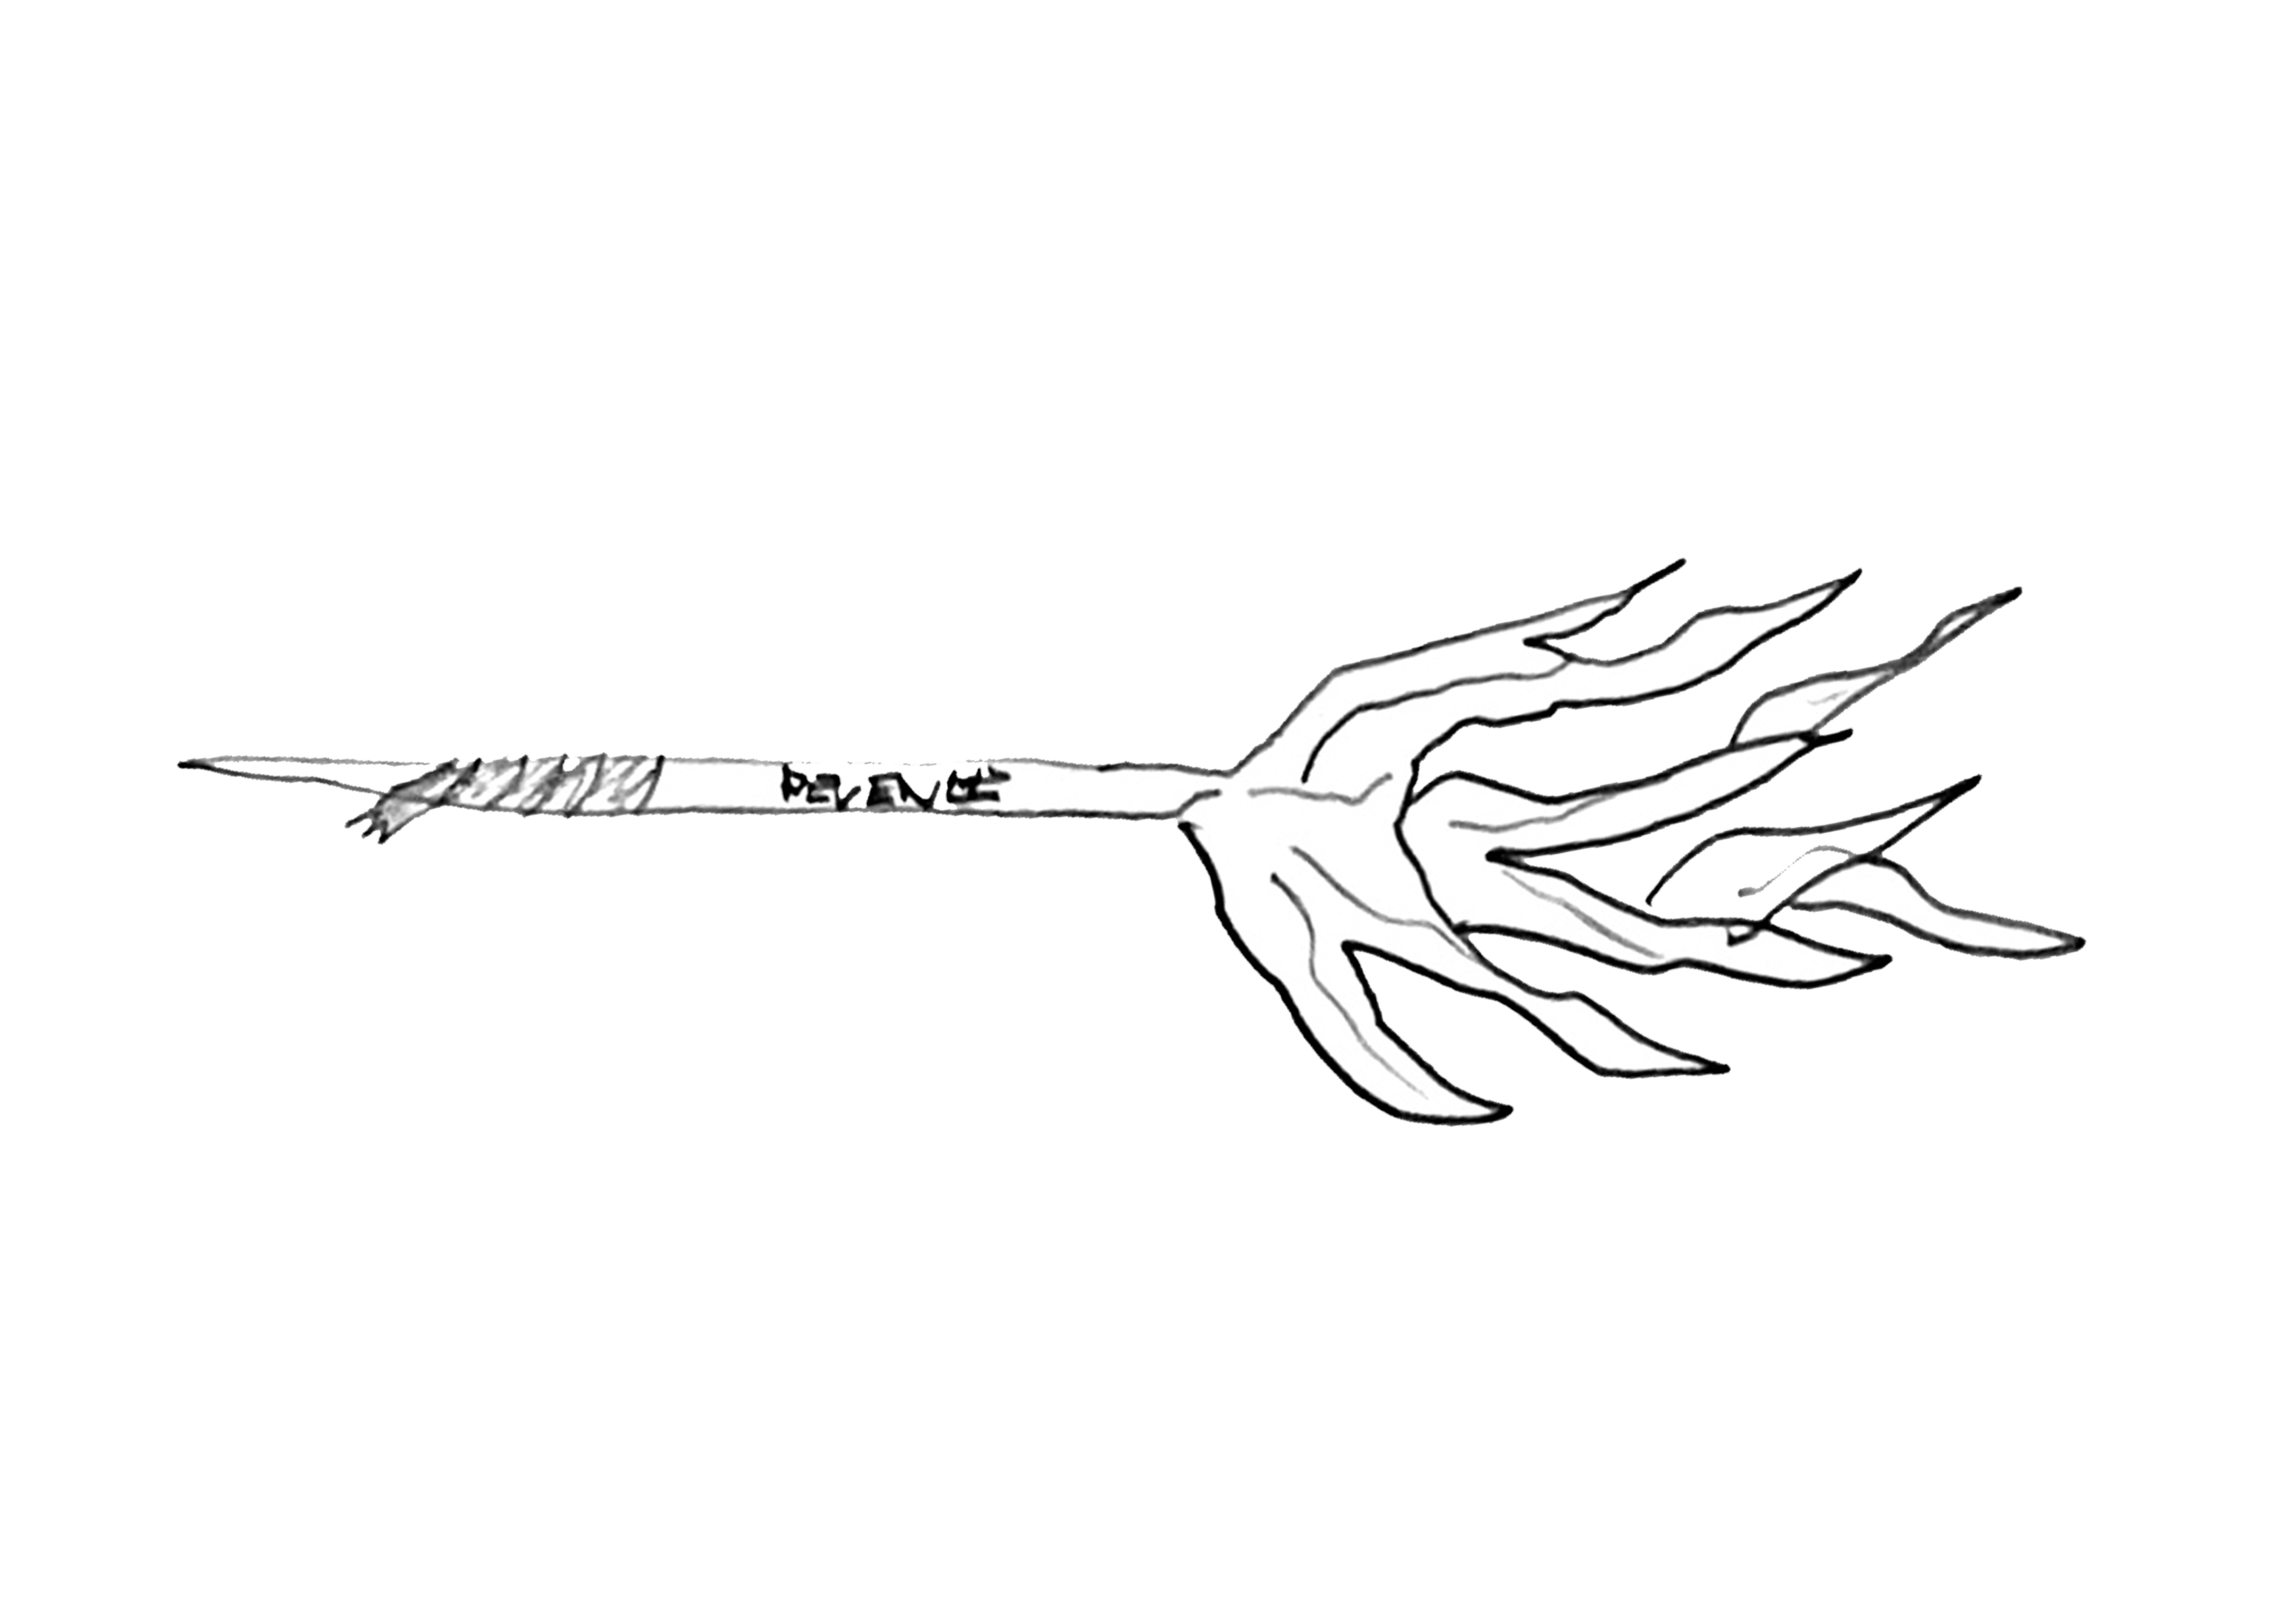
In this section, I will be documenting the weapon design from start to finish and how it may change. To start with, I have included my first initial ideas for the weapon and how I want it to turn out. I have gone with an antler like design for a pitchfork that the character would use to fight and defend himself. It features a multi spike design as an exaggerated impression of a deer’s antlers, on top of a worn wooden pole.
Some details I have initially included is the idea for a hand wrap around the bottom, which is where the character would hold the weapon when fighting. In addition I have also included a carving of the word ‘Revenge’ which I believe adds a nice but sinister aspect to the weapon. This would be looked past by a casual viewer but seen by someone who decides to look closer at the character. This is just an initial idea so I’m using revenge as a placeholder.

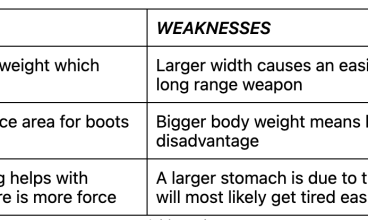
Above is a labelled diagram of the weapon, as well as some additional comments about colour choice and my first thoughts before drawing the concept. I can use this entire piece as a reference when creating my final product and any first concepts I 3D model before it.
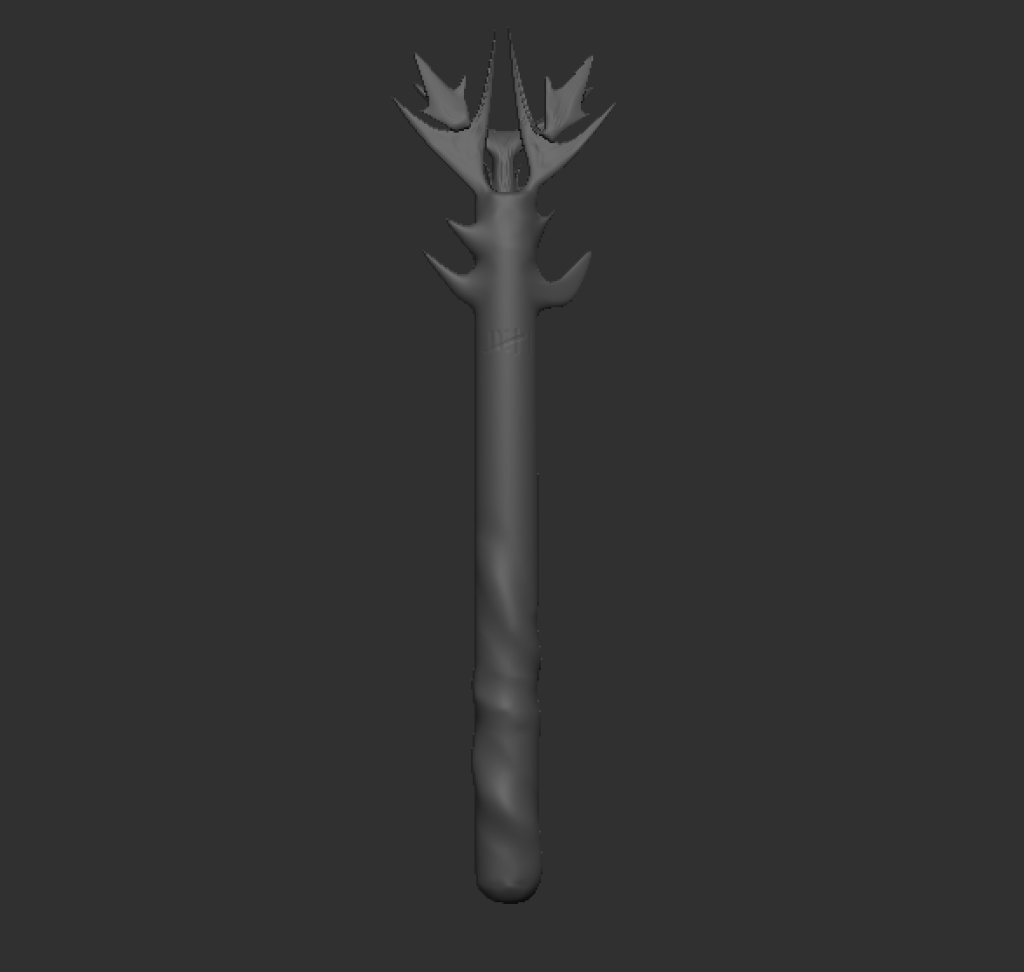
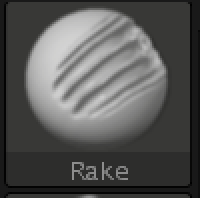
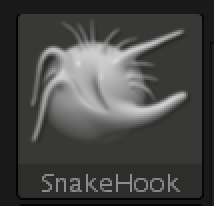
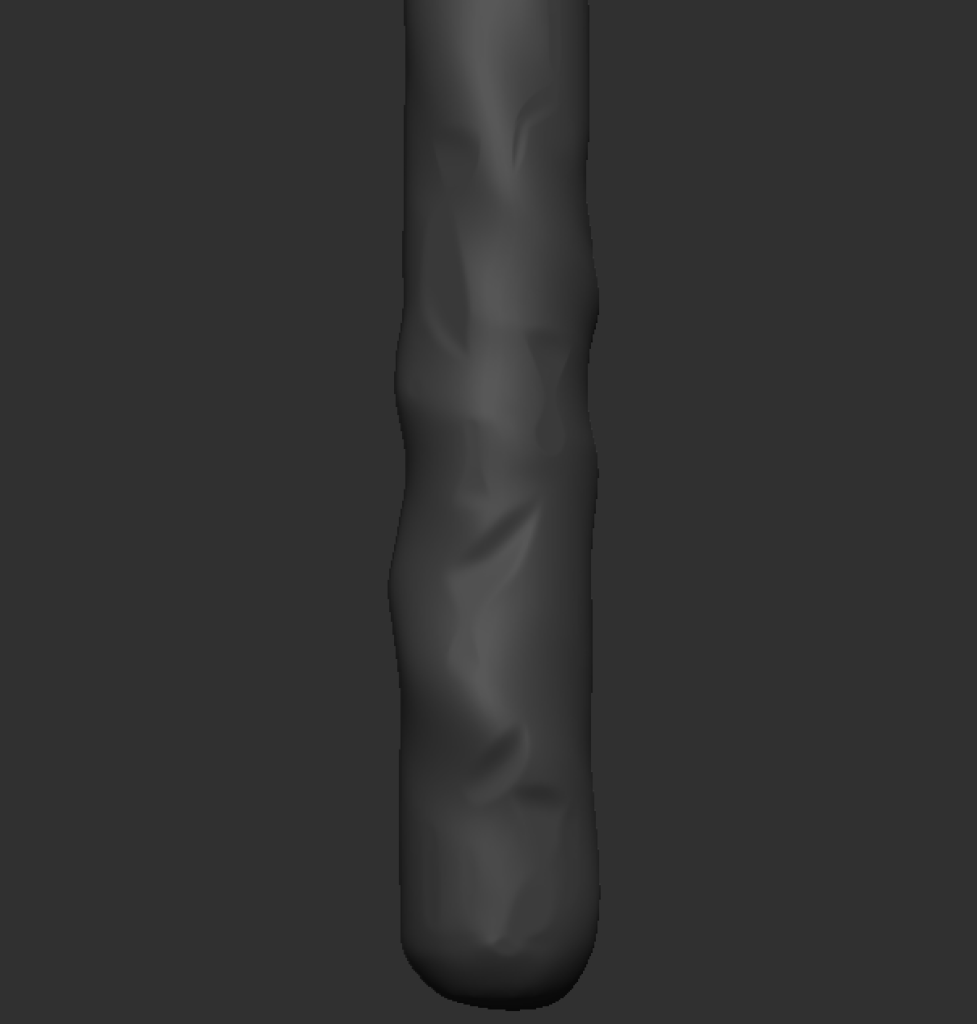
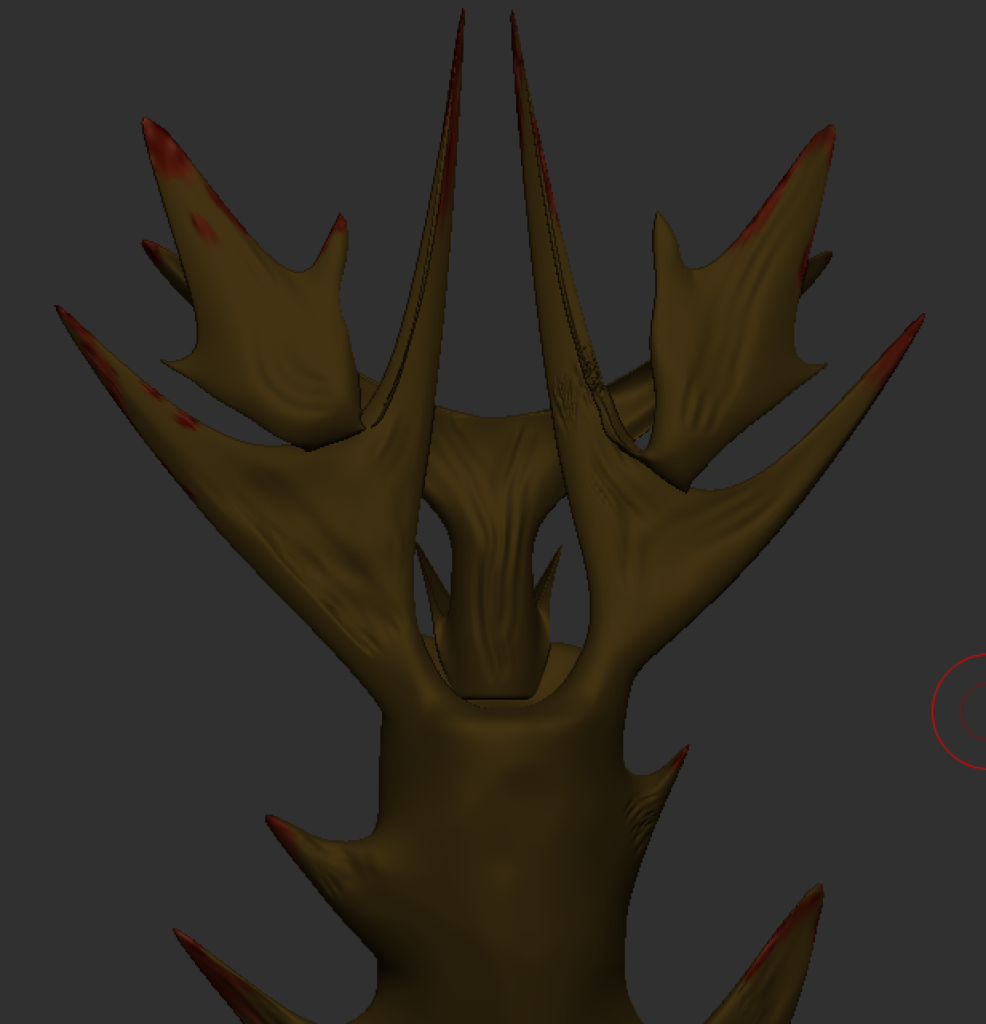
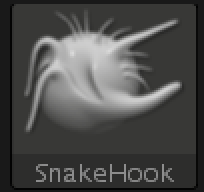
Below is my first attempt at creating the weapon. I started with a cylinder which was extruded out to create a pole shape. This then allowed me to add to it and begin to shape it to my desired shape. I used multiple different tools such as the ‘SnakeHook’ brush which allowed me to extrude parts of the polo into a spike like shape. This created a base layer for me to then shape this into antlers. I used this tool all around the top of the object, while turning on and off symmetry in order to get more of a realistic look. To finish this I used the rake tool on the antlers to add a rough wood effect, to show that its worn down. This was then smoothed out in most areas to look more polished.
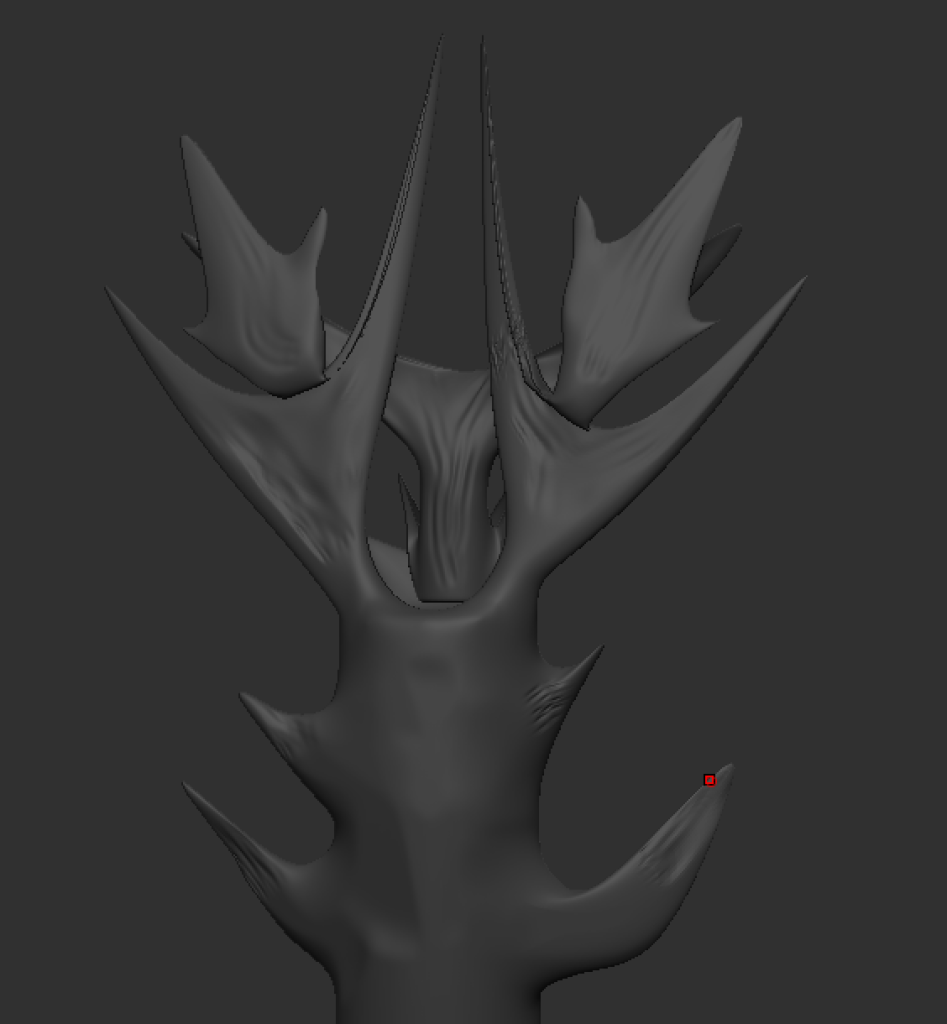
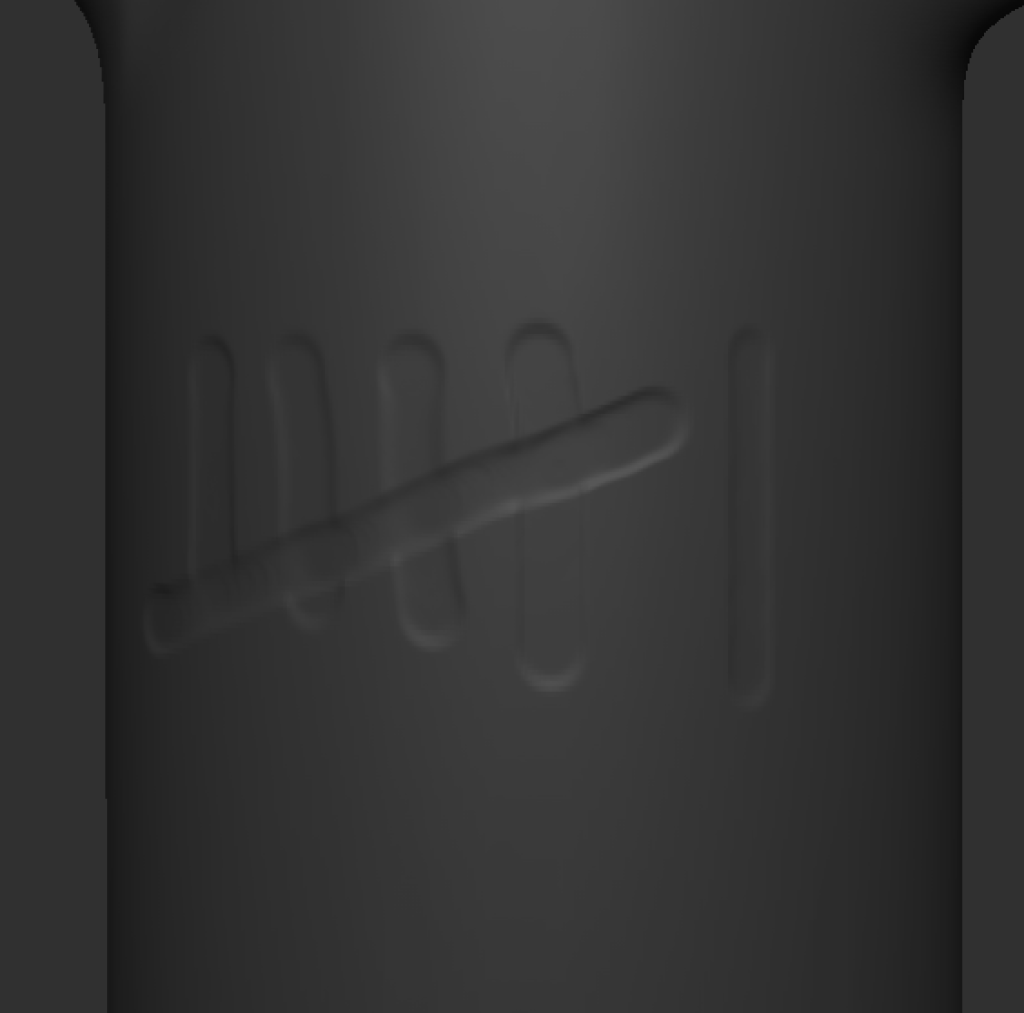
The image below shows some chips and indents into the body of the weapon. I used the Planar tool for this in order to carve out small areas to make it look more worn down. This adds a level of depth to the weapon as it’s unlikely the item will be smooth after being in use.
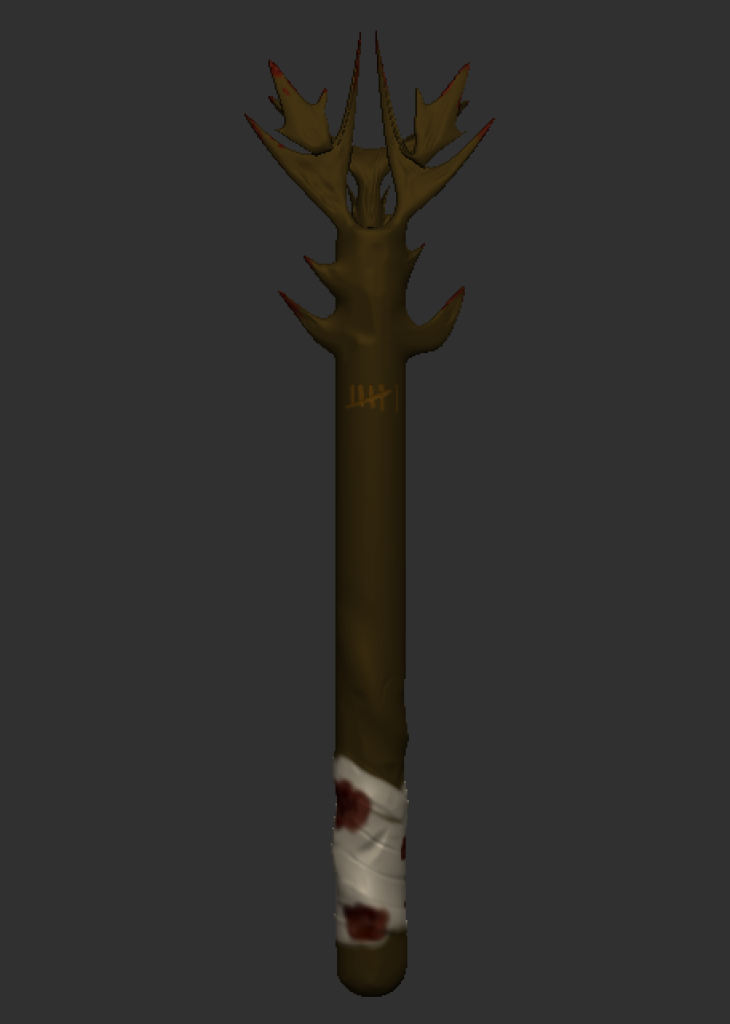
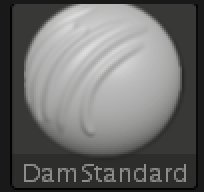
In my original plans, I intended to add a carving of a word on the side of the weapon. However I decided when adding more details to the weapon that I wanted to include a tally chart, as if my character is keeping track of how many people he has killed. For this I created an indent using the DamStandard tool which was fairly straightforward.
Now that the base model and details were finished, I needed to paint it. For this I used a combination of the colorize feature in the polypaint tab, as well as the paint brush for added details. I used colorize in order to fill the object with a brown wooden colour. This then allowed me to add any extra colour details on top without effecting the base colour. I used the paint brush to add blood effects to the antler spikes, the hand wrap towards the bottom as well as the blood stains on it. in addition I added a lighter brown to the tally chart to give off the effect of the wood underneath showing after the numbers being carved out.
‘Paint’ brush for added details 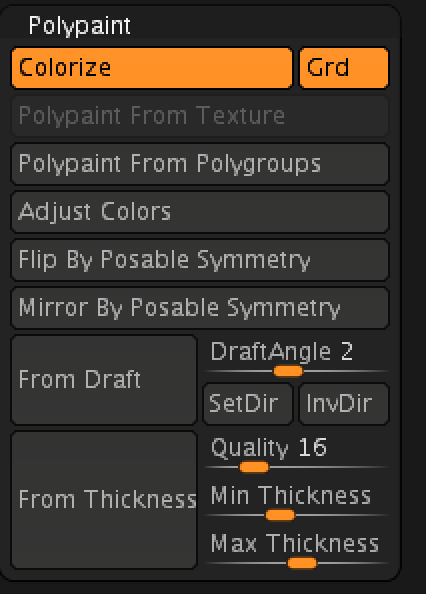
Colorize inside of Polypaint for the base colour
Blood effects on the antler spikes 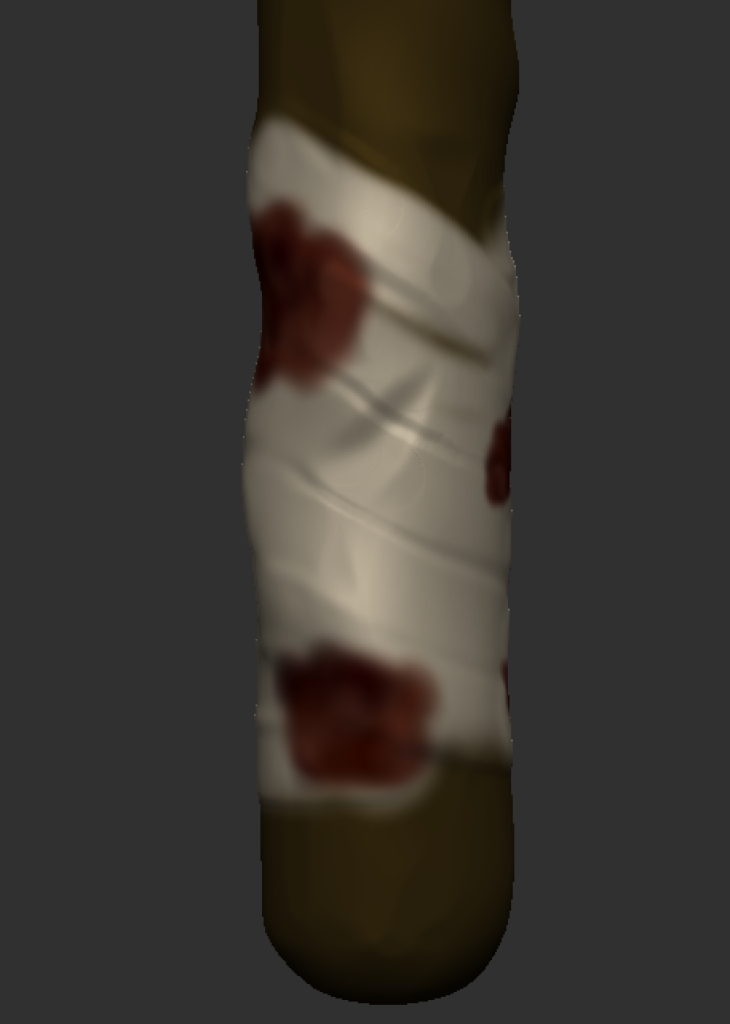
A cream hand wrap with blood stains
Now that these were finished, my weapon was complete. Below is a screenshot of the weapon on its own as well as some turntable videos of closer details.
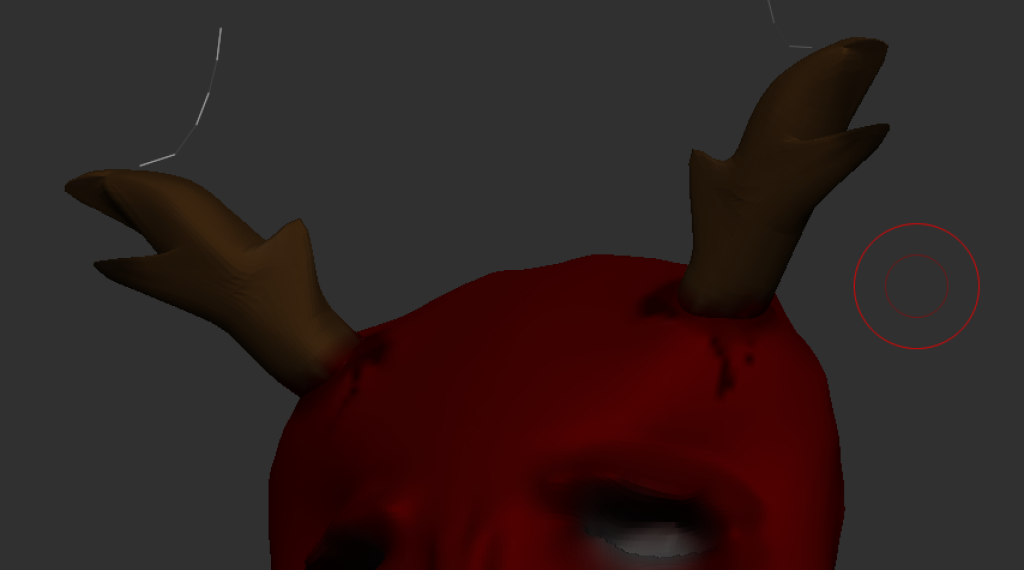
Mask
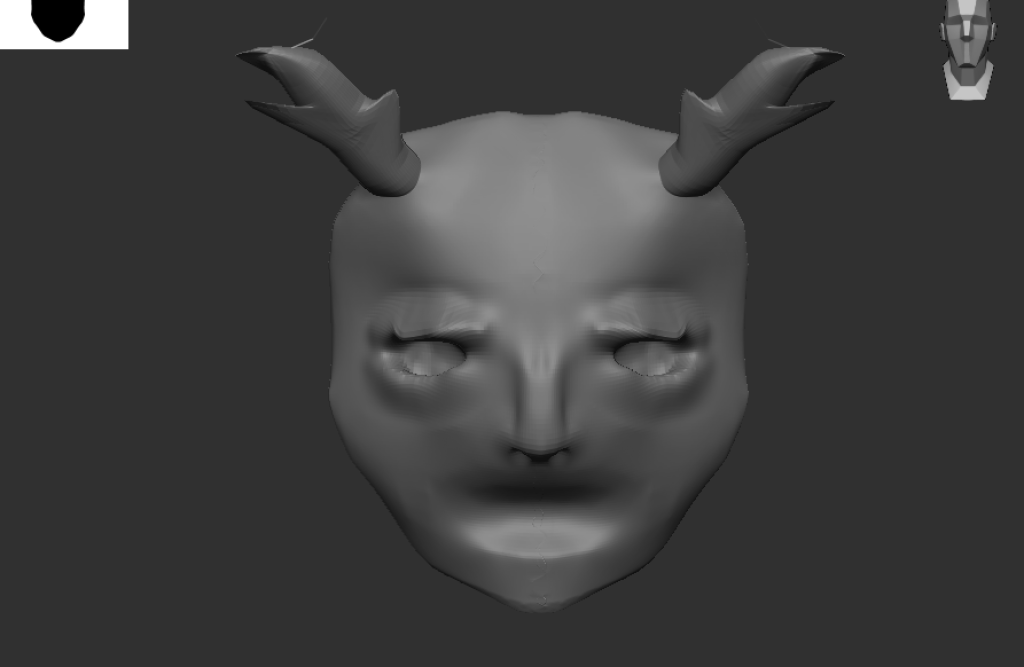
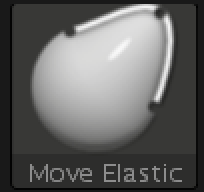
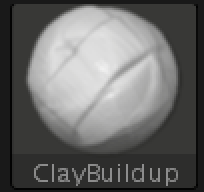
For the mask I have used some basic tools along with some more advanced brushes. To gain the main shape I used a combination of the brushes ‘ClayBuildup’ and MoveElastic’ as well as some minor brushes along the way. In order to get more details such as the nostril hole, I used tools such as Pinch and DamStandard to get different features. Once again for the antlers I used the SnakeHook brush.
Below is some images of the full painted mask which was achieved using the PolyPaint feature within ZBrush.
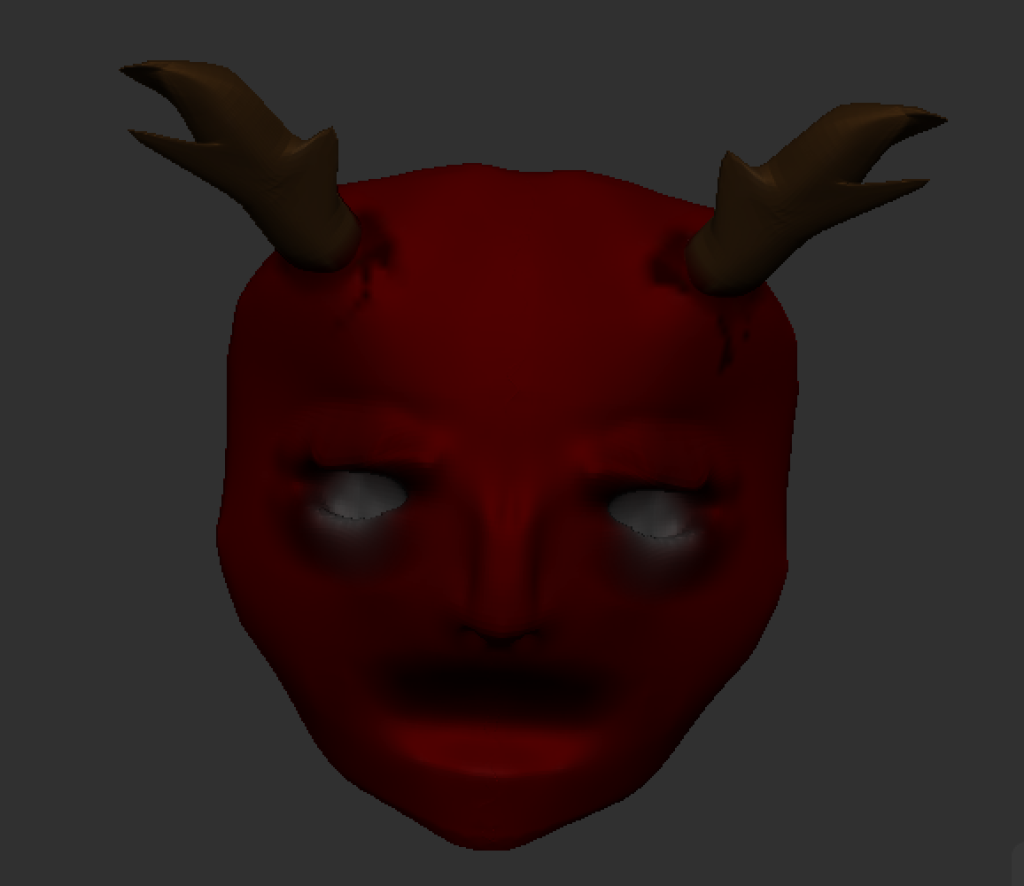
Finally, below is the turntable render of my Mask accessory.