In this post I will be showing some screenshots from the development of my immersive video, including the scene set up, the major assets included as well as things that have changes over time.
Assets
Below are some screenshots of the major assets that are included in the immersive experience. To fit with the aesthetics proposed in the research, the all have very simple designs (as if they were prototypes). However, they have been designed to fit within the story and be recognisable throughout.
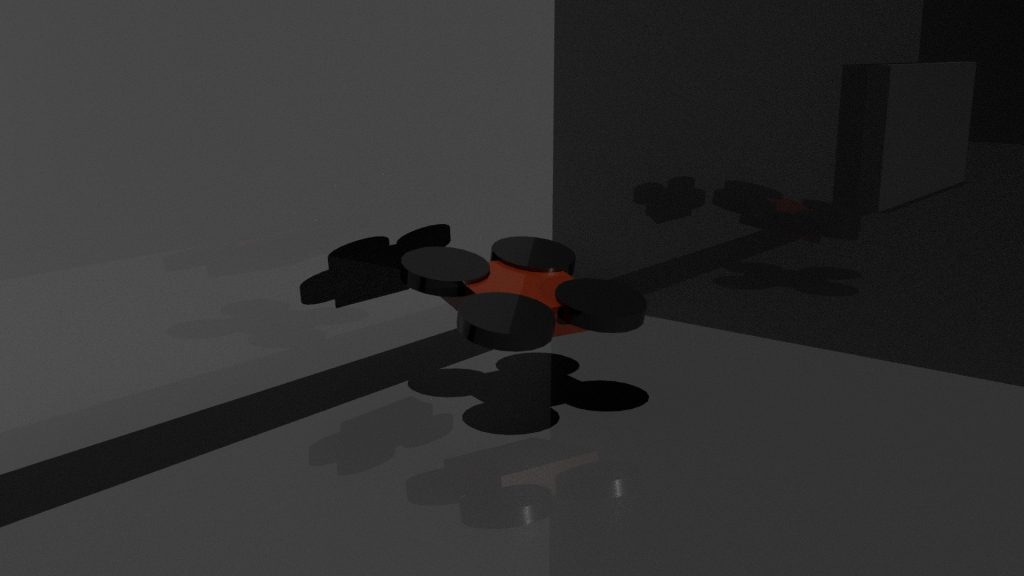
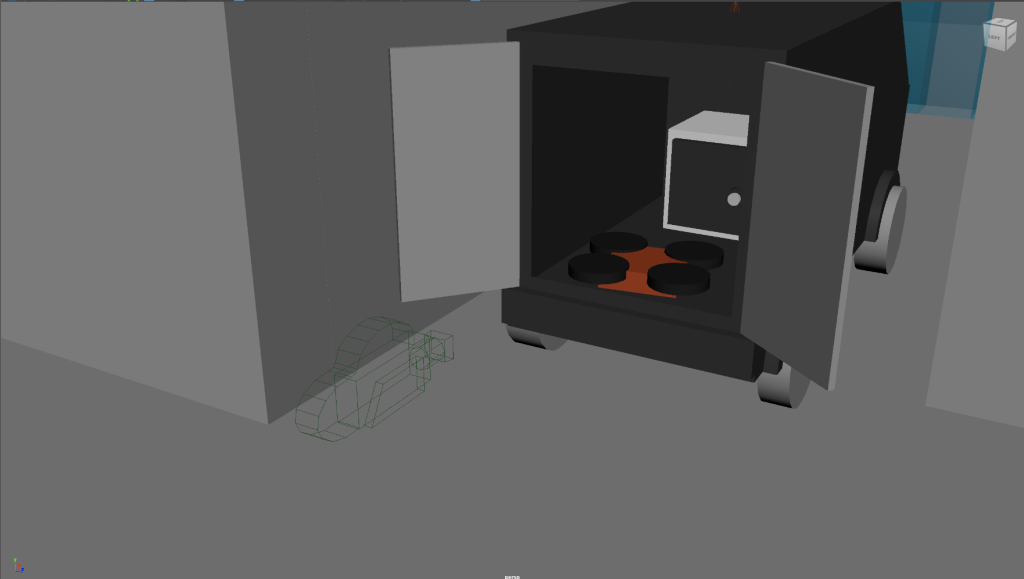
Drone
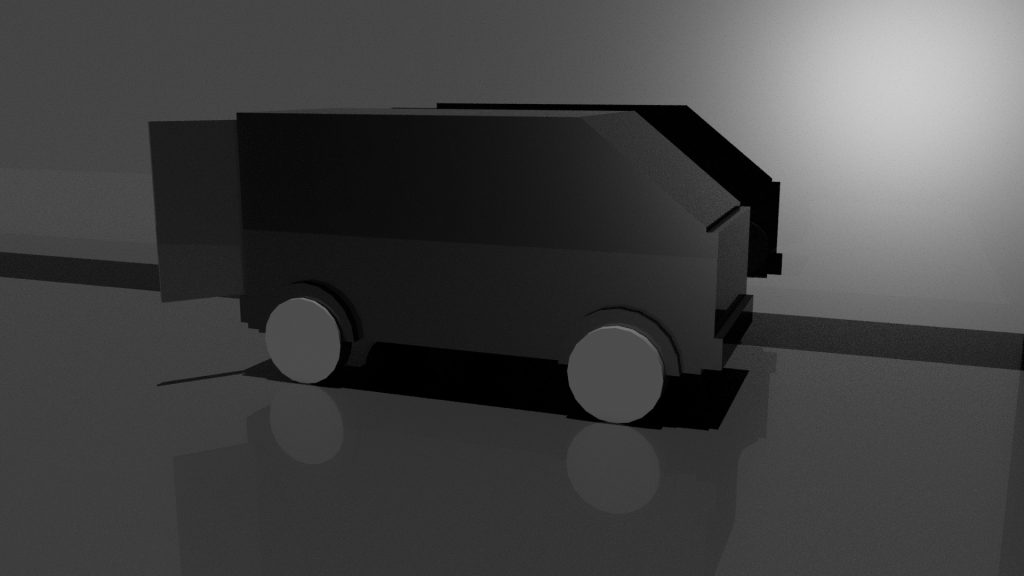
Van

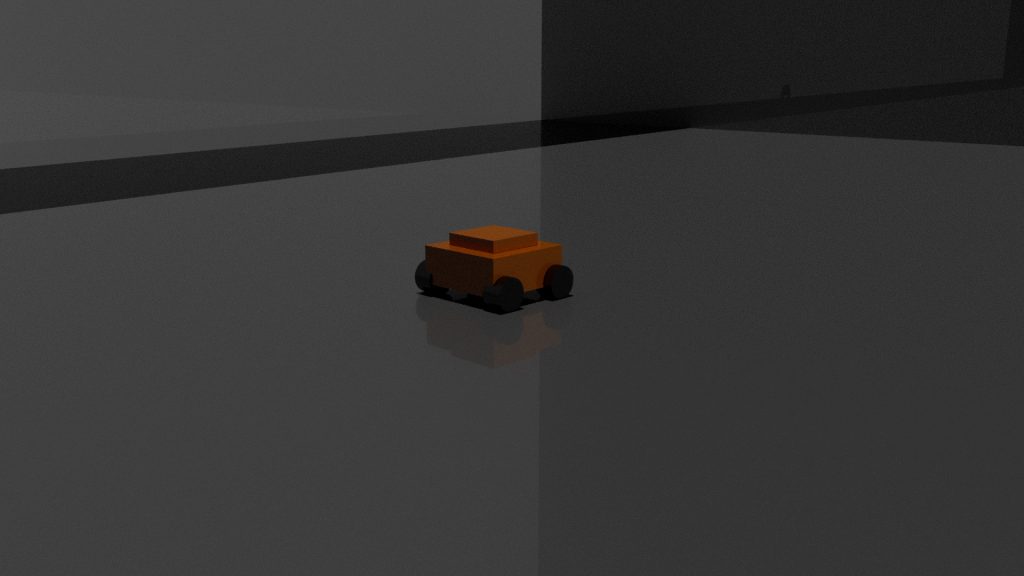
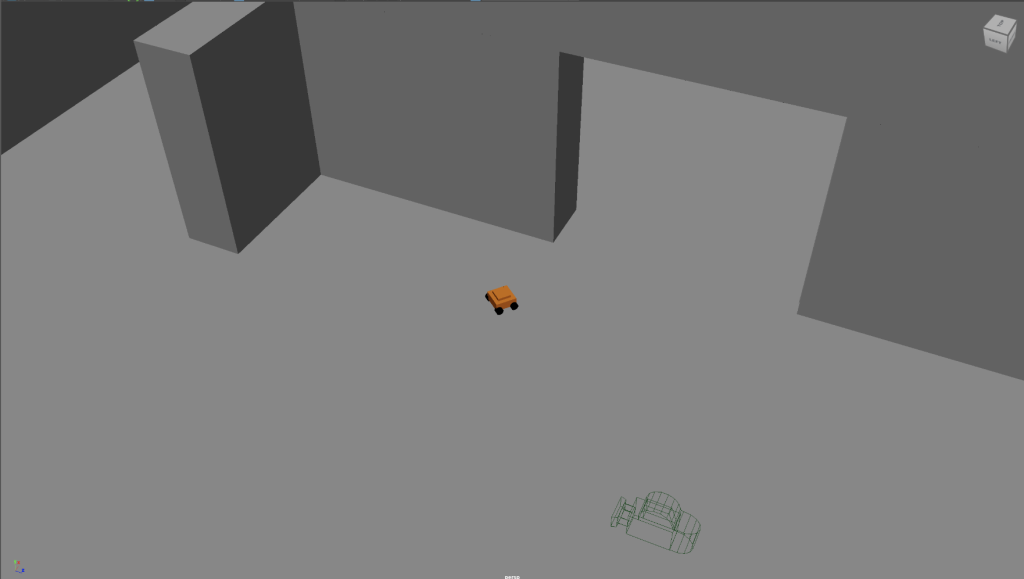
RC Car
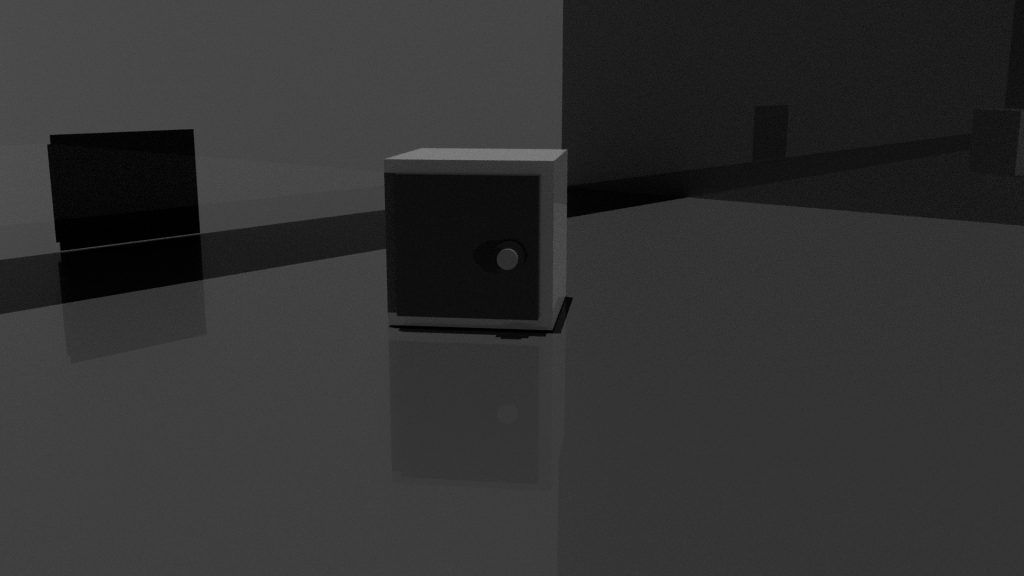
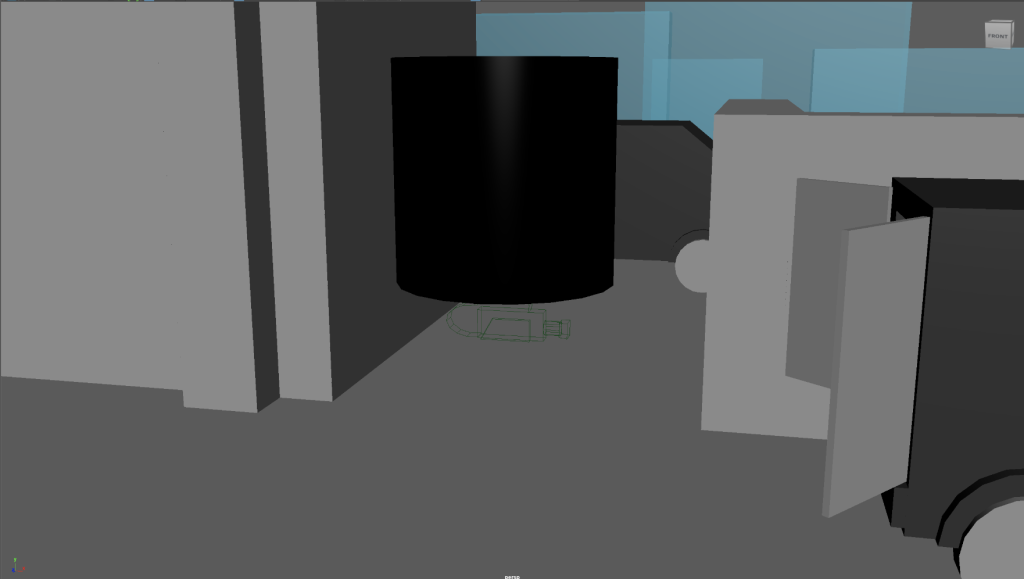
Safe
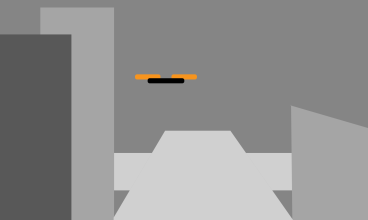
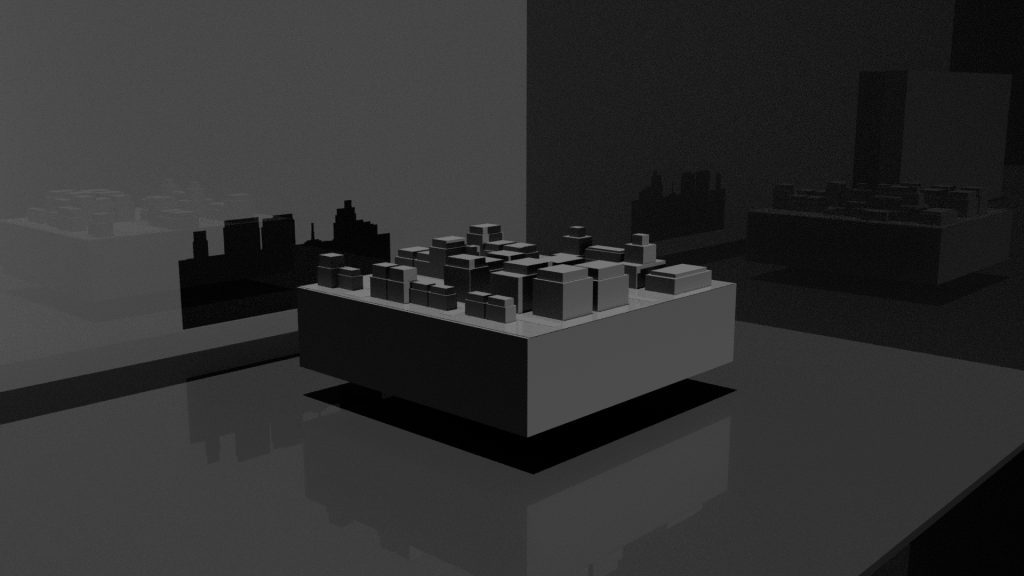
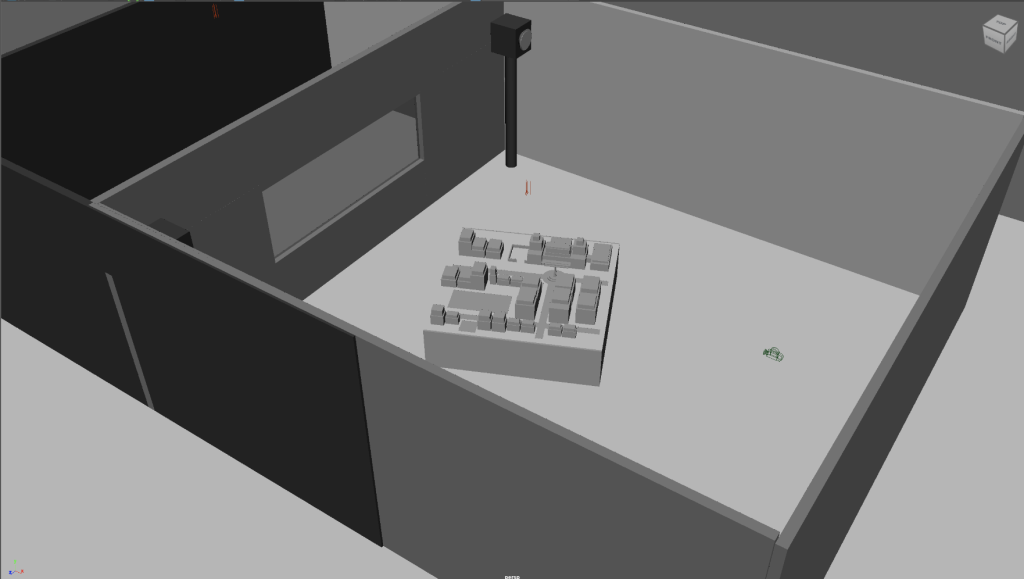
Model City
Miscellaneous
Camera & Environment
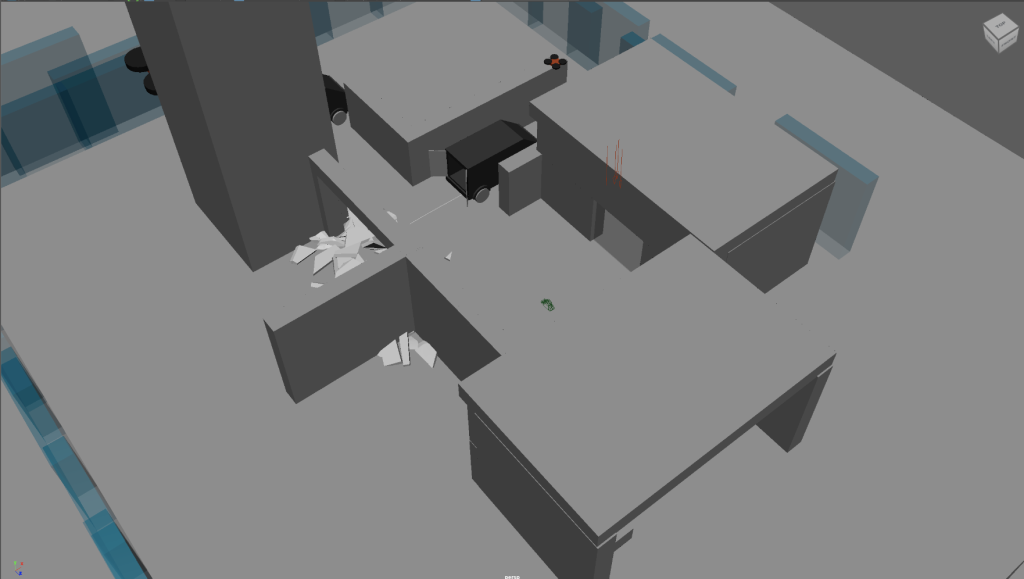
Below are some screenshots which showcase both the camera placement (green camera icon) as well as the rough environment behind and within the camera’s view.
Development Changes
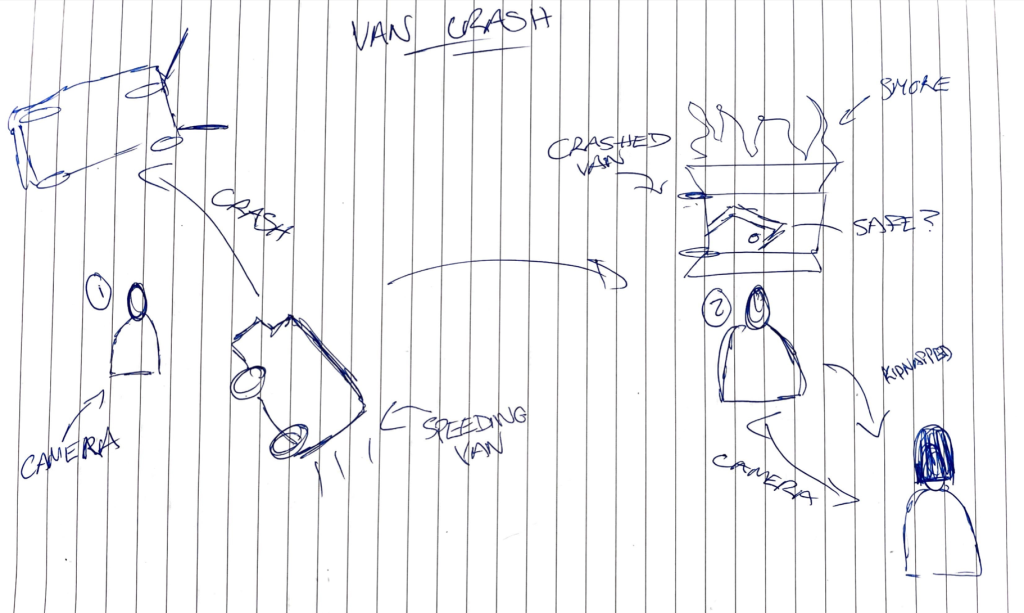
Originally, the van crash scene was going to involve the van speeding around the user before turning over and crashing. This would then result in the next scene being the user investigating the crash and finding something of interest, before they are swiftly kidnapped. This was changed during development to fit the environment a little better, as well as making it possible to include some unique effects involving the glass smashing. Below is the original draft for how the scene would have played out:
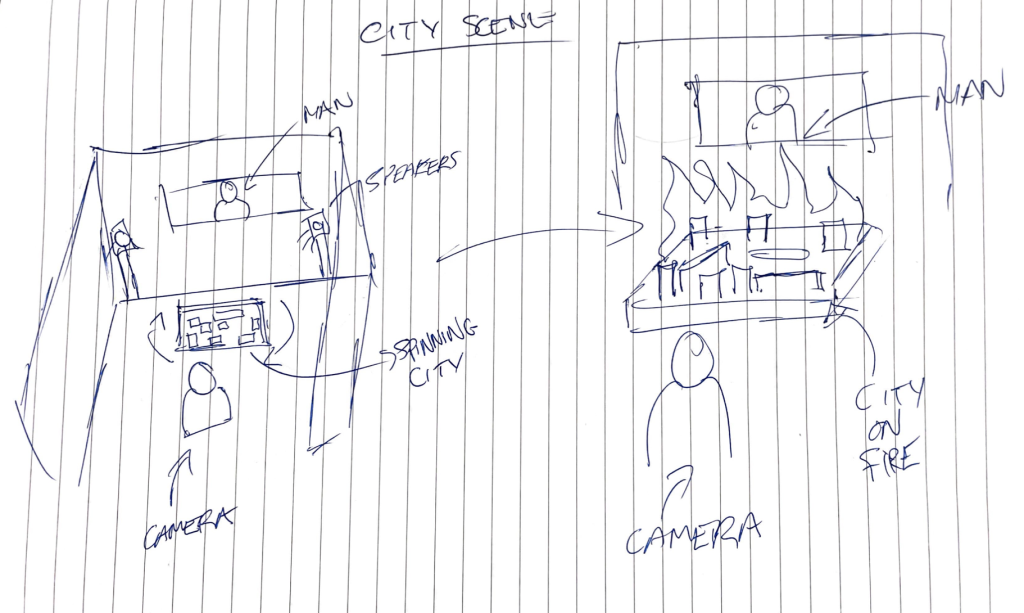
Another scene that underwent a minor change was the model city scene. The original idea was that once you had been kidnapped, you’d be in a dark room with only a model city and a man behind a window. The man would then force you to give him an access key in order to destroy the city you were just kidnapped from. This eventually was changed by removing the man behind the window, and creating a transition into the final scene through a laser device. With more time I definitely would have explored this idea further, possibly using the MASH network again for explosion or fire effects on the city. In addition I could add in a modelled character to apply some voice to within this scene.
Reflection
Upon reflecting on my finished scenes, I am happy with the outcome and believe that I have done my best to create an effective immersive experience. Taking into account my 3D ability, I can firmly say that time is a key part in development, meaning the product would improve further providing I was able to allocate more time to the product. Although I am happy with my scenes, there is definitely aspects that I would look to improve, providing more time was given.
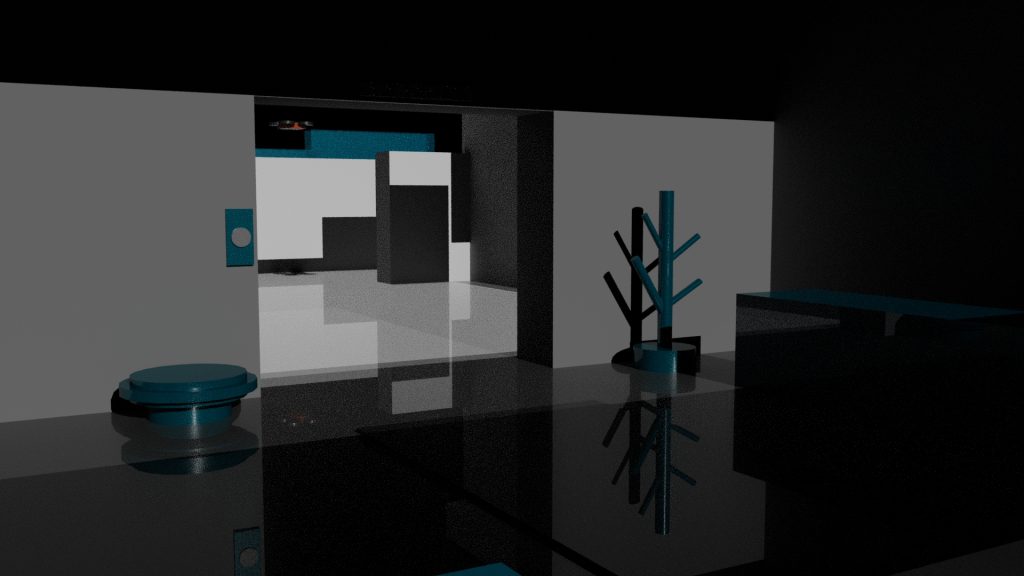
One main aspect for me would be an improvement on lighting. This is something that is evident in some scenes, such as the first reception scene where some of the assets are hidden by the darkness. This could have been easily solved by test rendering my scenes more regularly before sending them to the viper renderer. In addition, scenes such as the model table scene were originally supposed to be much darker, but due to issues with lighting, it in turn ended up being much brighter. However this was not a major issue as it still worked as part of the narrative.
Another improvement would be textures. Textures is something I decided to limit due to the aesthetic of my concept as well as time. However I think with further time, I could have added some effective textures to make the product look more professional, while still remaining true to the proposed concept.
In conclusion, I feel with more time, the design of the finished product could have been further developed to create an effective immersive experience, while remaining true to my proposed concept of a dystopian world, as well as the original narrative of Alice in Wonderland.