Surrounding
For all of the scenes, I have created very basic surroundings for the sequence. Although this was not needed, I felt it added some extra depth to the animation as well as some back story. Below is some screenshots of every scene as well as descriptions and reasonings.
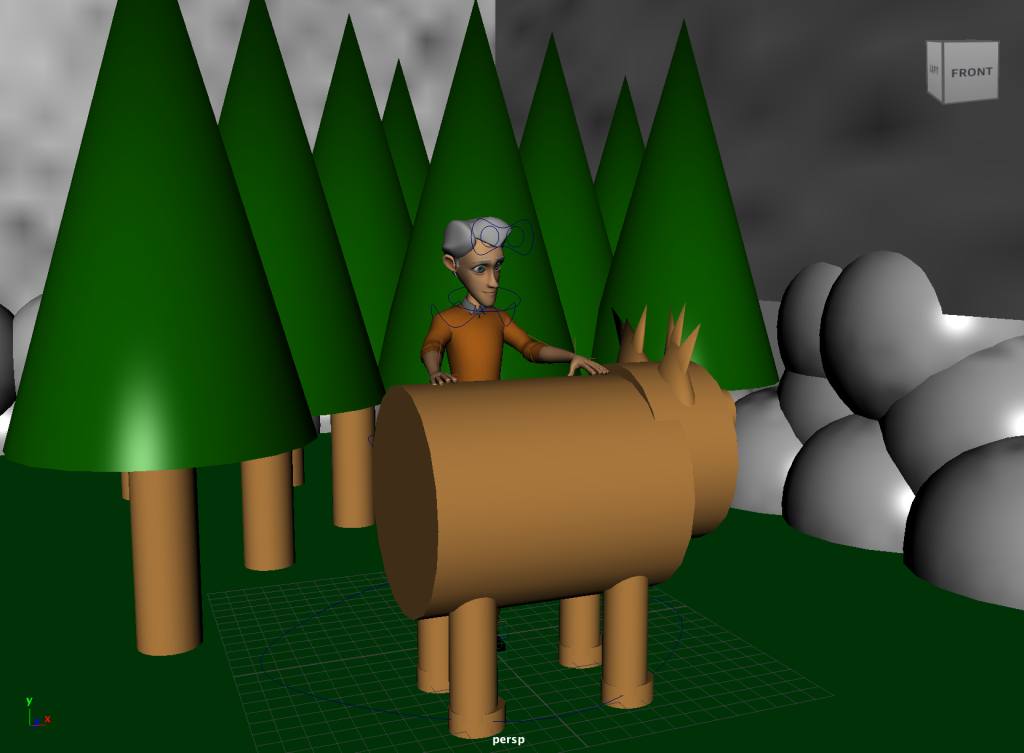
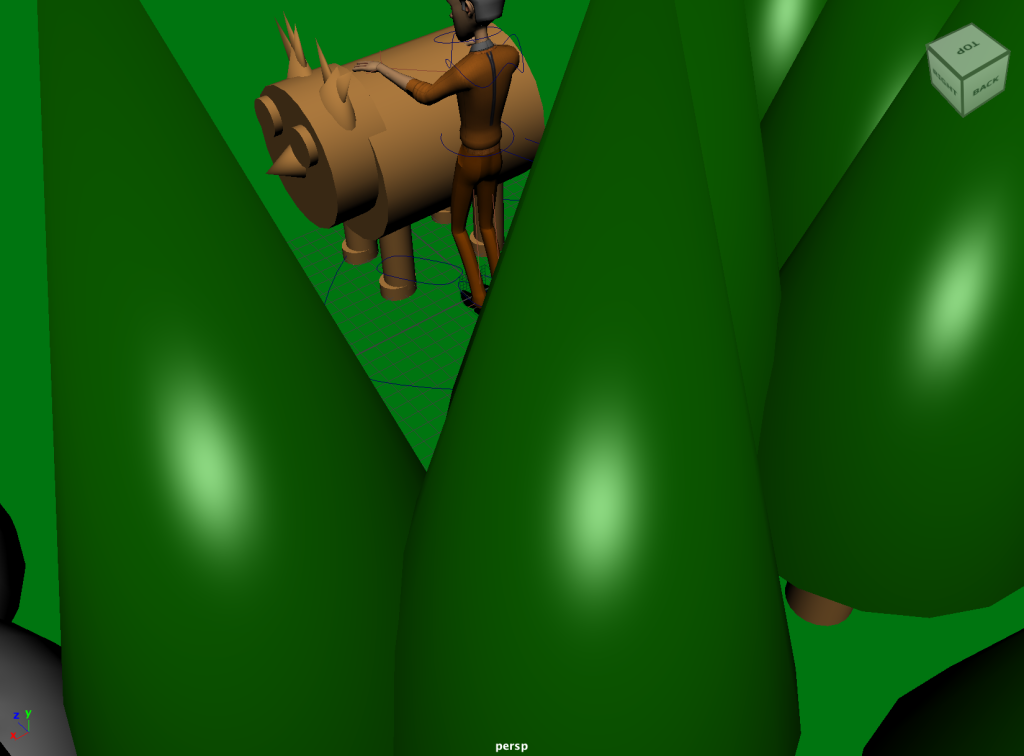
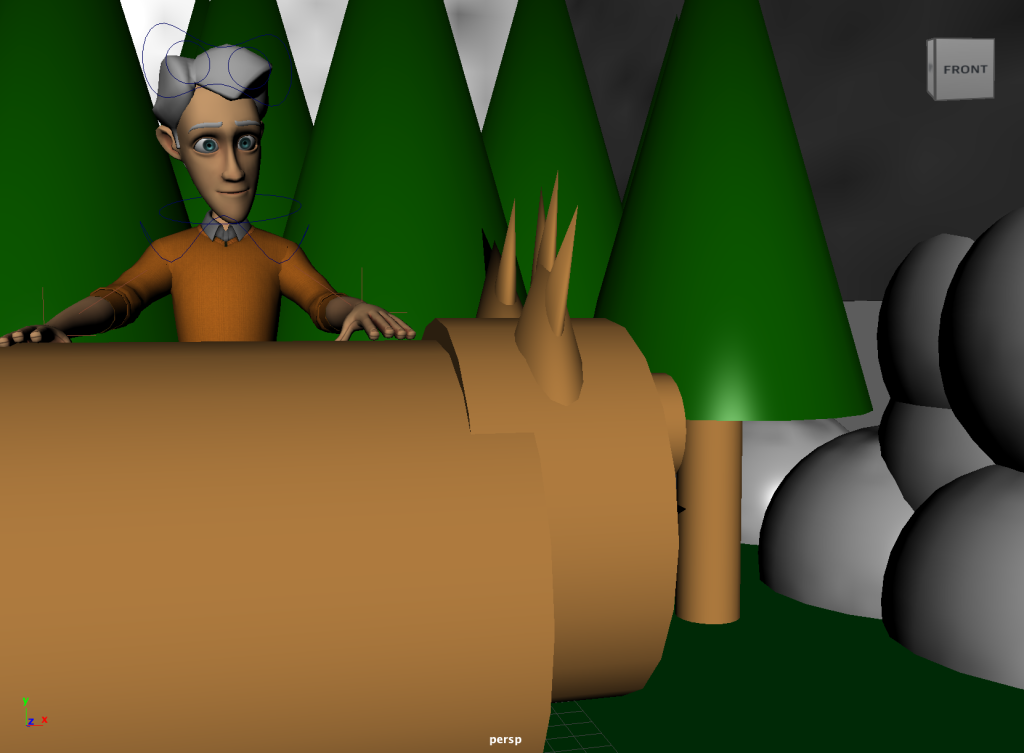
In the above screenshots, I have created a basic forest scene featuring trees, grass as well as stormy sky. In addition I have added rocks to the surrounding to add a little more depth to the scene. This animation has the cameras in the same direction which is why the props are all placed on one side.
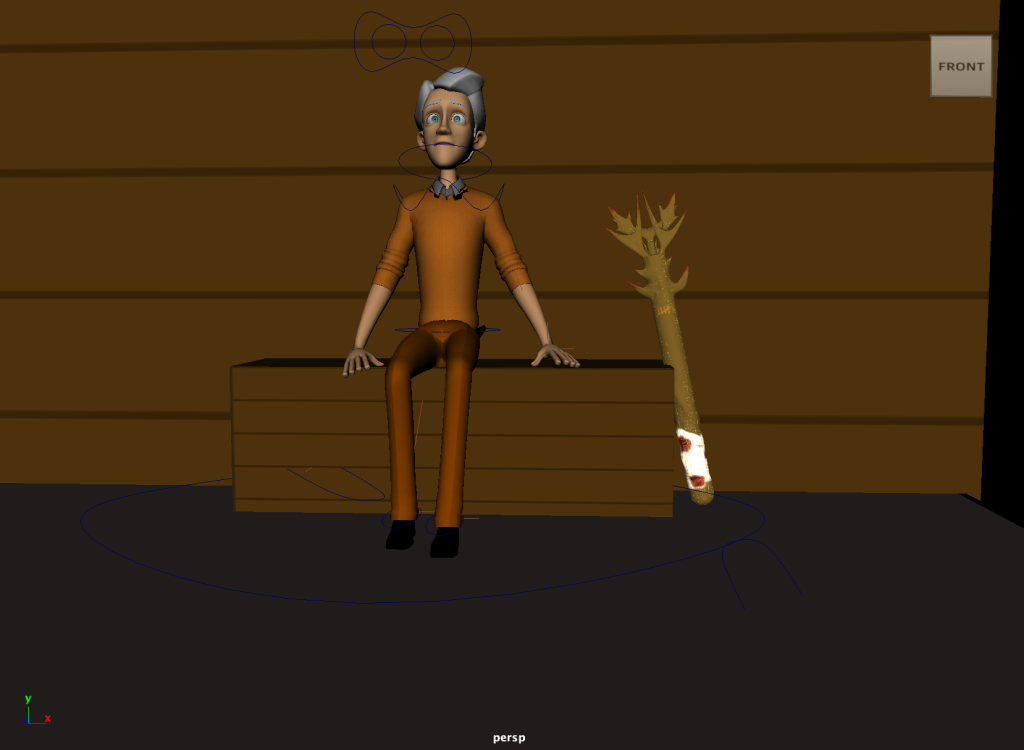
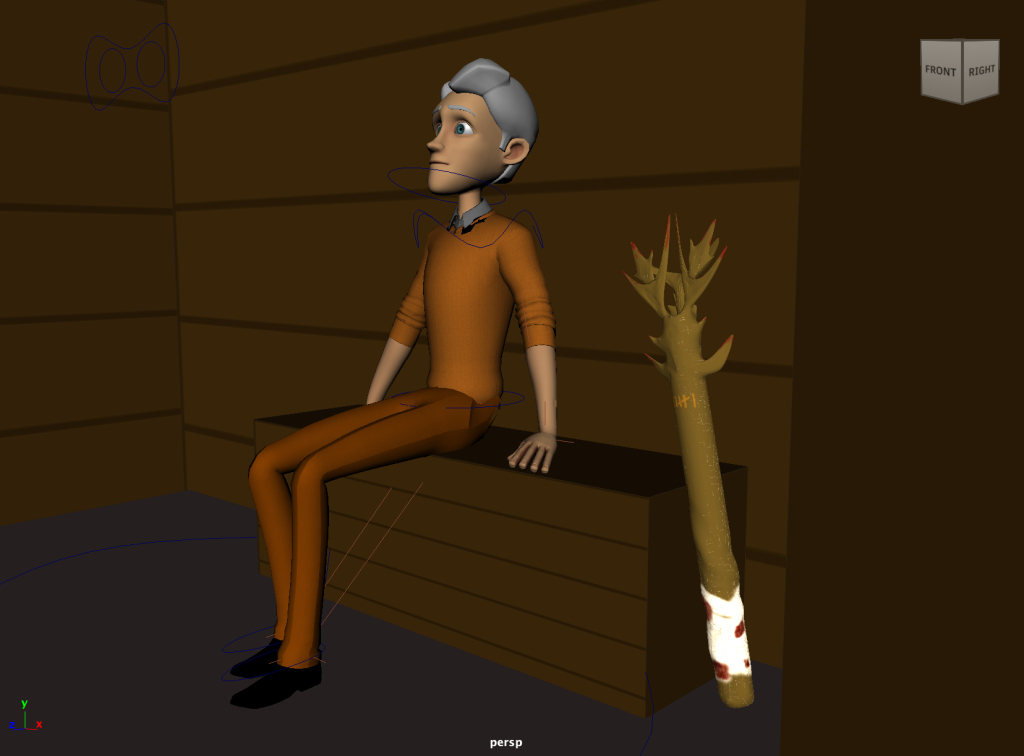
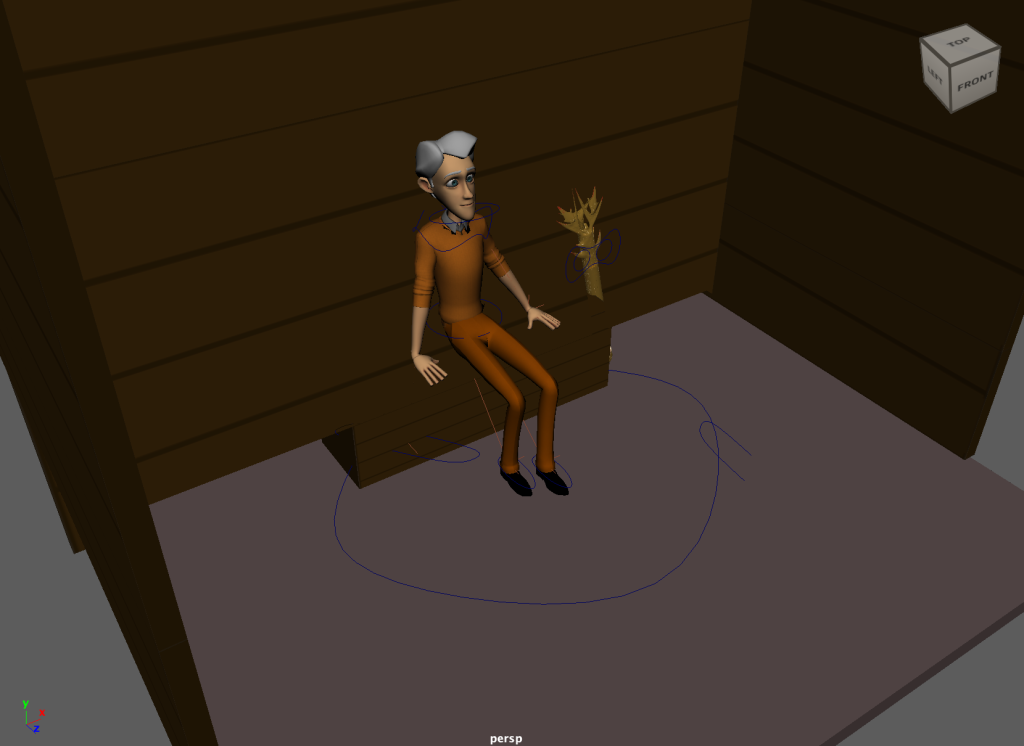
In the above screenshots, I have created a cabin for my character. Based off the backstory we know he lives in a wooden cabin in the woods. I have also included his signature weapon which is propped up against his seat. Once again this is a very basic design since the camera will always be pointing forwards at my character.
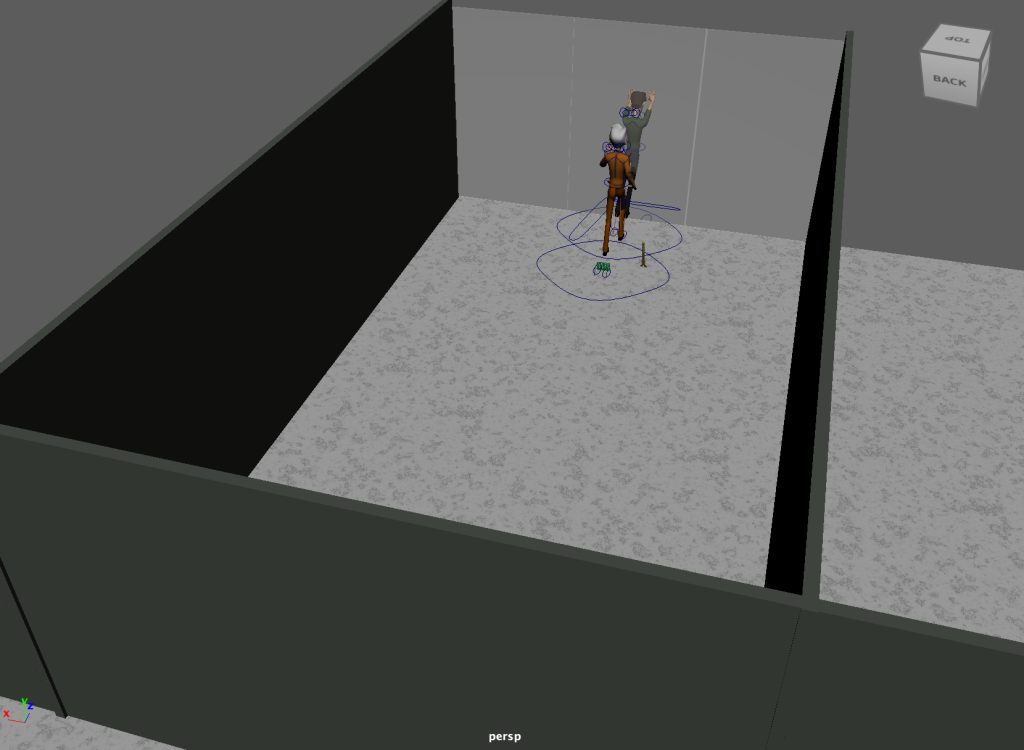
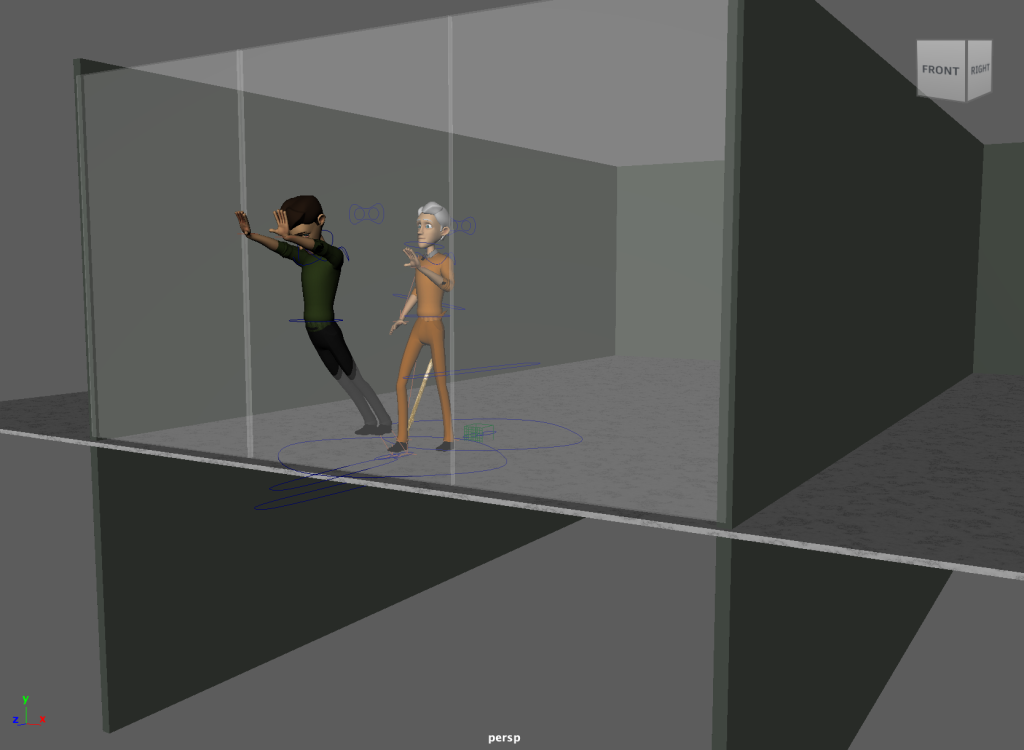
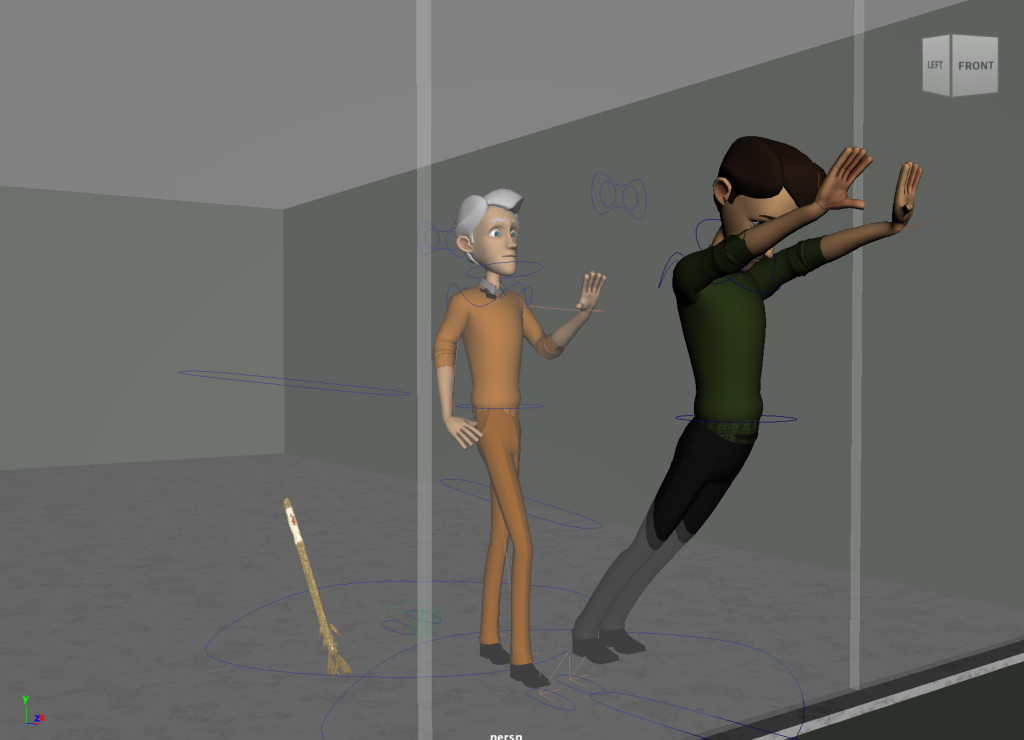
In the above screenshots, I have displayed my scenes within a very basic office building. This has three large windows across the front as well as a marble floor. The glass in question is what my character will kick the enemy through which although the glass itself wont be animated, the enemy characters animation will replicate how it would be if this was the case.
Furthermore you can see I have included an extra character into the animation. To make this look more effective, I duplicated my exiting character and altered the appearance to link to my previous character. The ‘enemy’ keeps the original clothing colours.
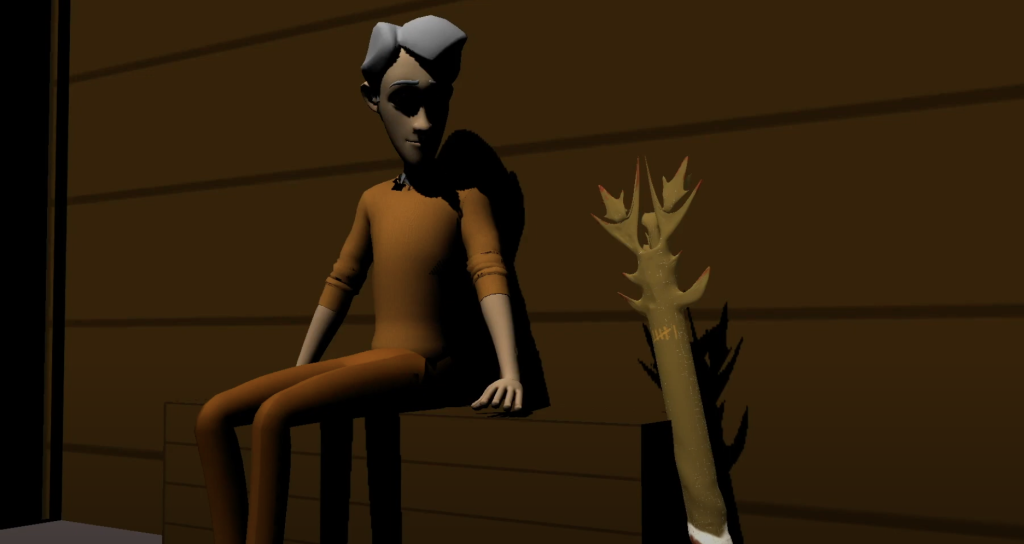
Finally, as previously mentioned I included my 3D modelled weapon which my character used as an extra asset to the scene. This is seen within the sitting sequence as well as the fight scene where it is actually held. In the sitting scene however it is propped up against the seat next to character. This adds an extra bit of character to the scene and references my previous model.
Character Design
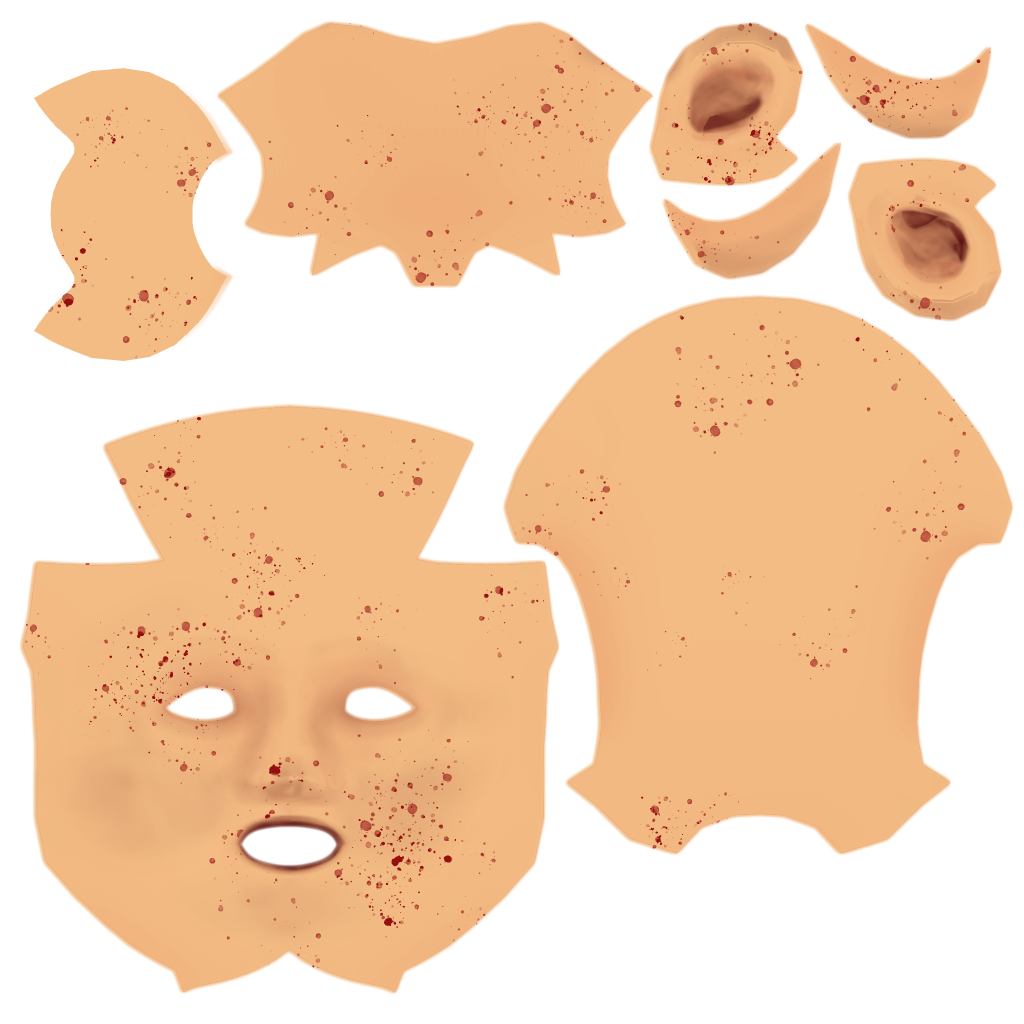
Since I had technical issues with my previous character, I opted to use a ready made one which needing rigging and weight painting. However I decided to alter the characters UV in order to add more personality to my animation, as well as reference my previous character.
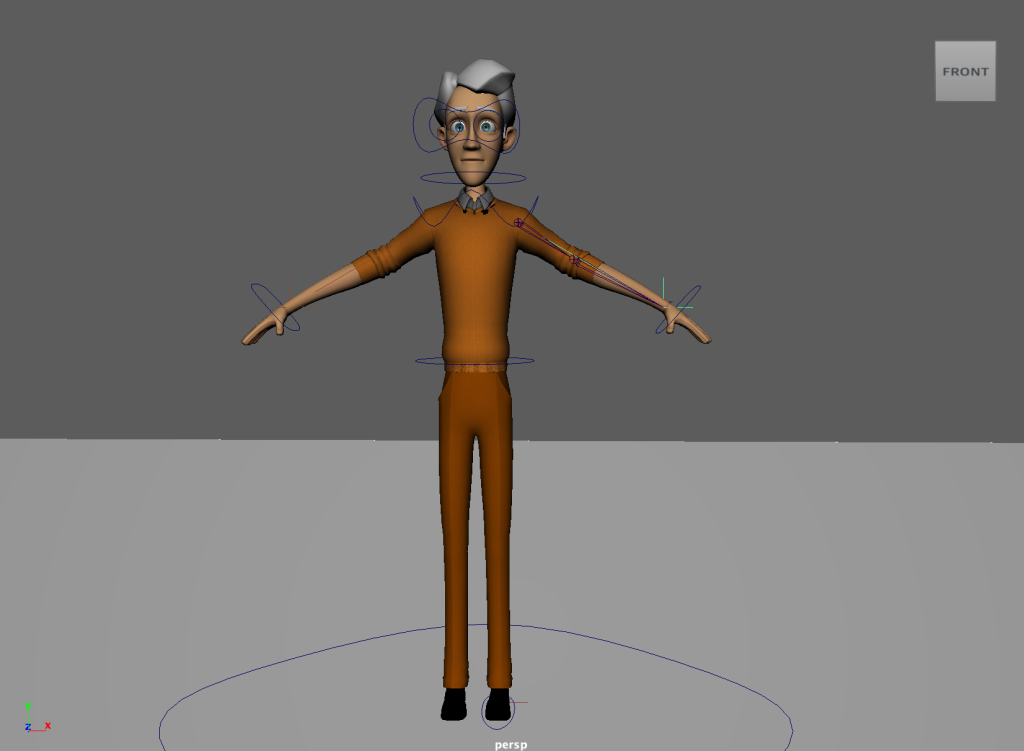
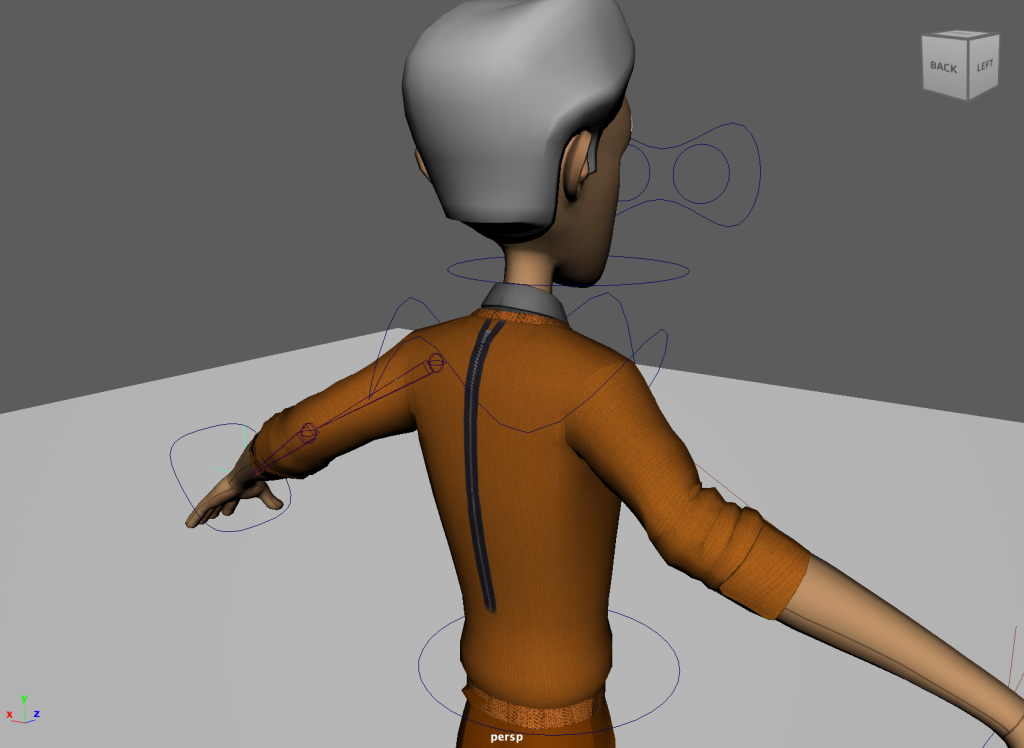
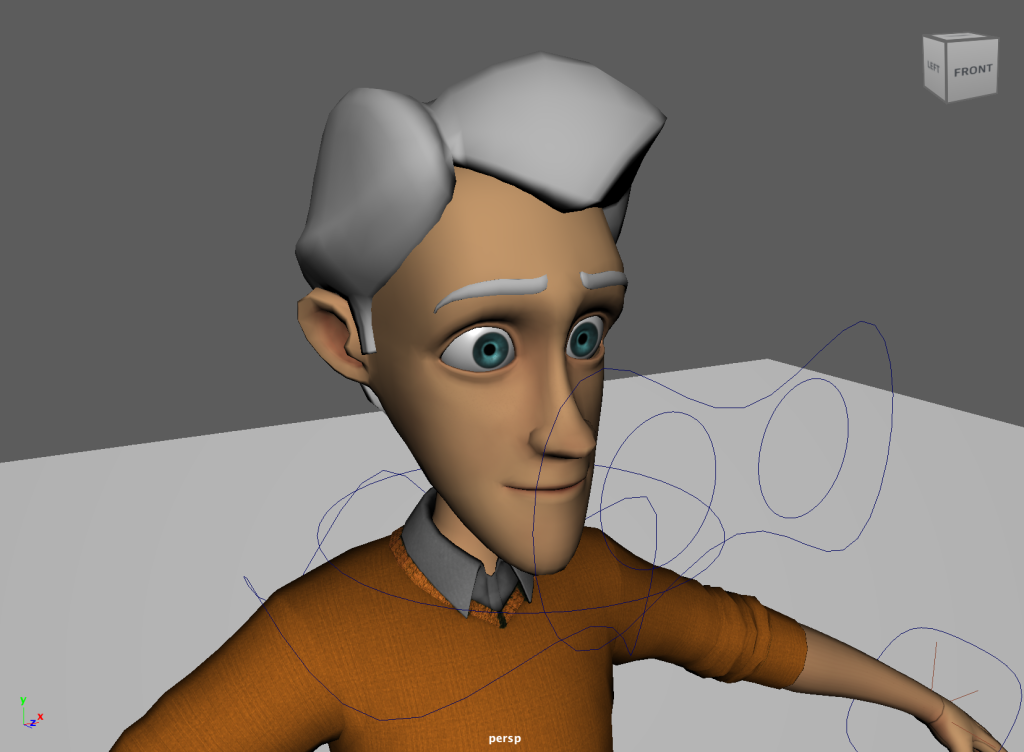
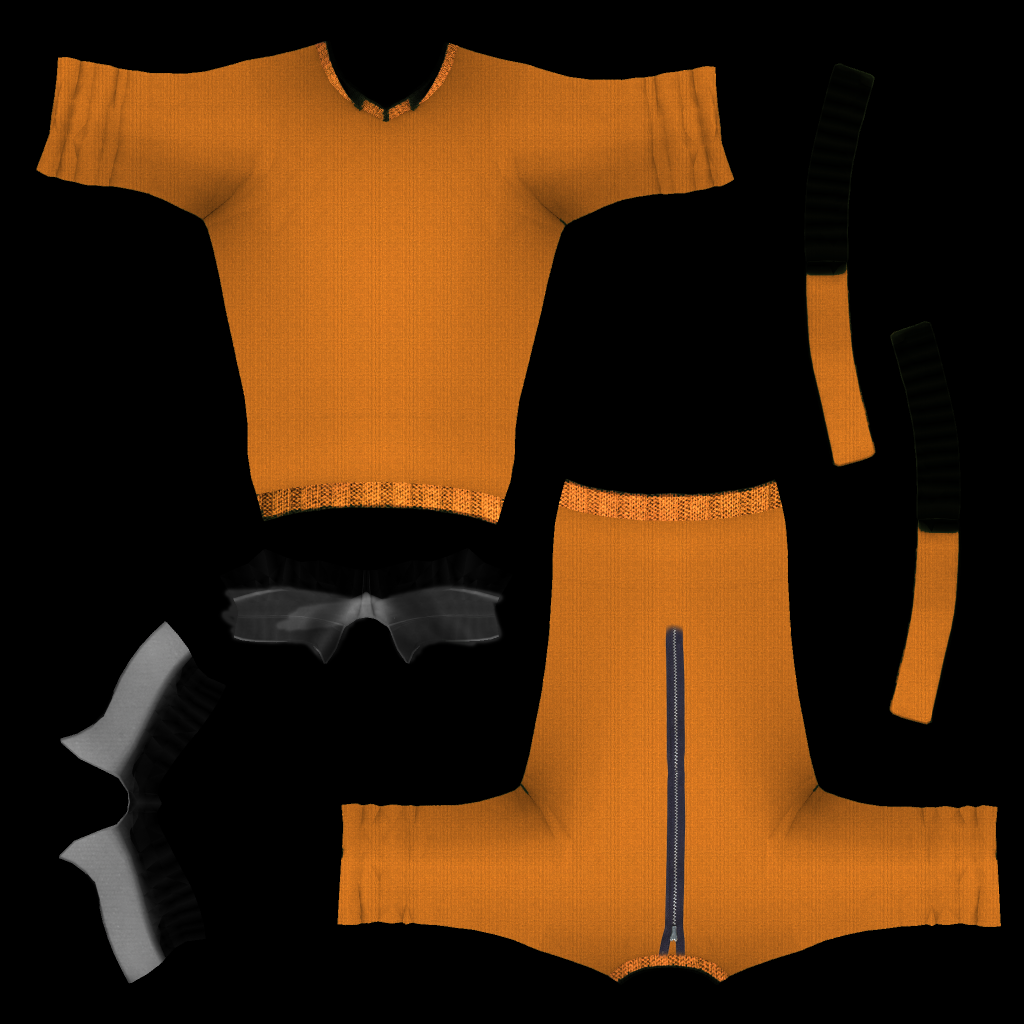
The one seen in the animations now features the signature orange jumpsuit design which is zipped at the back, and the characters hair is now grey. If I had more time I would have liked to have included my characters mask however I felt this was not important at this stage. Also, the images below are the nets which I edited. As you can see I initially intended to also apply a blood splattered face to the character, however this created an unusual visual glitch which I wanted to avoid so I removed this and stuck to the original.