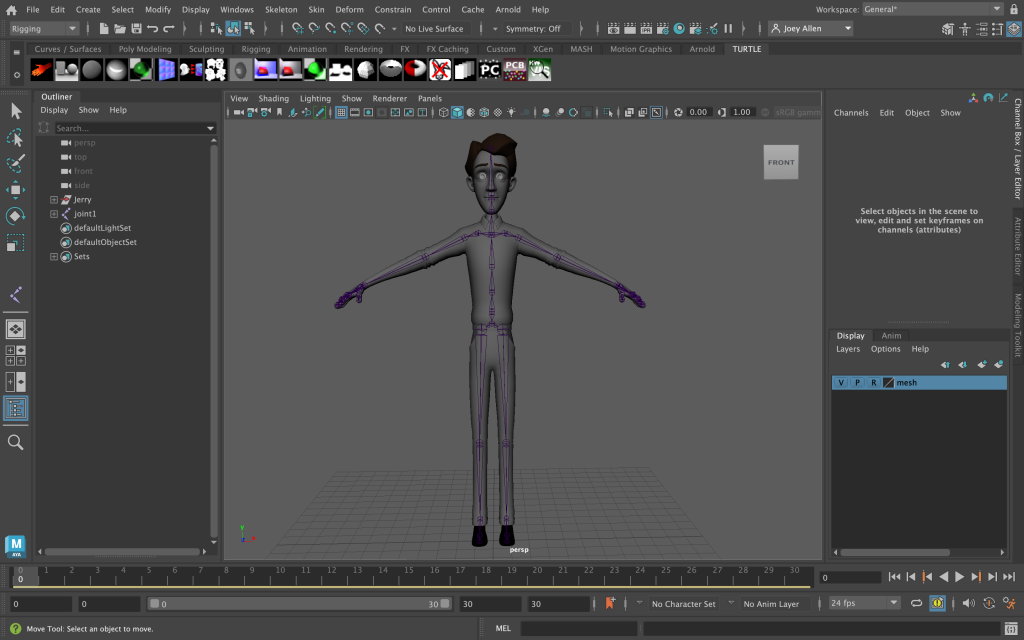
Due to the issues I had with my 3D modelled character from the previous module, to save time I made the sensible decision to use a pre made model that was available to me. I chose the Jerry model as it was probably the closest in design since its the most human like. Below I will document my rigging process with this character and how I got to the final piece before moving on to the next step
Joints
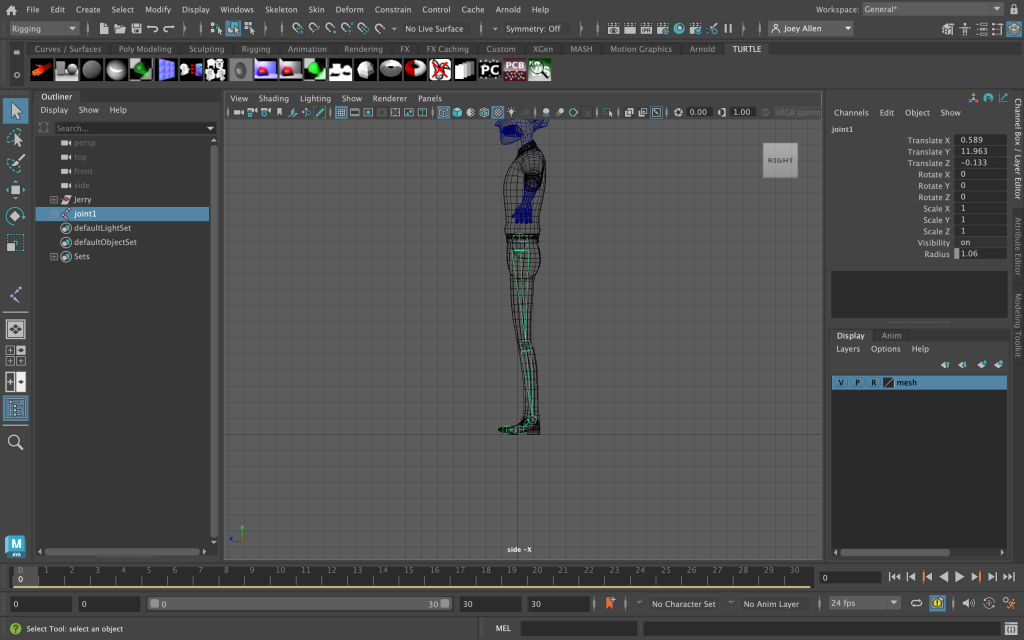
In the image above I have started the character rigging from the leg, which have created the different joints for the knee, ankle, foot and the end of the toes.

I then went on to create a hip joint which can be used to parent the leg joints directly to it. After this I mirrored the leg joint to the other side which can then also be parented to the hip join to create a full bottom half of joints on the body.
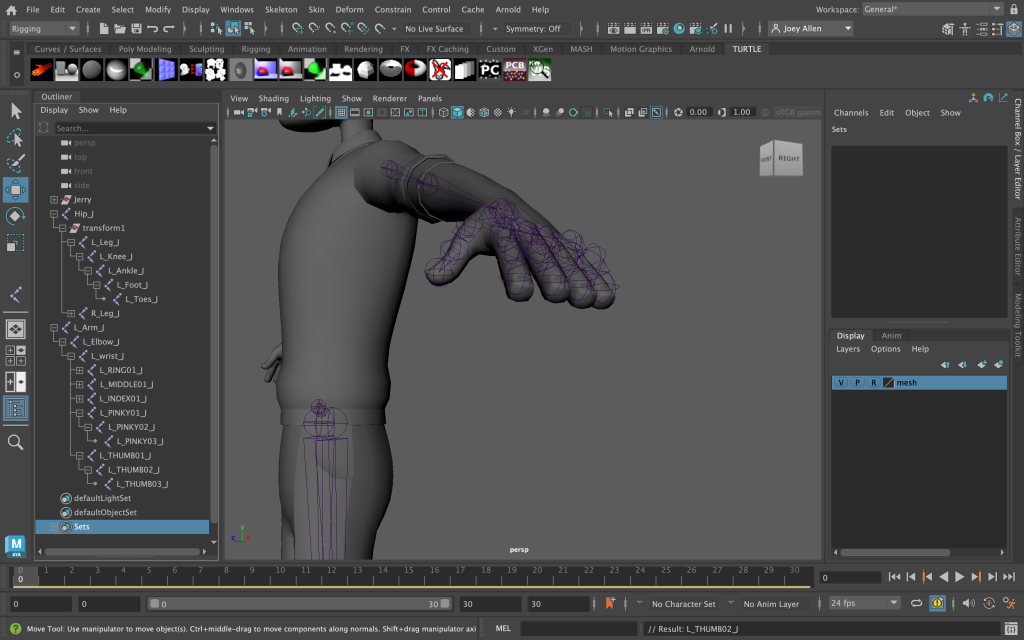
In the above image I have created the arm and shoulder joint which includes the elbow, wrist and each indiviual finger. All the finger joints have been assigned to the correct finger for its size and a rough position for the knuckles and finger joints.
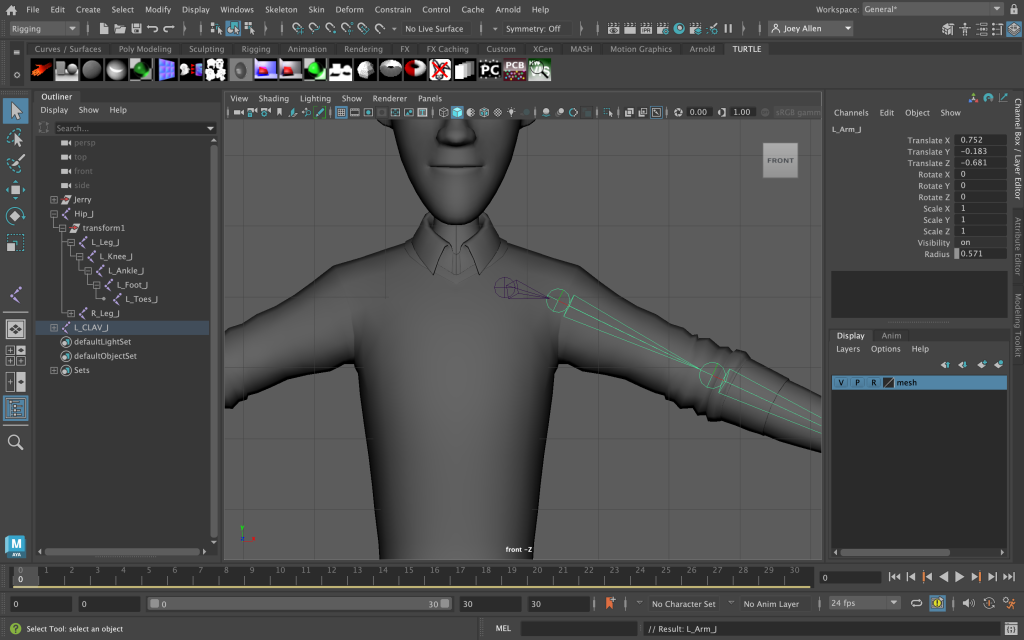
Similar to the hip, I have created a joint for the clavicle which can be used to parent both arms and join them together.
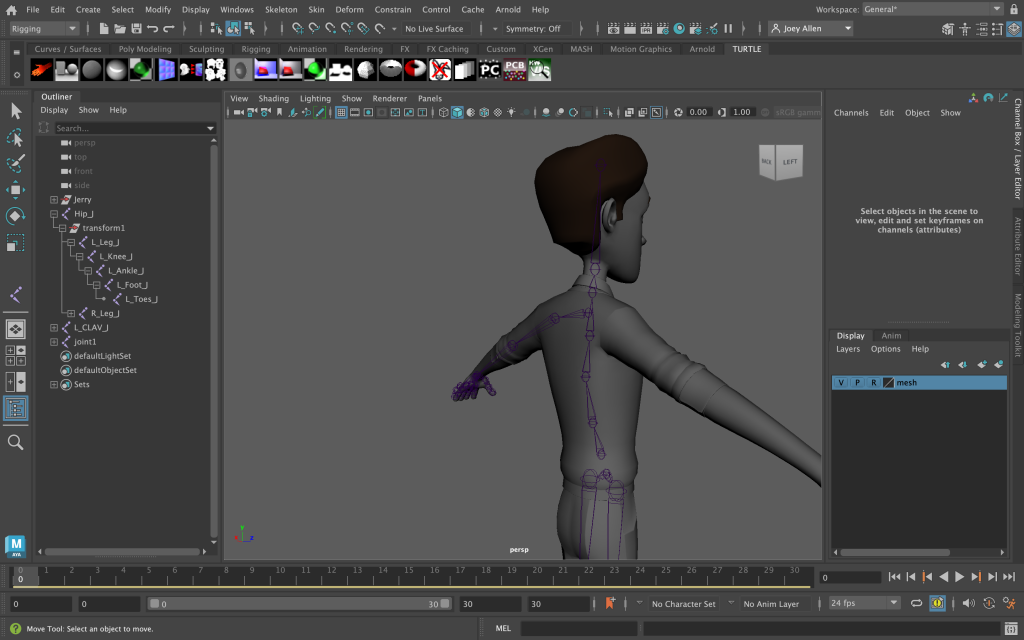
One of the final steps is creating the spine joint which connects the whole body together. This is connected to the hip and clavicle (in turn connecting the arms and legs). I have created a slight curve to make the spine more realistic when animating.
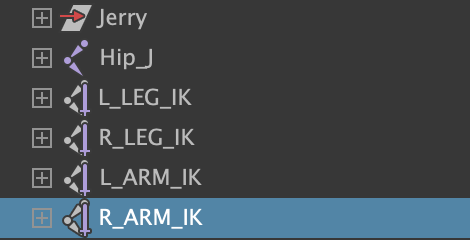
Above is the final image of the joints which are all in the correct hierarchy and position.
Skinning
In order for the joints to move, we need to connect the IK handles to the mesh. Without this, the joints will just move on their own while the mesh will remain still. To do this we simply select all of the IK handles as well as the mesh and bind skin (Skin>Bind Skin).

After this, the joints will move along with the mesh when the IK handles are interacted with.
Controls
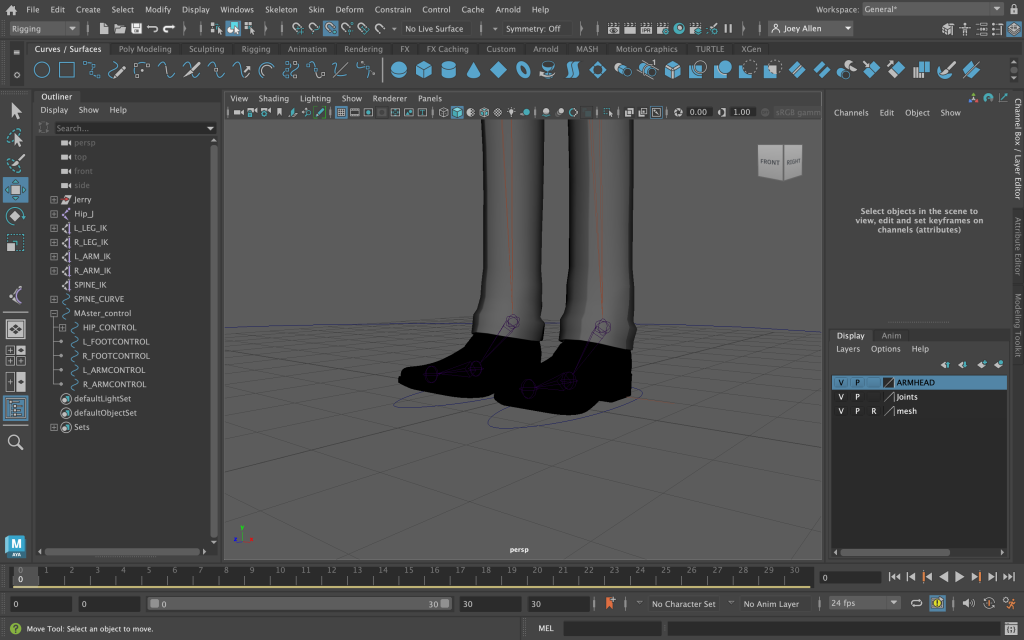
Next I moved onto the controls which allows easier access to the different limbs and makes it much more convenient to move them when animating. I began at the feet which involved creating a circle around the shoes so they were just covered. The control is then connected to the joint so when moved up, the knee will bend naturally. For both legs and arms, the control is the same so we can just copy and paste it over.
Next is the arms/wrists which follow the same process, however the circle needs to be rotated to match the arms orientation. Once again this is connected to the joints so when you move the control up or down, the arm will naturally move in the chosen direction. In addition, all the fingers have corresponding joints which will individually control each fingers.

Moving on from the limbs, we begin at the hip. The hip control lets you move the character with all the emphasis coming from the waist. With this we are also able to move the entire body which automatically makes the arms and legs bend in the chosen direction. For example, if we moved the hip control down, the legs would bend as if the character is crouching. This once again required a circle around the body so it covers the waist and is then connected to the corresponding joint, which enables it to move freely.


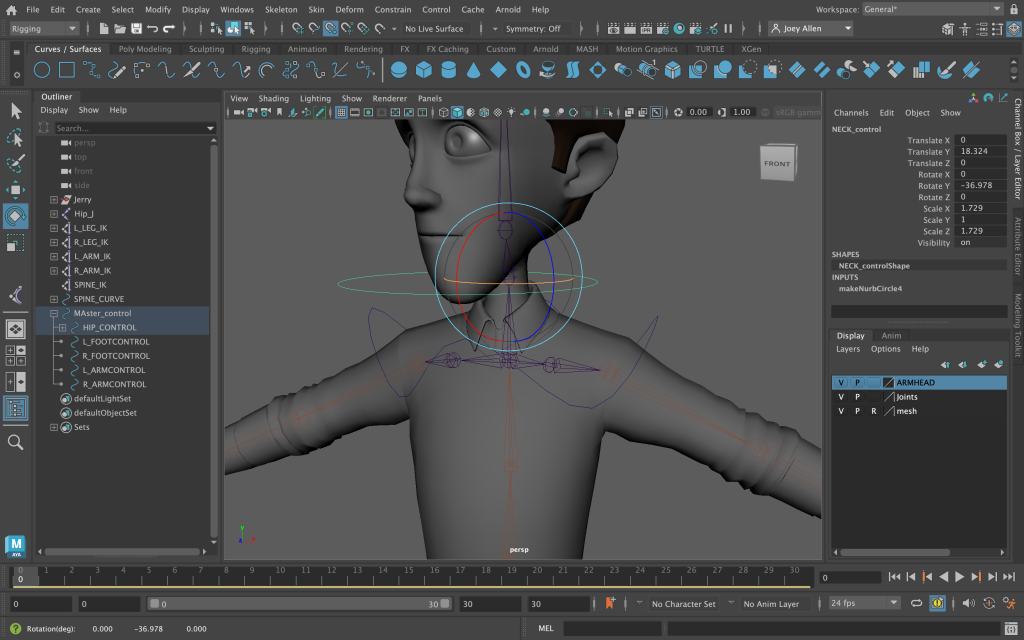
I also created the neck and chest controls which move the corresponding joint when rotated or moved. This is especially useful for bending the neck back and forth during animating and the chest helps push the body forward for certain actions.
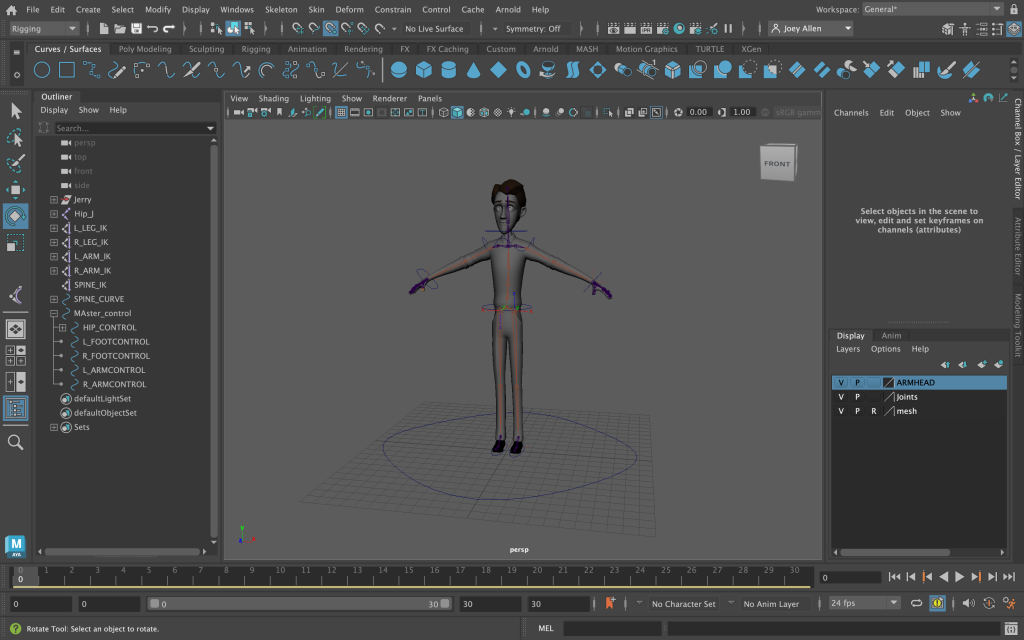
To tie this all together, I added a master control. This control moves the entire body, however it has no effect on the joints so its main use is to move the character around to different areas in the project. To help organise things and make sure they’re working correctly, all of the previous controls are parented to the master control.
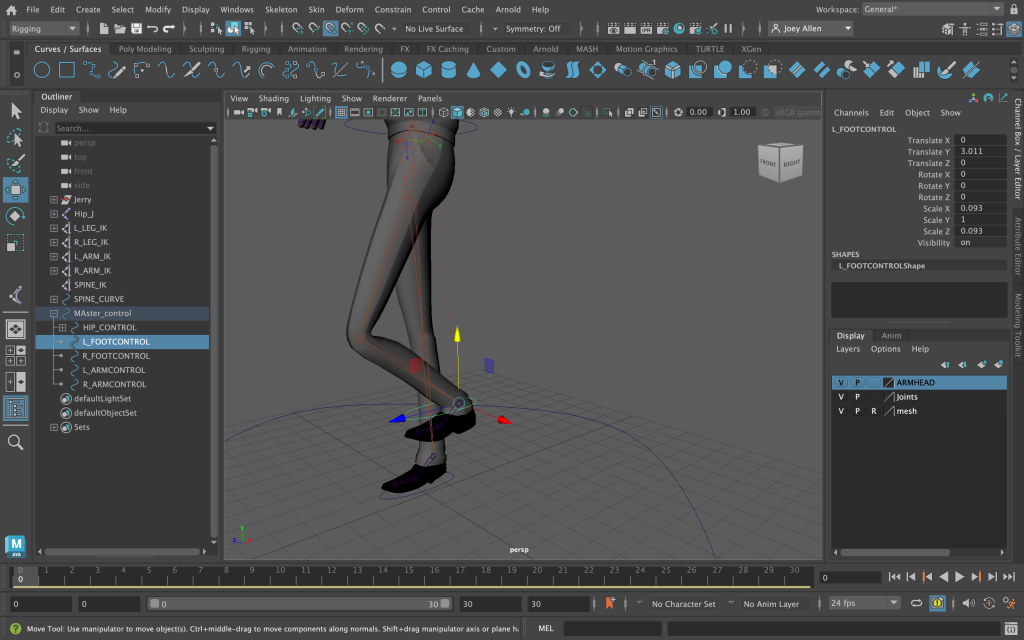
Below is some screenshots of the leg moving up and down when the corresponding control is moved. As you can see, the knee bends when it is moved up and would revert back to a normal state when the control is placed back down. This is much more convenient for animating since you don’t need to select the different parts when the action is simple.
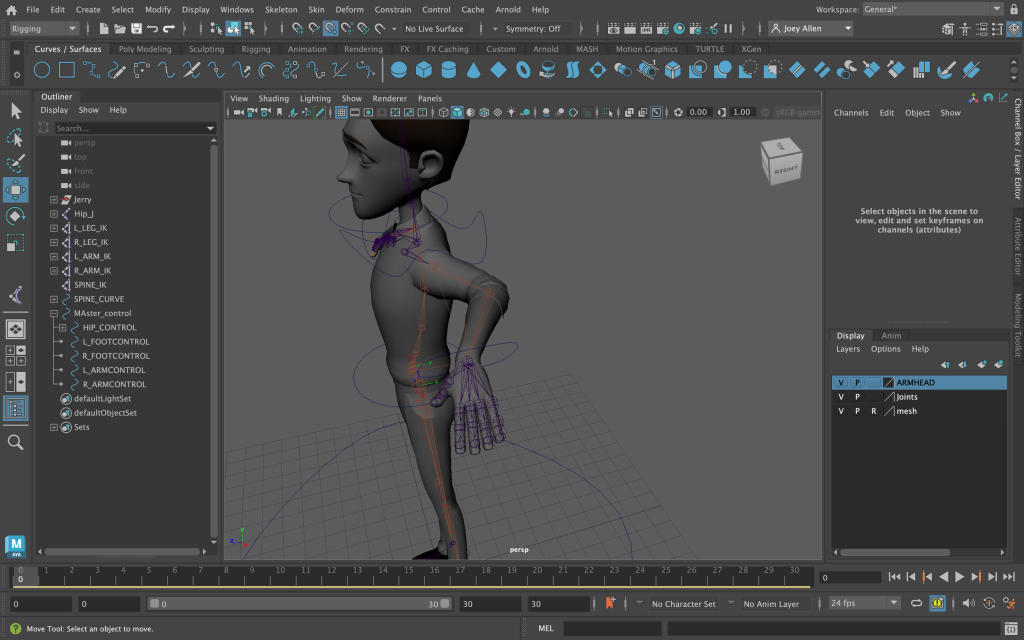
Furthermore, the below screenshot shows the arm in a bent position after moving the control. This can be moved forwards and backwards as well so the arm can point forwards or behind. In addition both arm and foot controls can be rotated to bend the hand or foot for more precise animation.
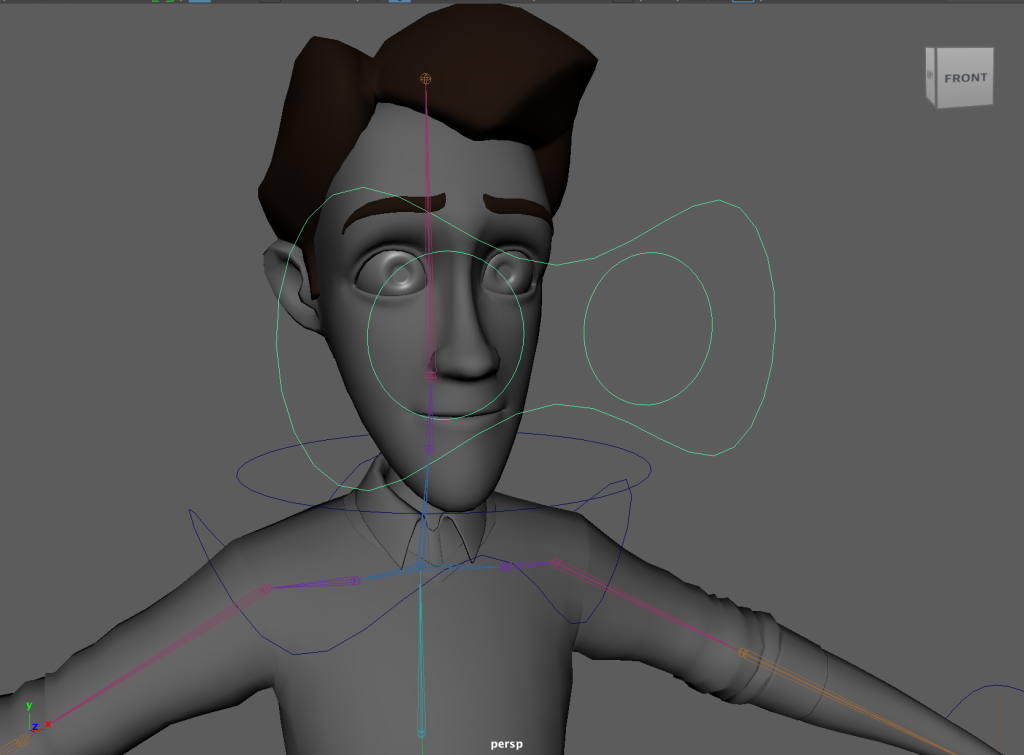
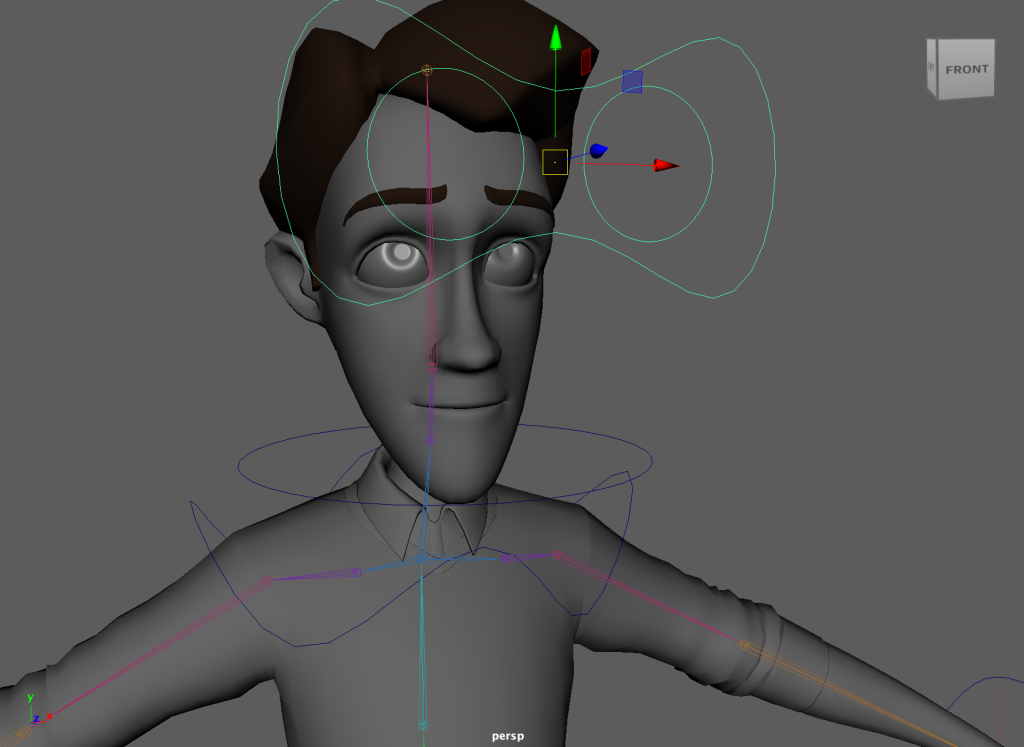
The last thing I did in terms of rigging was adding the eye controls. This allowed me to control the eyeballs and make them follow a control rig in any direction. Using these I am able to have a part of the face animated instead of remaining still. To do this I once again created a shape to match the eye area, as well as two circle controls. These would individually control the corresponding eyeball while the main eye control operates both in the same direction.
I would then apply an aim constraint to it all so the eye assets would follow the control. One issue I had with this was the eyeballs kept separating and moving out of the body but this was easily fixed by unbinding and moving into place before rebinding.