Once I had created all my assets, they needed to be displayed in a professional environment to then be showcased on the initial posts.
I did this by creating a platform under the items in order to highlight the shadows and created a directional light source to create these. The light would be pointed at the subject from one side to highlight the front and sides of the asset, and create a shadow from behind.
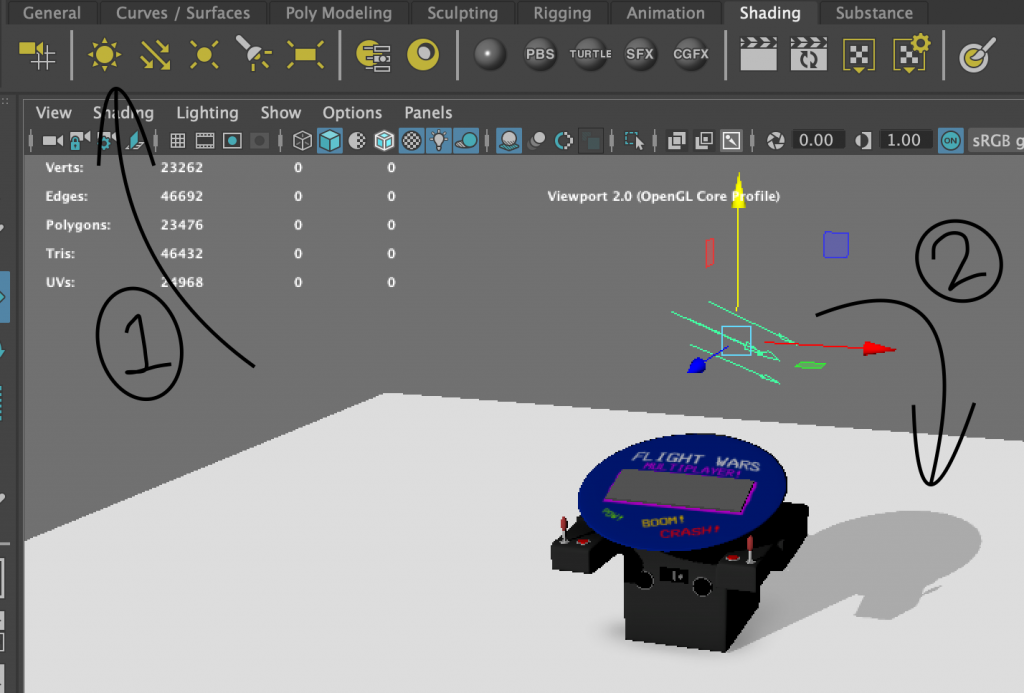
As seen above, I changed the base colour to a light grey so the shadows would show up better and in the final screenshots, changed the background to white to make the final render look more professional.
To render the assets, I used the Playblast feature which could take a high definition screenshot of my asset, to then insert onto the specified blog post. I made sure it would only take one frame instead of 30, and then that file would be saved to a folder on my device.

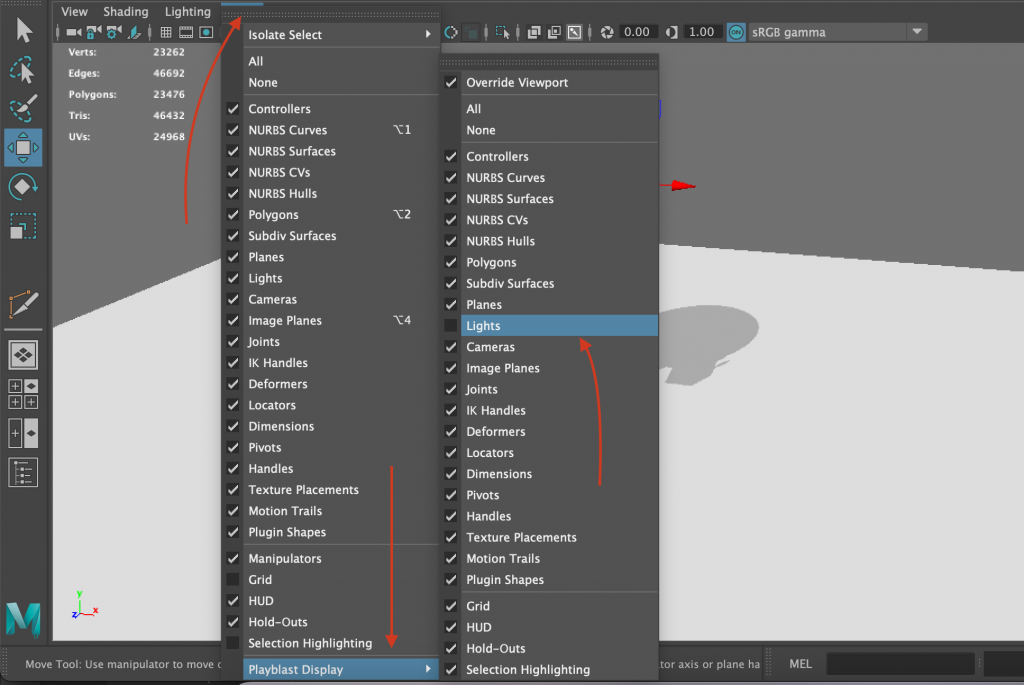
One thing that was helpful is that in the playblast display settings, I was able to hide any unnecessary icons and assets from the final image. This includes the lighting indicator, which would still project light on to the subject, but the final image would not show the directly editable source.
Using this method, I was able to get my final assets to look professional and be in an illuminated environment. In a later post, I will detail why I chose this option due to limitations with the software used.